FREE 1 to 3-Day Delivery on Orders $149+ Details

How to Install Teraflex Rear Trackbar Bracket, 2-4 in. Lift on your Wrangler
Shop Parts in this Guide
Important Notes:
Prior to beginning this or any installation read these instructions to familiarize yourself with the required steps and evaluate if you are experienced and capable to personally perform these modifications. A factory service manual should be used in conjunction with these installation instructions.
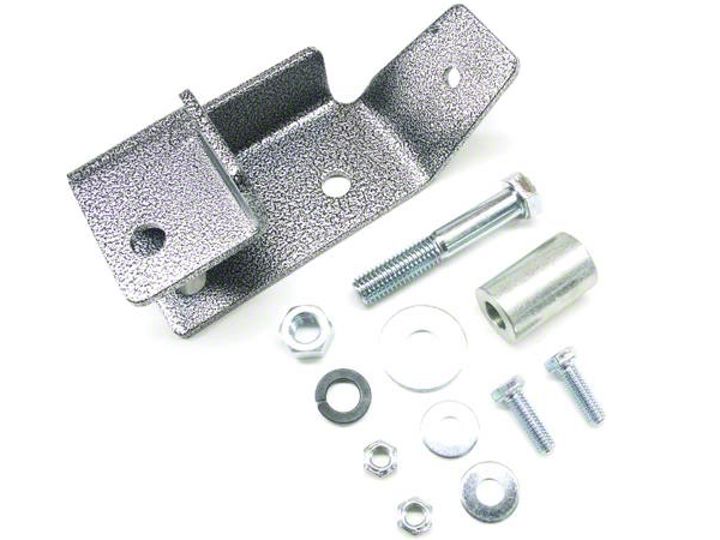
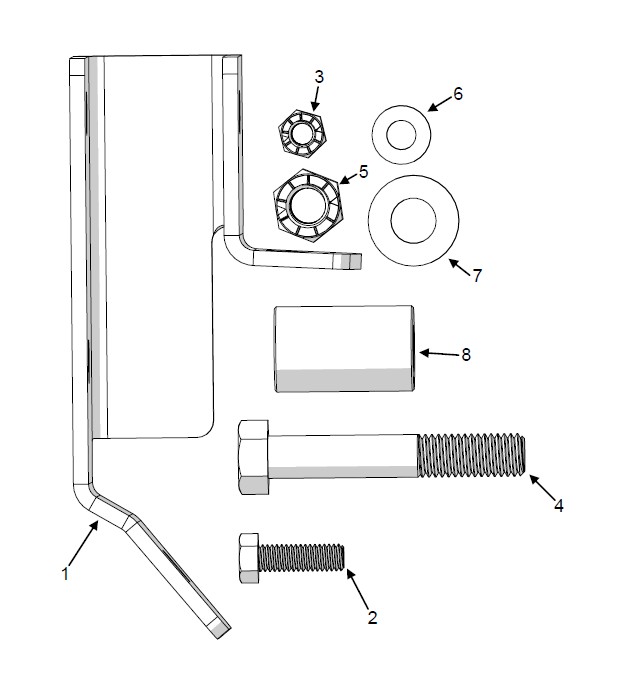
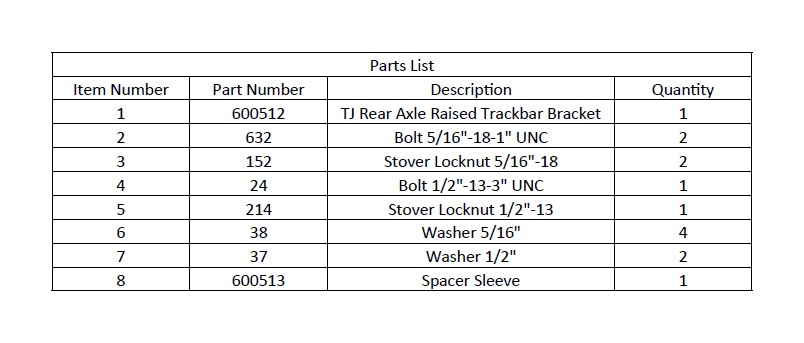
Refer to the parts list to ensure that all necessary components and hardware has been included. If any parts are missing please contact your local TeraFlex dealer for assistance.
REMOVAL
1. Raise and support the vehicle. See factory service manual for safe support locations. Remove the factory dust cover and discard.
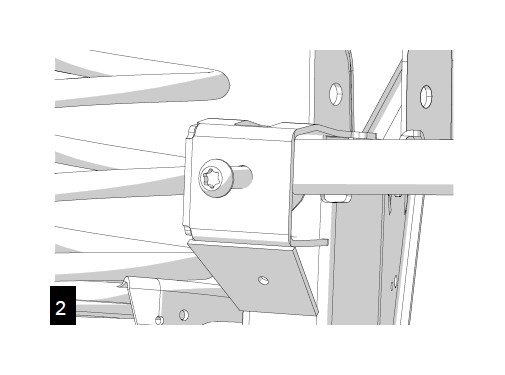
2. Remove the track bar nut and bolt with a T55 torx. Keep them, they will be reused later on.
INSTALLATION
3. The 5/16” holes in the factory bracket may need to be drilled to fit the new hardware. Welding the new bracket to the facto-ry bracket in a few locations is optional but will aid in keeping the bracket secure.
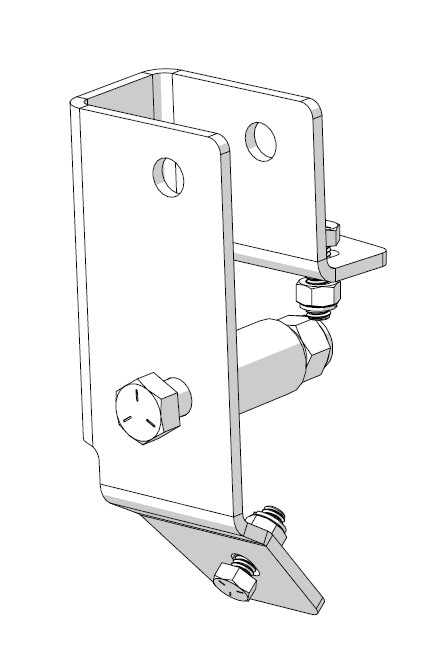
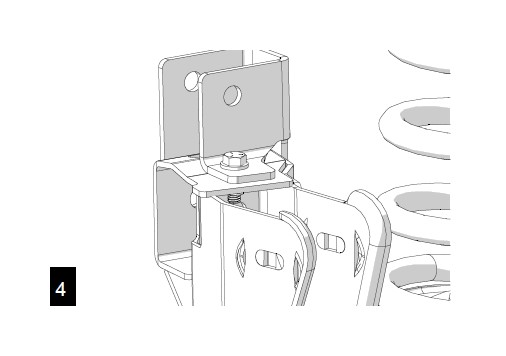
4. Orient the new bracket against the factory bracket, and install the provided 5/16” bolt from the top. Install the lock nut finger tight.
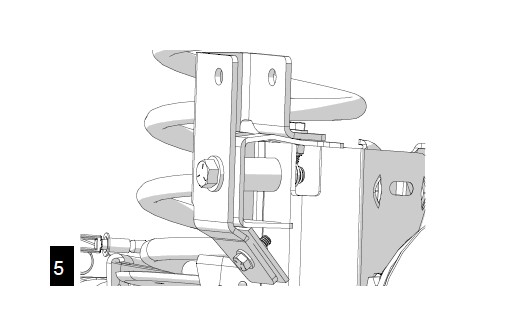
Loosely install the remaining 5/16” nut and bolt into the lower hole . Install the 1/2” bolt through the center mount hole and factory mounting hole with the spacer between. Tighten all 5/16 hardware to 30 ft-lbs and 1/2” to 75 ft-lbs.
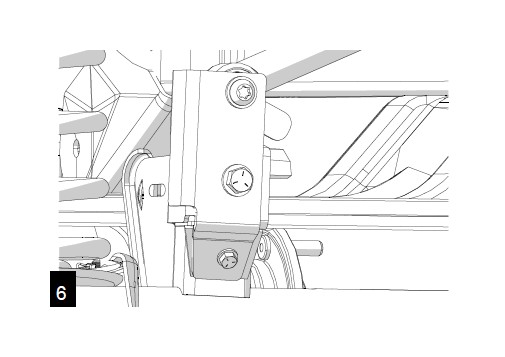
Lower the vehicle to the ground. Place the track bar into the new bracket, and install the factory nut and bolt. Torque to 75 ft-lbs.