 FREE 1 to 3-Day Delivery on Orders $149+ Details

How to Install Teraflex 2.5 in. Performance Budget Boost Kit w/o Shocks or Adapters (07-18 Jeep Wrangler JK) on your Jeep Wrangler
Installation Time
4.5 hours
Tools Required
- Jack
- Jack Stands
- Crescent Wrench
- 10mm Socket
- 16mm Socket
- 18mm Socket
- 21mm Socket
- Socket Wrench
- Torque Wrench
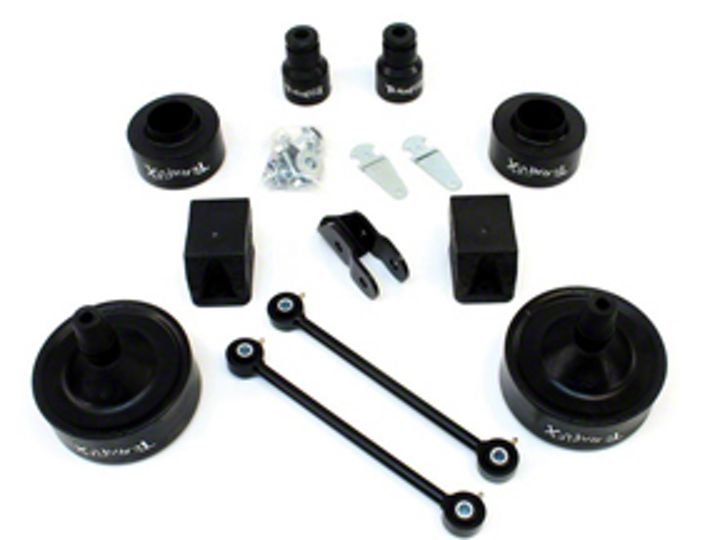
Shop Parts in this Guide
Installation Instructions:
1. Jack the rear of the vehicle up at the axle.
2. Insert a jack stand on both sides of the vehicle.
3. Remove the rear tires from both sides of the vehicle.
4. Remove the rear shocks on both sides using a 16mm and 18mm socket wrench (Figure A).
Figure A
5. Remove the rear sway bar links on both sides using an 18mm socket and a crescent wrench (Figure B).
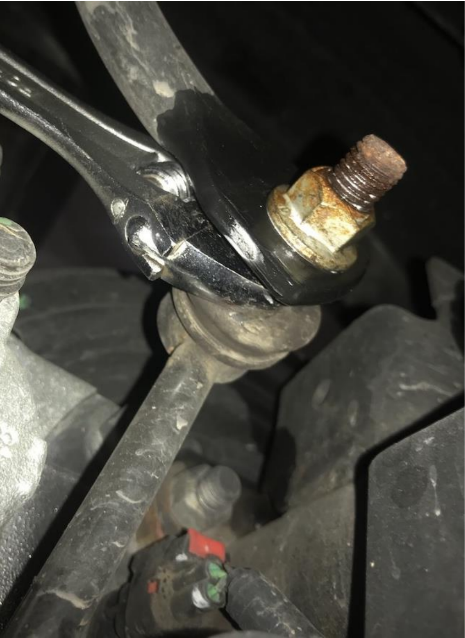
Figure B
6. Remove the ABS line clips and the center bracket using a 10mm socket wrench.
7. Loosen the frame end of the rear track bar using a 21mm socket wrench and a crescent wrench (Figure C).
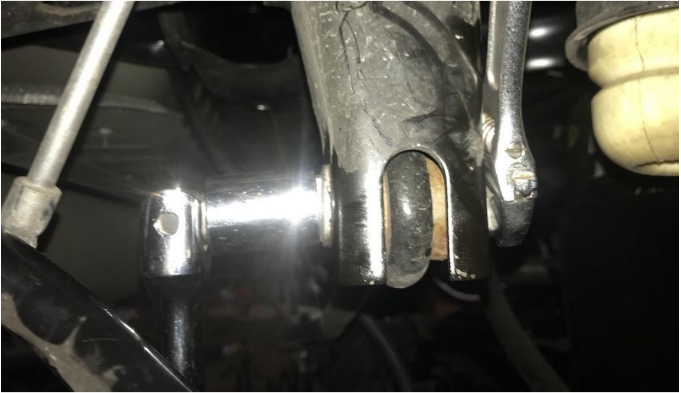
Figure C
8. Remove the axle end bolt of the rear track bar using a 21mm socket wrench.
9. Loosen (but do not remove) all control arms.
10. Remove the rear coil springs from the axle seating (Figure D).
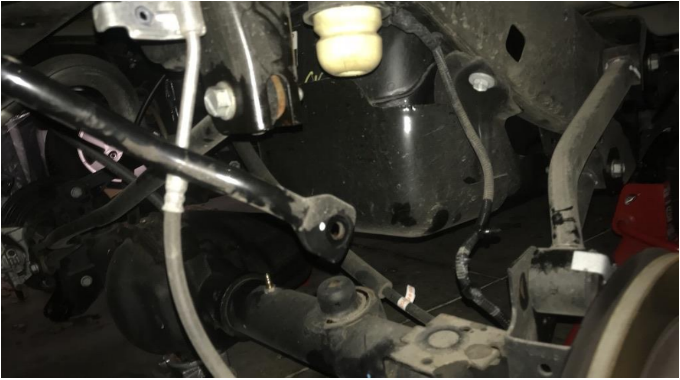
Figure D
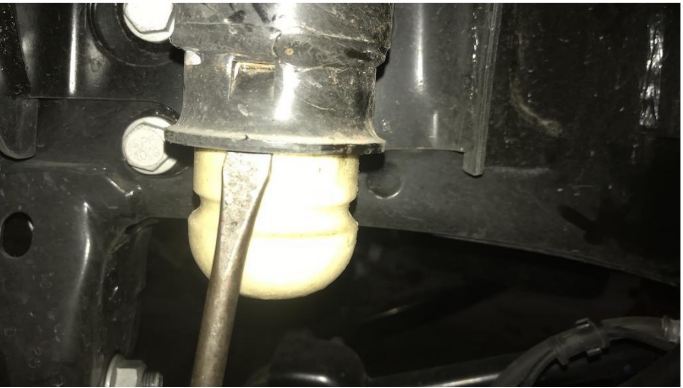
11. Remove the rear isolators which will be used with the spacers provided (Figure E).
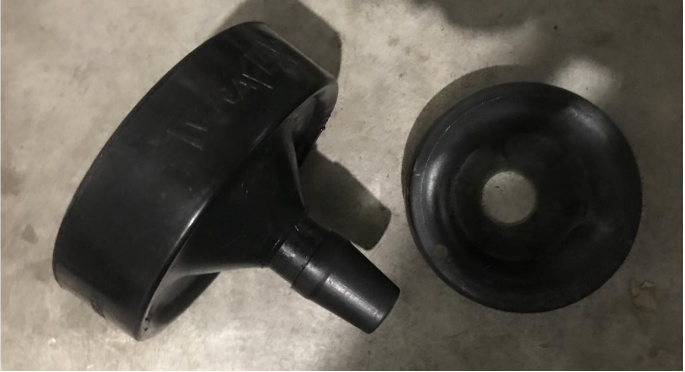
Figure E
12. Slide the rear isolator for both sides onto the two rear spacers provided (Figure F).
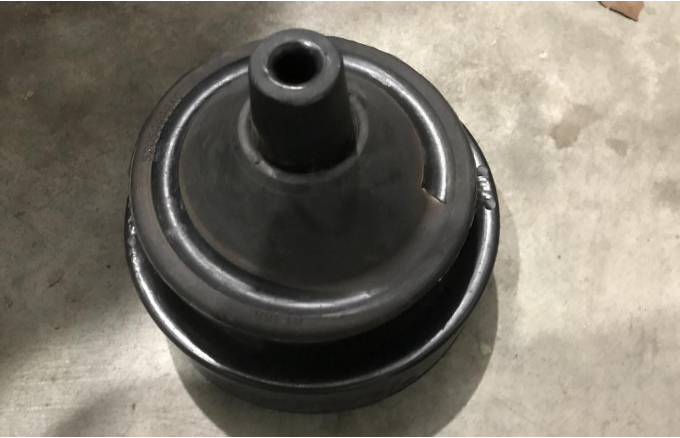
Figure F
13. Slide the spacer and isolator up into place on both sides where the coil springs were seated (Figure G).
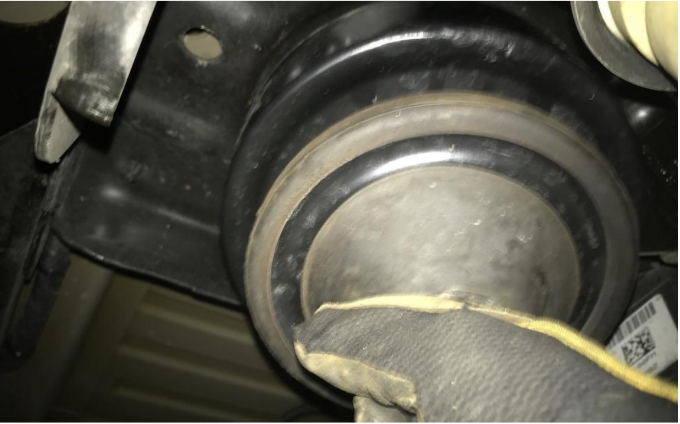
Figure G
14. Return the coil springs on both sides (Figure H).
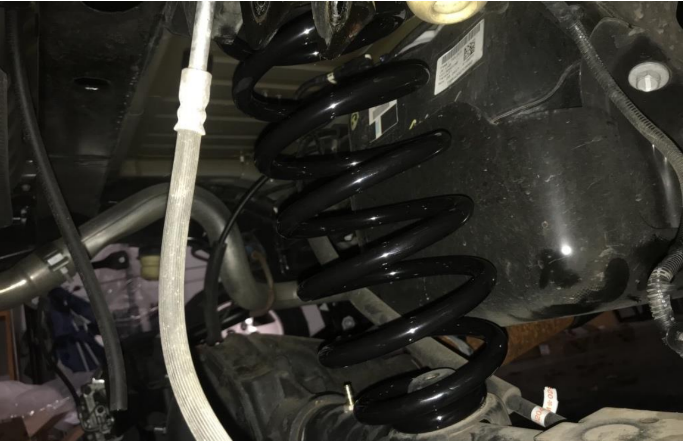
Figure H
15. Install new 2.5" shocks or shock extensions for the factory shocks.
16. Install the new bumpstops using a 10mm socket wrench on both ends (Figure I).
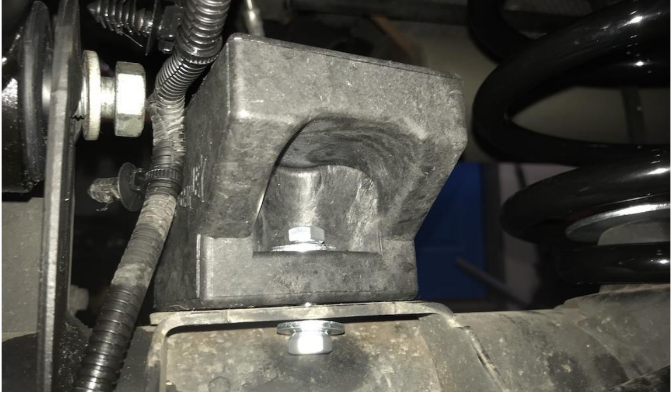
Figure I
17. Install the new sway bar end links using an 18mm socket wrench and a crescent wrench (Figure J).

Figure J
18. Install the rear track bar axle mount.
19. Re-install the rear tires and lower the vehicle.
20. Slide the lower end of the rear track bar into the axle mount and thread bolt into place.
21. Jack the front of the vehicle up at the axle and place jack stands under the frame on both sides.
22. Remove the front shocks (Figure K).

Figure K
23. Remove the front sway bar end links using an 18mm socket wrench and a crescent wrench (Figure L).
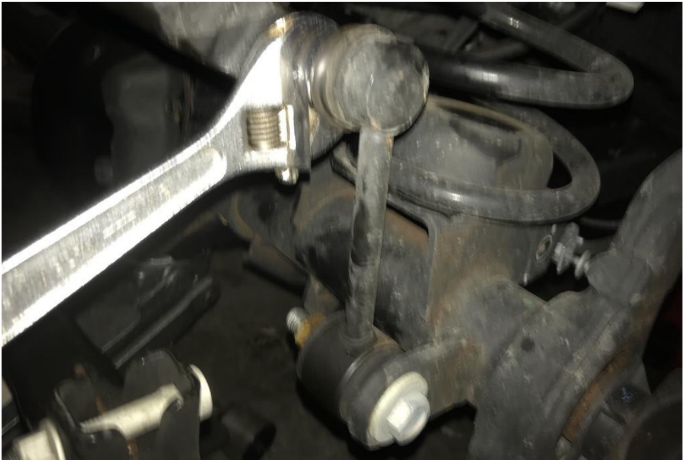
Figure L
24. Lower the axle and remove the front coil springs from both sides, as well as the isolators (Figure M).

Figure M
25. Remove the jounce piece from both sides (Figure N).
26. Install the front spacers and isolators on both sides.
27. Press the supplied bump stop extension into place on both sides using a block of wood and the axle (lifting slowly to press into place) (Figure O).

Figure O
28. Re-install the jounce piece into each bump stop extension.
29. Re-install the coil springs (Figure P).
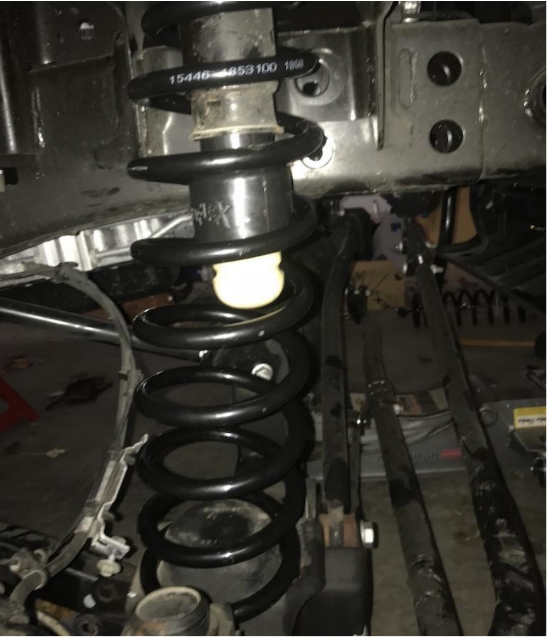
Figure P
30. Install new 2.5" front shocks or use shock extensions and the factory shocks.
31. Install the rear sway bar end links removed in Step 5 on the front.
32. Re-install the front wheels and lower the vehicle.
33. Re-torque all loosened control arms and the rear track bar bolts to 125 ft. lbs.
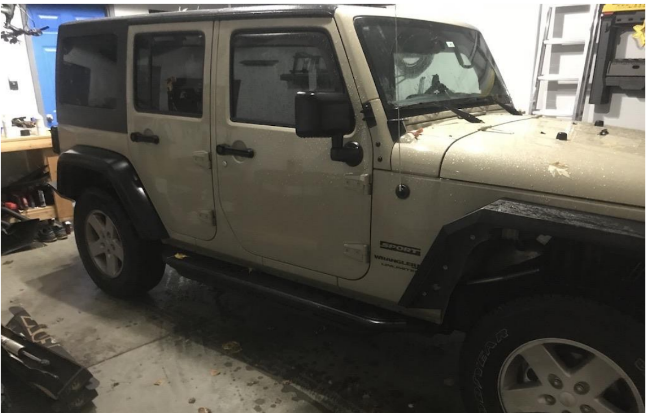
Before
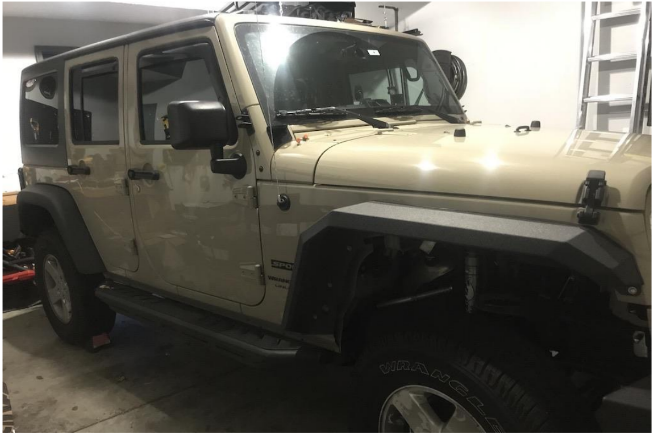
After
Installation Instructions Written by ExtremeTerrain Customer J. Sandlin 11/11/2018

