FREE 1 to 3-Day Delivery on Orders $149+ Details

How to Install Teraflex 2.5 in. Coil Springs-front pair on your Wrangler

Shop Parts in this Guide
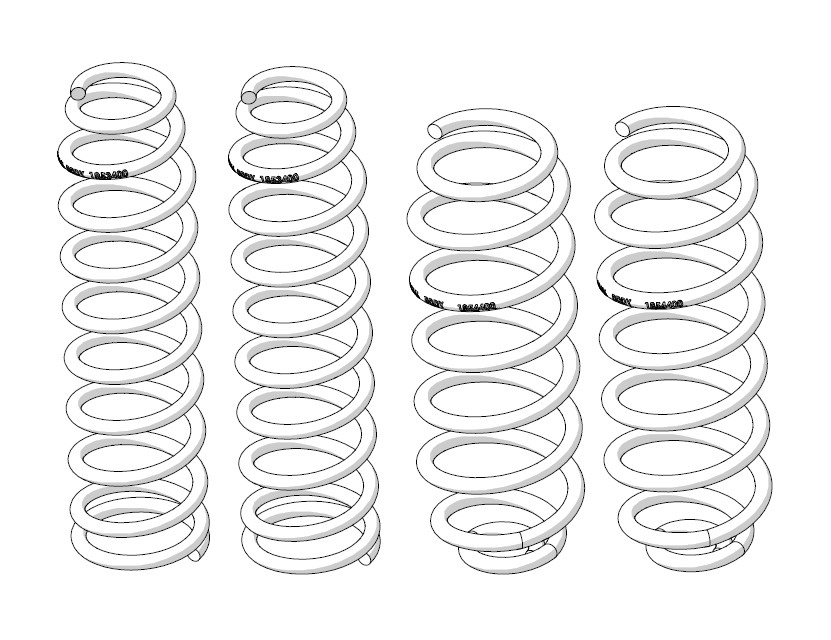
- Teraflex 2.50-Inch Front Coil Springs (07-18 Jeep Wrangler JK)
- Teraflex 3 to 4-Inch Front Coil Springs (07-18 Jeep Wrangler JK)
- Teraflex 3 to 4-Inch Rear Coil Springs (07-18 Jeep Wrangler JK)
- Teraflex 4 to 6-Inch Front Coil Springs (07-18 Jeep Wrangler JK)
- Teraflex 4 to 6-Inch Rear Coil Springs (07-18 Jeep Wrangler JK)
FRONT REMOVAL
1. Refer to the factory service manual for lift locations. Raise and support the vehicle. Remove the tires and wheels and support the axle with a jack or jack stands.
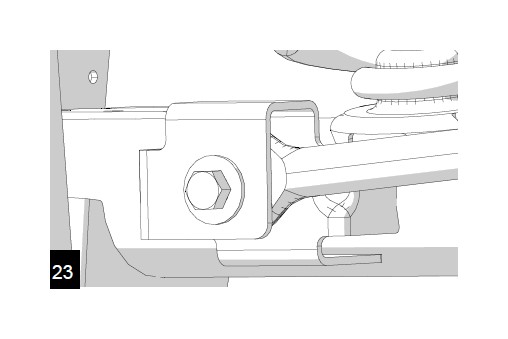
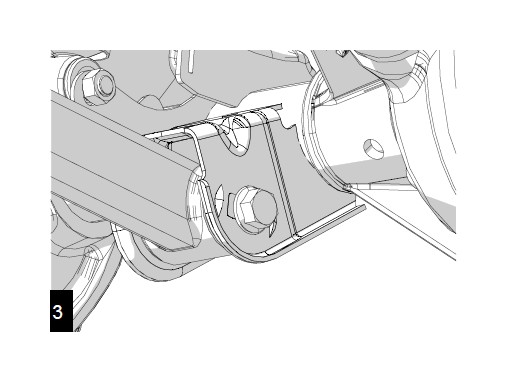
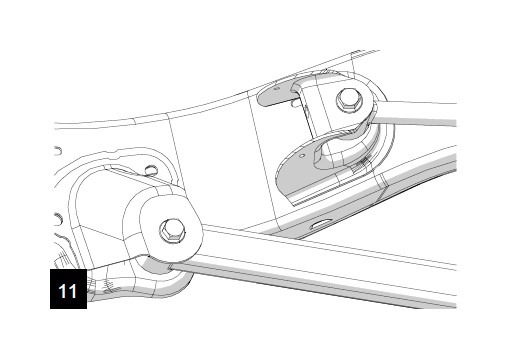
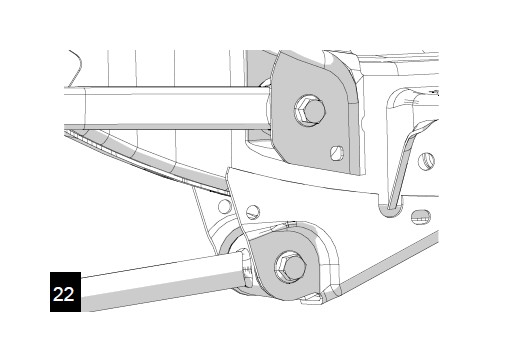
2. Remove the track bar at the axle with a 21mm. The nut is a flag nut. (See 999208 Front Track Bar/Removal)
Loosen all front control arm bolts with a 21mm. DO NOT REMOVE ARMS OR BOLTS.
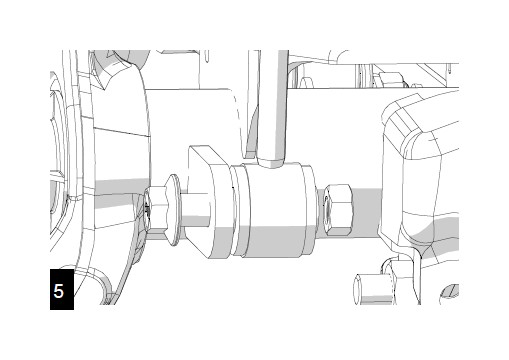
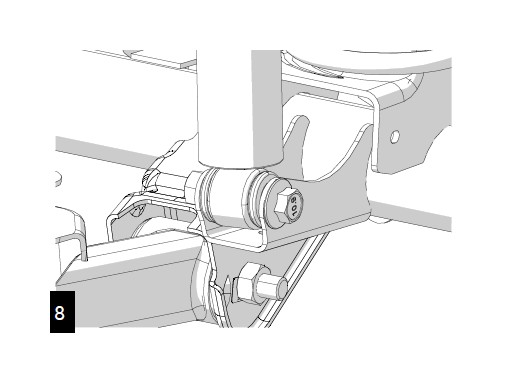
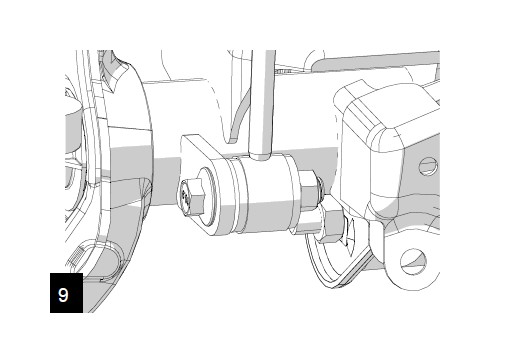
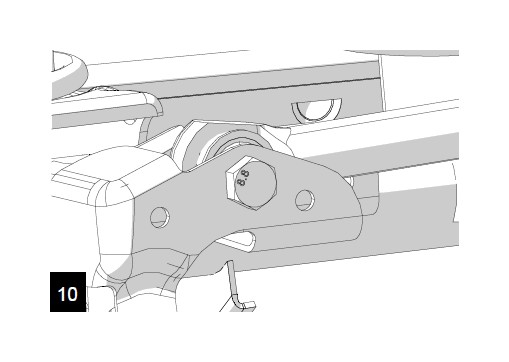
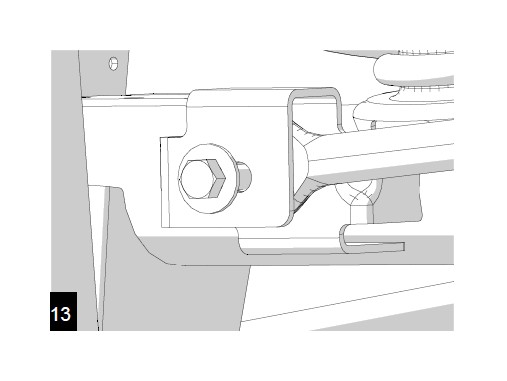
Remove the shocks at the axle with an 18mm wrench and socket. (See 999207 Shocks/Front/Removal)
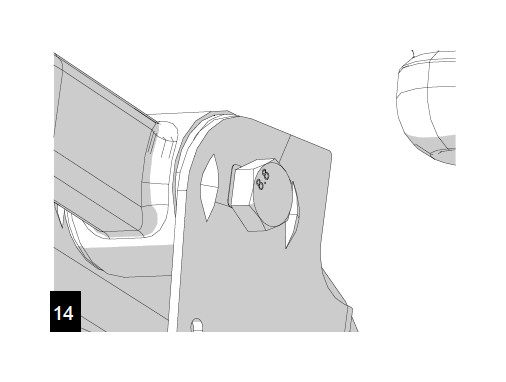
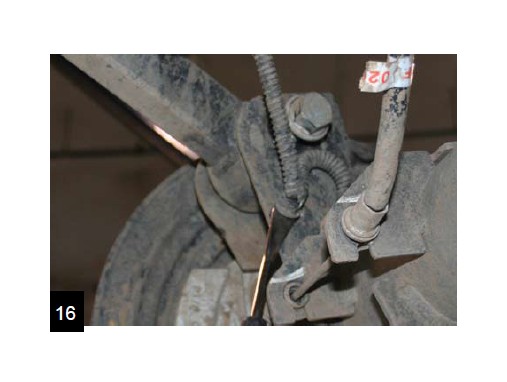
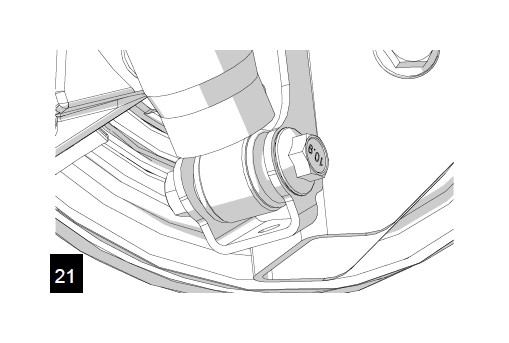
Remove the sway bar links with an 18mm wrench and socket at the axle. If you are replacing the links, remove completely. (See 999027 Front Quick Disconnect/Removal)
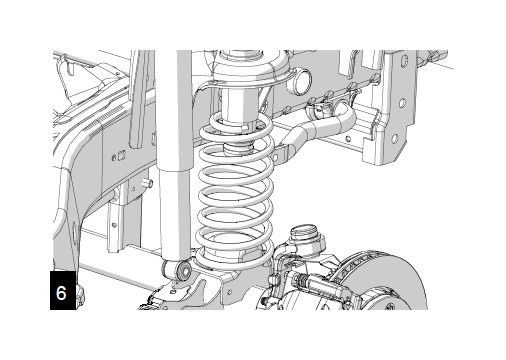
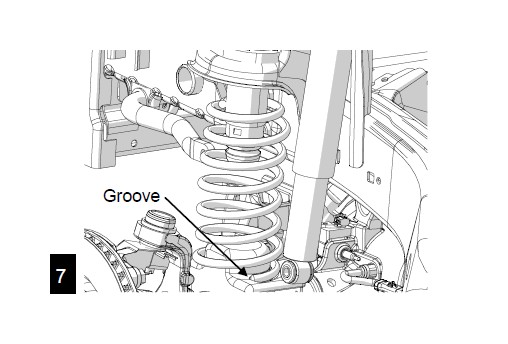
Lower the jack until the spring is free. Remove the coil spring. Be sure to watch the ABS, brake lines and breathers that they are not over stretched..
FRONT INSTALLATION
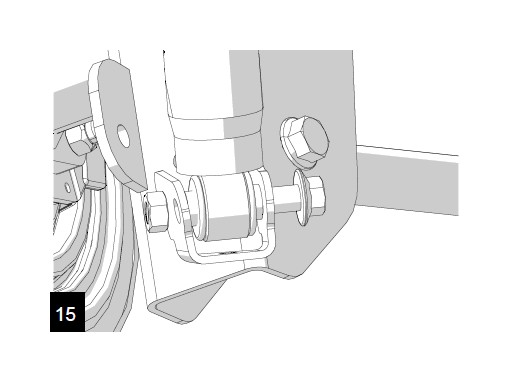
Install both coil springs, drivers side first followed by the passenger side. Rotate the spring until they are fully seated.
Raise the jack high enough to install the shocks. Torque to 56 ft-lbs (76 Nm). (See 999207 Shocks/Front/Installation)
Reinstall the sway bar links or install new links if supplied. Torque top and bottom to 75 ft-lbs. (See 999027 JK Quick Disconnect Links/Installation)
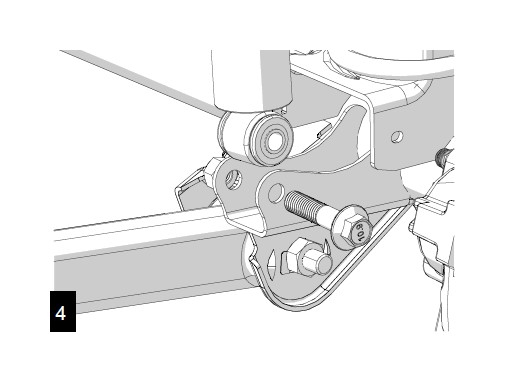
Reinstall the front track bar once the vehicle is sitting on the ground. Torque to 125 ft-lbs. (See 999208 Front Track Bar/ Installation)
Reinstall wheels and tires. Torque lug nuts to 95-115 ft-lbs. Once the vehicle is on the ground, torque upper control arm bolts to 75 ft-lbs and all lowers to 125 ft-lbs.
REAR REMOVAL
12. Refer to the factory service manual for lift locations. Raise and support the vehicle. Remove the tires and wheels and support the axle with a jack or jack stands.
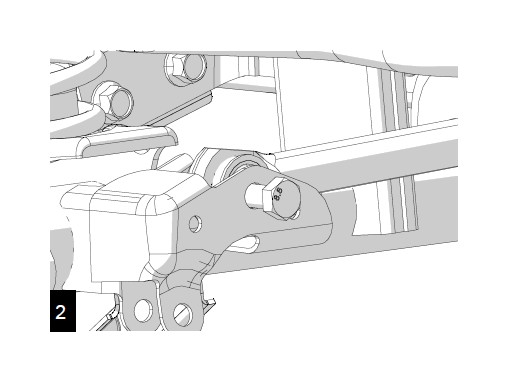
Remove the rear track bar at the axle with a 21mm. The nut is a flag nut. (See 999043 Rear Track Bar/Removal)
With a 21mm loosen all rear control arm bolts. DO NOT REMOVE ARMS OR BOLTS.
Remove the shock at the axle with an 18mm. (See 999207 Shocks/Rear/Removal)
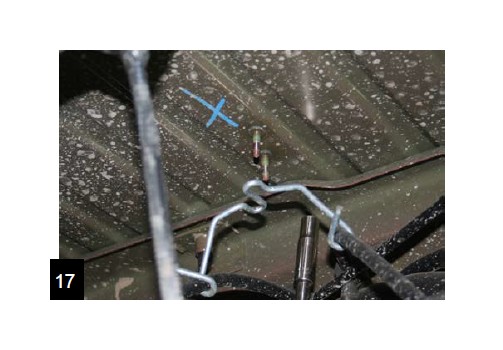
Remove the clips that secure the ABS wiring harness to the upper control arm mount.
Remove the parking brake cable bracket from the underside of the body with a 10mm deep socket and discard.
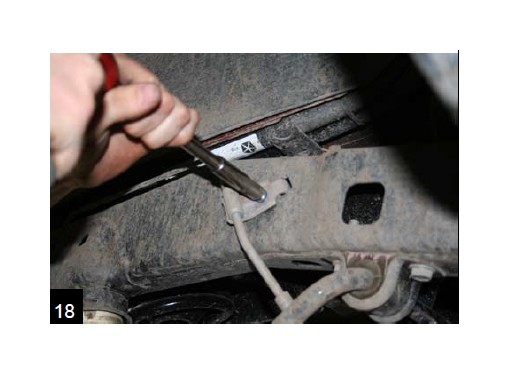
Remove the brake line mount from the frame with a 10mm.
Carefully lower the axle enough to remove the spring. Be sure to watch the ABS, brake lines and breather tubes for overextension. Remove the old spring.
REAR INSTALLATION
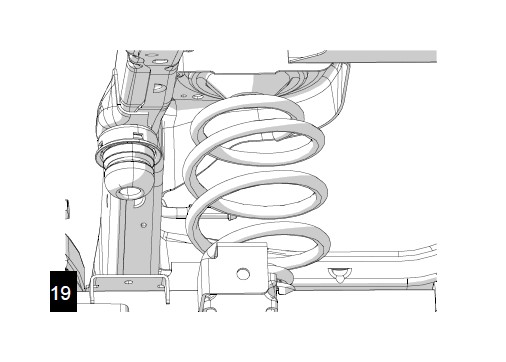
Install the new springs. Make sure to reuse the factory spring isolator.

Raise the axle high enough to reinstall the lower shock bolts. Torque to 56 ft-lbs. (See 999207 Shocks/Rear/Installation) Using a drop bracket if necessary, reinstall the brake line mount to frame. Torque to 16 ft-lbs.
Reinstall wheels and tires, torque to 95-115 ft-lbs. Lower to the ground. Torque all upper control arm bolts to 75 ft-lbs and all lower control arms to 125 ft-lbs.
Reinstall the rear track bar at the axle. Have someone push on the body to help align the bolt holes. Torque to 125 ft-lbs. (See 999043 Rear Track Bar/Installation) Recheck every bolt for torque . Re-torque all bolts after 100 miles.
To straighten the steering wheel, loosen the adjuster sleeve on the drag link with a 15mm. Make a mark across the sleeve and threads to indicate the original position. Looking from the drivers side, rotate the adjuster sleeve counter clockwise 3/4 of a turn. This should be pretty close. Every vehicle is different, test drive yours and adjust as needed. Torque the pinch clamp bolts to 45 ft-lbs.