FREE 1 to 3-Day Delivery on Orders $149+ Details

Synergy 2-Door 3.0 In./ 4-Door 2.0 In. Rear Lift Springs (07-17 Wrangler JK)
Installation Time
3 hours
Tools Required
- Sockets: 10mm deep well, 18mm, 19mm
- Socket Wrench
- 18mm Wrench
- Lug Wrench
- Torque Wrench
- Jack x2 (Or Lift)

Shop Parts in this Guide
Additional Recommended Parts:
Rugged Ridge Parking Brake Relocation Bracket
Synergy Brake Line Relocation Kit
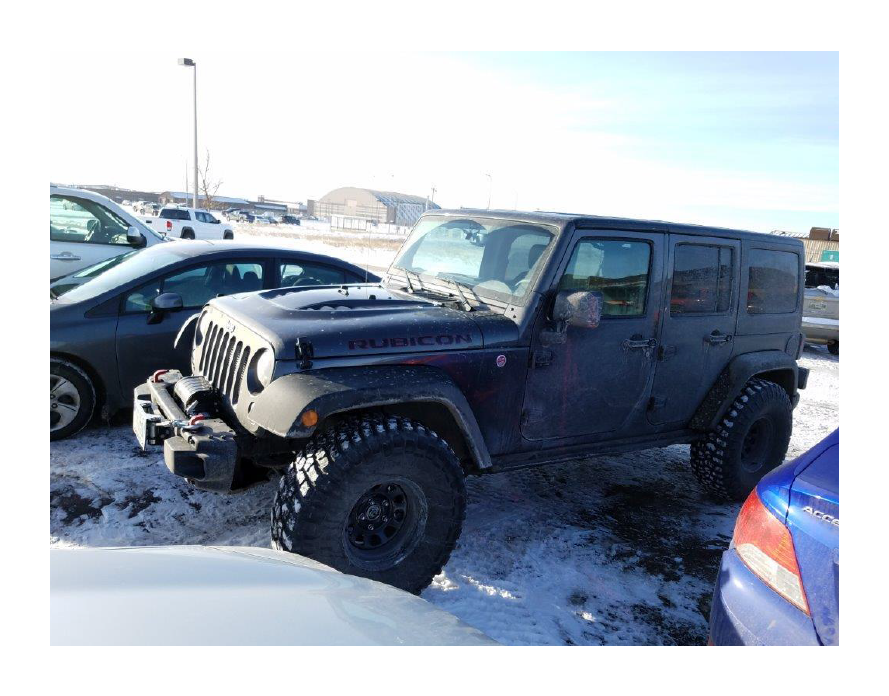
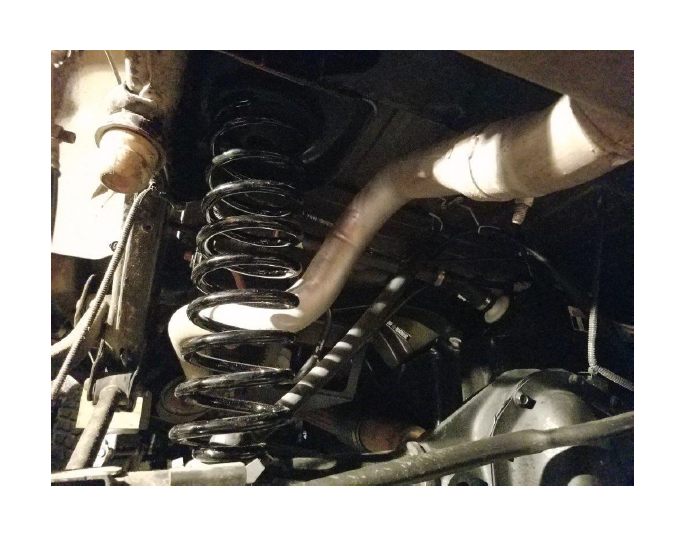
Before Picture:
Installation Instructions:
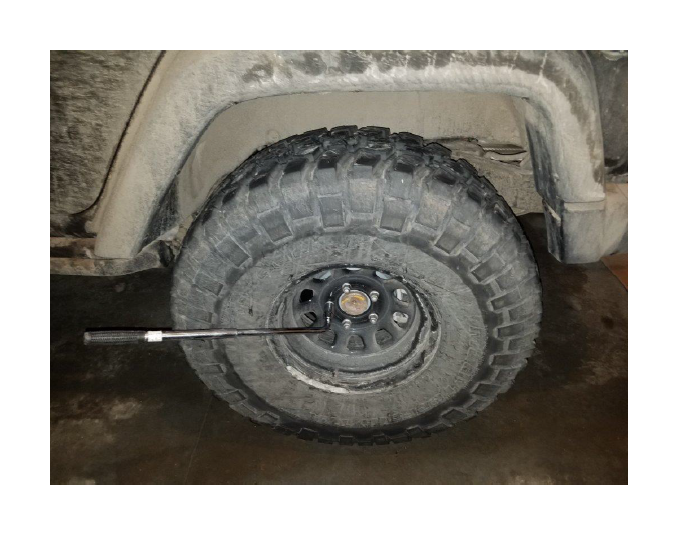
1. Using a 19mm lug wrench, loosen the lug nuts on both front wheels. To start out, only loosen them about a half a turn.
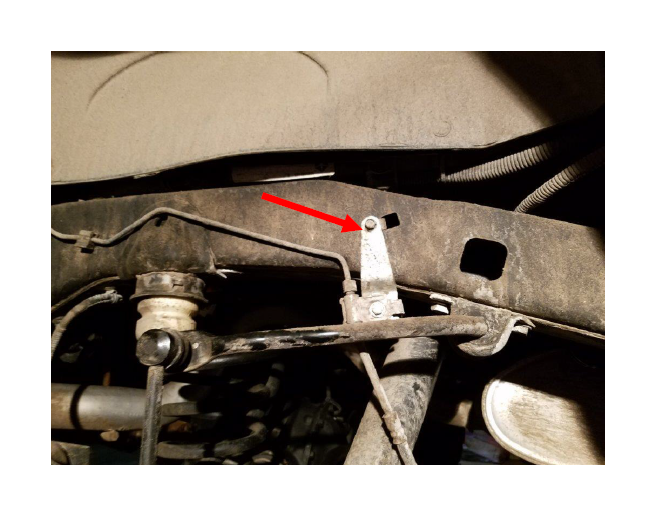
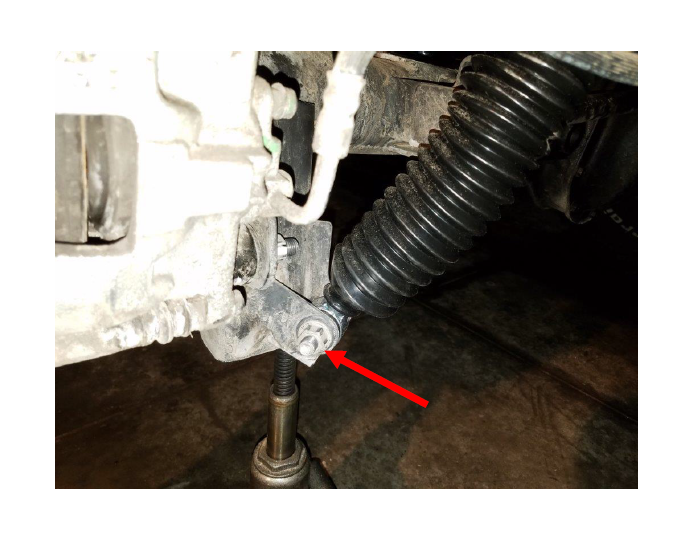
2. Remove the 18mm nut and bolt from the axle side of the sway bar link. Repeat this step on both driver and passenger sides. This bolt will be easiest to remove if you are parked on level ground.
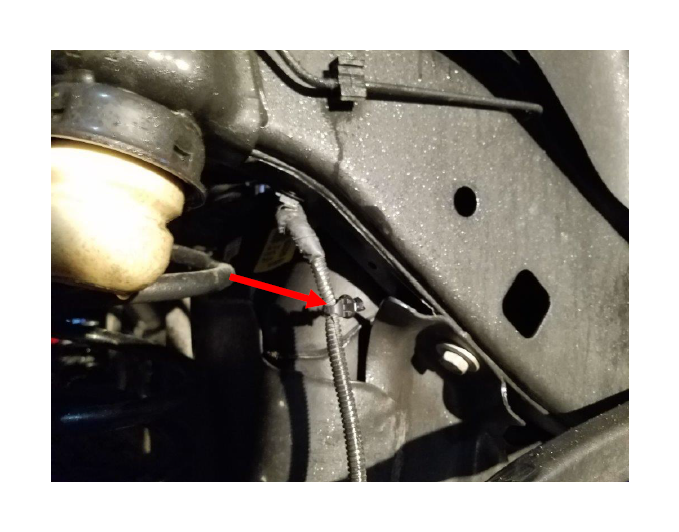
3. Using a 10mm socket, remove the bracket holding the brake line to the frame. Repeat this on both driver and passenger sides. Shown below I have the synergy brake line relocation bracket. These will keep the brake lines from getting damaged when flexing.
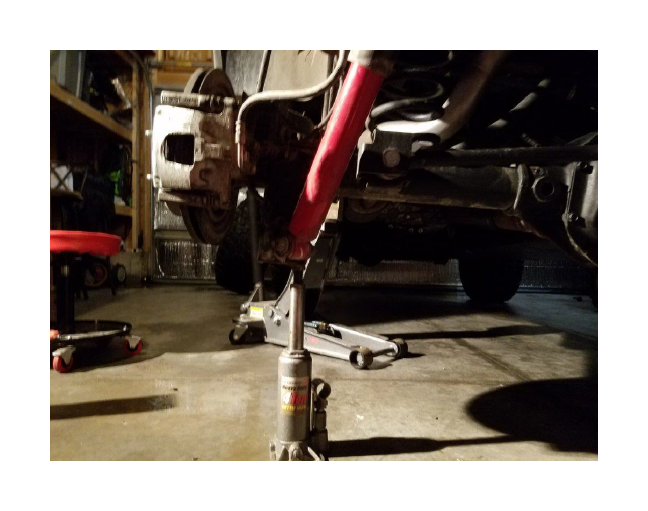
4. If you have a lift, now you will want to lift your Jeep. If not, use a jack to lift the driver side by the frame. Then remove the wheel. Note: Don’t forget to check the condition of your brake pads while the wheel is off.
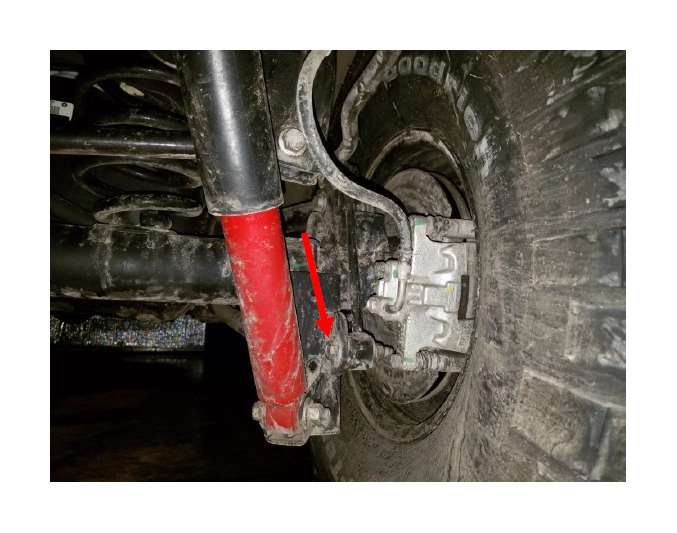
5. Next use a second jack to lift the axle about ½” just to relieve pressure on the lower shock bolt. At this point you want this jack to be near its highest setting, this will help for lowering the axle later.
6. Remove the 18mm nut and bolt from the bottom of the shock. If the jack has relieved all the pressure the bolt will slide out easily.

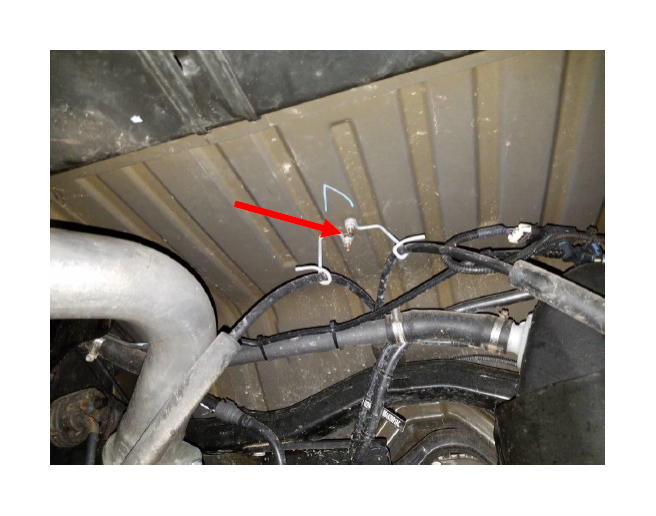
7. Remove the lower plastic clip holding the ABS wire to the frame.
8. Using a 10mm deep well socket, remove the two nuts holding up the E-brake cables.
9. Now, using the jack under the axle, slowly lower it until the coil spring is loose. Then remove the spring. This will require the jack under the frame to be as high as possible. Keep an eye on the brake line and ABS wire, be careful not to overstretch them.
10. You will install the new spring in the orientation shown below. The larger opening should be at the top, with the stock rubber isolator on top.
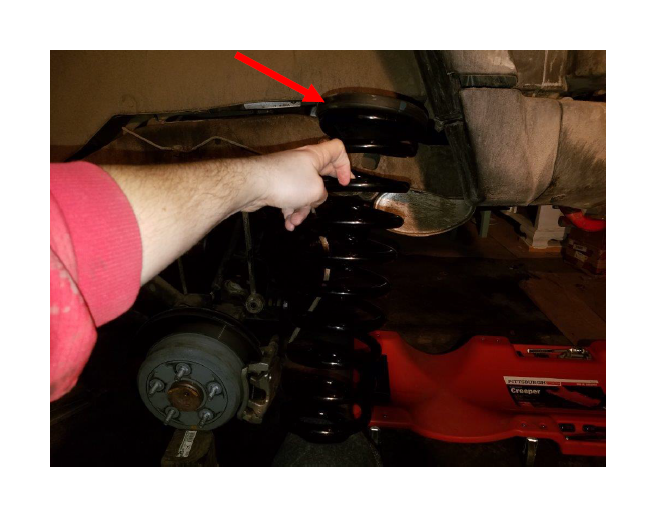
11. Once the stock spring is removed, you can install the new spring as shown below. You may need to push down on the axle to make room to fit in the new spring. Make sure the upper rubber spring pad is still in place.
12. Now jack up the axle until the lower shock mount lines up with the bolt holes and reinstall the shock bolt. Torque to 65ft/lbs.
13. You can now reinstall the wheel. Start by hand tightening the lug nuts in a star pattern. Then lower the wheel to the ground and torque the lugs to 100ft/lbs.
14. Repeat steps 4-13 on the passenger side.
15. With both wheels on flat level ground reinstall both 18mm sway bar bolts removed in step 2. Torque to 75ft/lbs.
16. Reinstall the brake line brackets removed in step 3 with stock 10mm bolts.
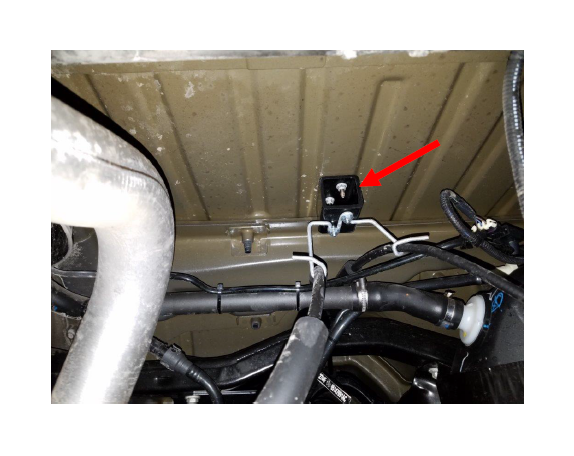
17. Reinstall the two 10mm bolts holding up the E-brake cables removed in step 8. I recommend installing the rugged ridge parking brake relocation bracket (shown below) to keep the E-brake cables from getting overstretched when flexing.
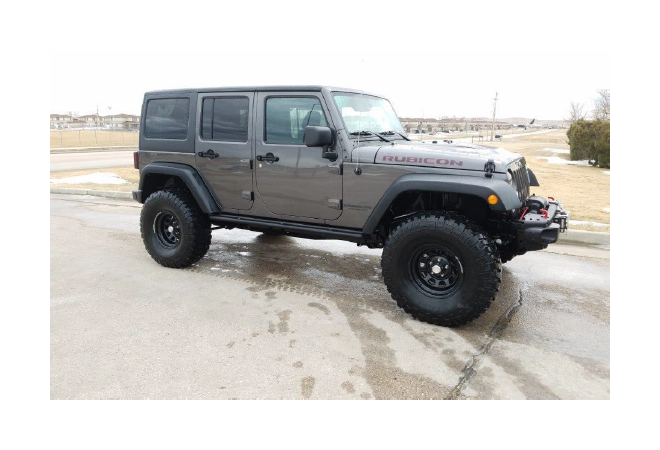
After Picture:
Note: After Pic shown with both front and rear lift springs installed.