 FREE 1 to 3-Day Delivery on Orders $149+ Details

How to Install Synergy Rear Axle Spring Pad (07-18 Wrangler JK) on your Jeep Wrangler

Shop Parts in this Guide
GENERAL NOTES:
• These instructions are also available on our website; www.synergymfg.com. Check the website before you begin for any updated instructions and additional photos for your reference.
• These heavy duty lower coil mounts are meant to replace the original brackets on the stock or similar size axle tube. They enable you to fix the angle of the lower spring mount after you have rotated the pinion up for a CV drive line. They also incorporate a plate to keep the springs from dislocated from the lower spring mount.
• The installation of this bracket requires the complete removal of the stock lower coil mounts with a cut off wheel and grinder. The new brackets must be welded to the axle tube. An experienced fabricator/welder is recommended to properly install this bracket.
1. Remove any bumpstop extension brackets that are bolted to the lower bumpstop pads on the rear axle
2. Take a reference measurement of the ride height of the vehicle between the bumpstop pad and upper jounce stop mounting cup. Enter that measurement here____________
3. Support the vehicle on jack stands and remove the coil springs
4. Support the rear axle on a jack and raise back to the ride height measurement form step 2
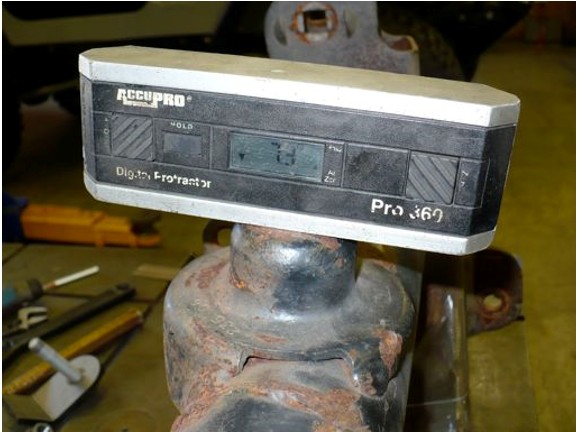
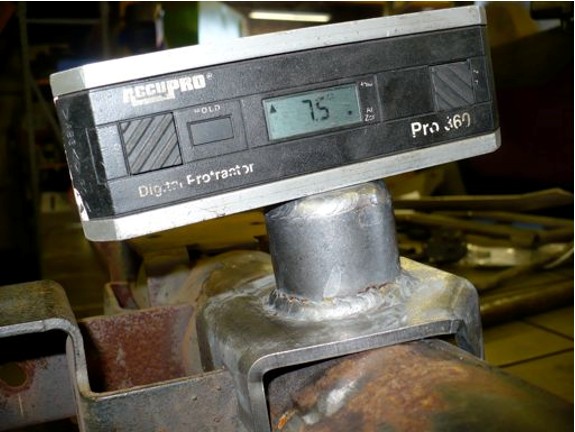
5. Measure the angle of the lower bump stop pad, enter that angle here______________
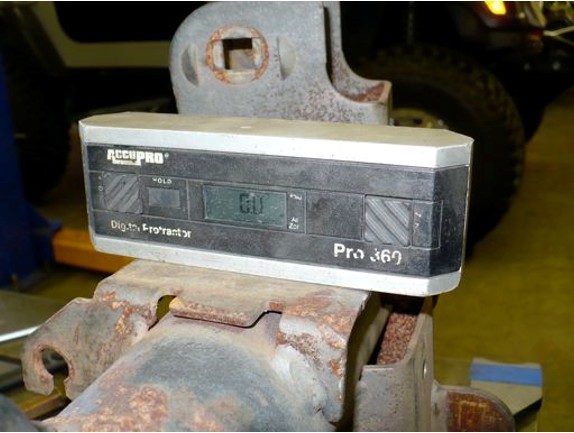
6. Measure the angle of the lower spring mount relative to the bumpstop pad, enter that angle here___________
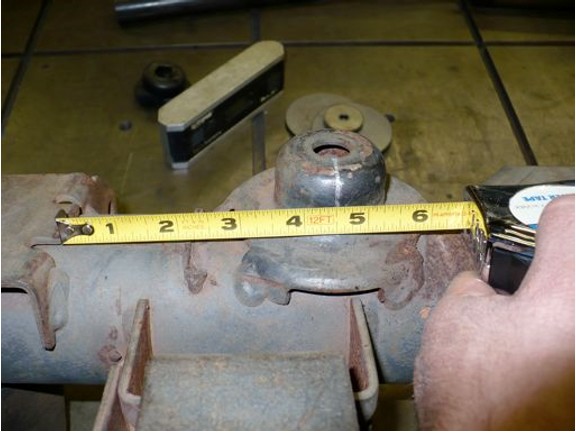
7. Take a reference measurement of the side to side position of the lower spring bracket.
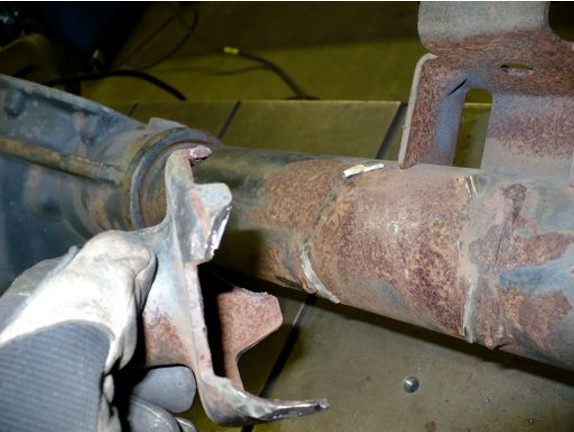
8. Completely remove the factory lower coil spring brackets and grind smooth. Just cut the welds and avoid cutting into the tube.
9. Position the new lower spring mounts on the axle tube, the same bracket is used on the left and right, the notch goes to the rear and is to clear the side of the rear track bar bracket, center the bracket side to side using the measurement for step 7.
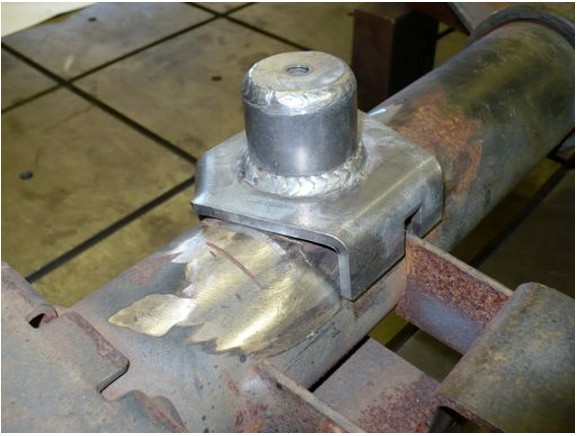
10. Rotate the spring mount forward to the desired angle from what it was originally, on a 4 dr JK, you typically want to rotate it about 10 degrees, a 2 dr JK is typically 15 degrees. You can also reference the upper spring mount and make the lower spring mount level to that. Just make sure the rear axle is at the correct ride height.
11. When the lower spring mounts are correctly positioned, weld them to the axle tube. Weld across the back and down the front on both sides. You can also weld the top on both side but it’s not required.
12. Paint the new brackets and the axle tube and reassemble the rear suspension, attach the large washer to capture the lower end of the spring if desired.
