FREE 1 to 3-Day Delivery on Orders $149+ Details

How to Install Synergy Front Sway Bar Quick Disconnect Kit (07-18 Wrangler JK) on your Jeep Wrangler

Shop Parts in this Guide
GENERAL NOTES:
• These instructions are also available on our website; www.synergymfg.com. Check the website before you begin for any updated instructions and additional photos for your reference.
• This sway bar quick disconnect kit was designed to use in conjunction with the Synergy Suspension sway bar link relocation brackets (PPM-8010) or front track bar relocation bracket (PPM-8088 & PPM-8089)
• You will need to ream or drill the hole in the end of the sway bar for the rod end to ½”
**NOTE**
• Remove the steel tube sleeves from the bushing ends of your sway bar links before beginning installation.
INSTALLATION WITHOUT TRACK BAR RELOCATION BRACKET
1. Remove the factory sway bar links.
2. Run a 1/2” drill bit or reamer through each side of the stock sway bar holes to enlarge the holes for the new rod end studs.
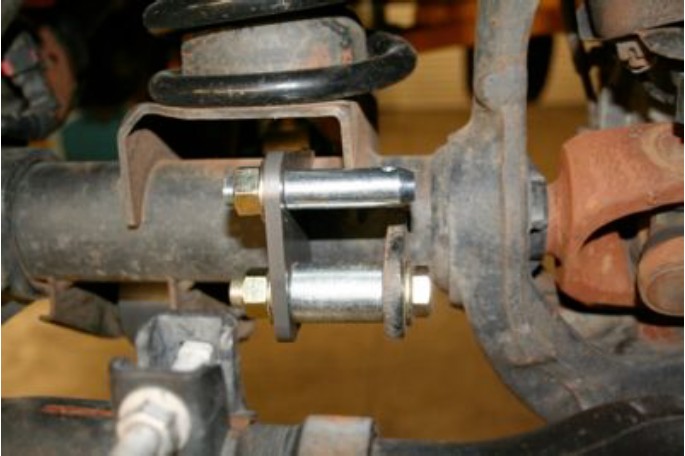
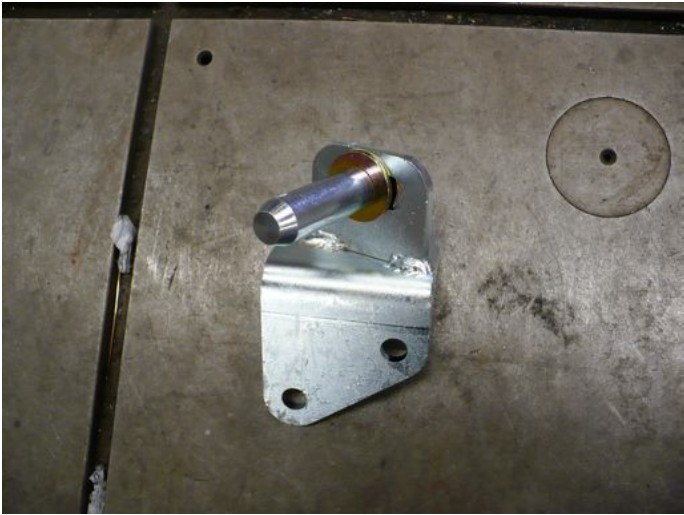
3. Attach the sway bar end link relocation brackets to the factory sway bar end link tab on the axle using the 1.5” long spacer and ½” x 3” bolt. Use a flat washer under the bolt head and lock nut. The picture below shows the driver side relocation bracket; assemble the passenger side opposite of this.
4. Attach the sway bar disconnect pin as shown below, use a flat washer and nylock nut. Orient the hole in the pin vertically. You can use a punch through the hole to hold the pin while tightening the nut.
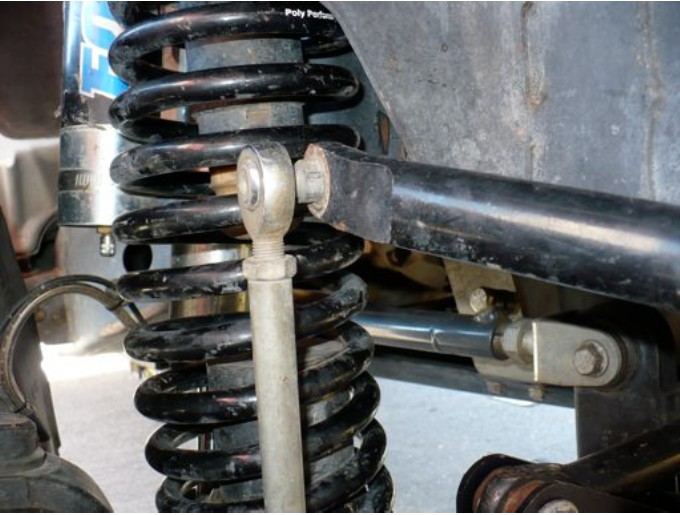
5. Adjust the sway bar links so both sides are the same length. Leave less than ½” of thread showing past he jam nut. Tighten the jam nut so that the rod end stud is parallel to the lower bushing tube.
6. Attach the end links to the anti-sway bar. Tighten the nylock nut to the rod end stud to 60 ft-lbs.
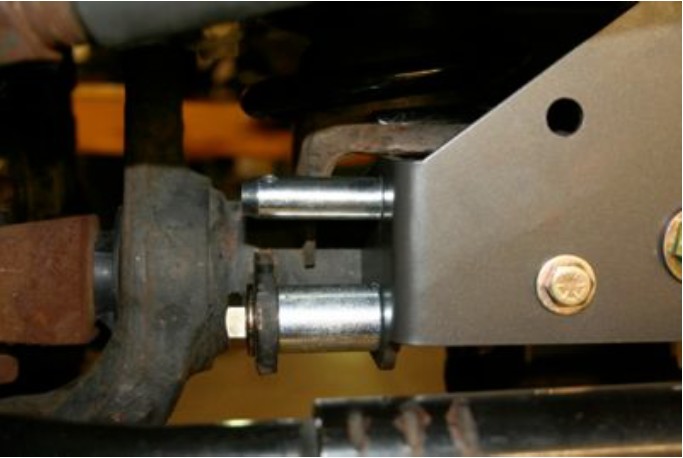
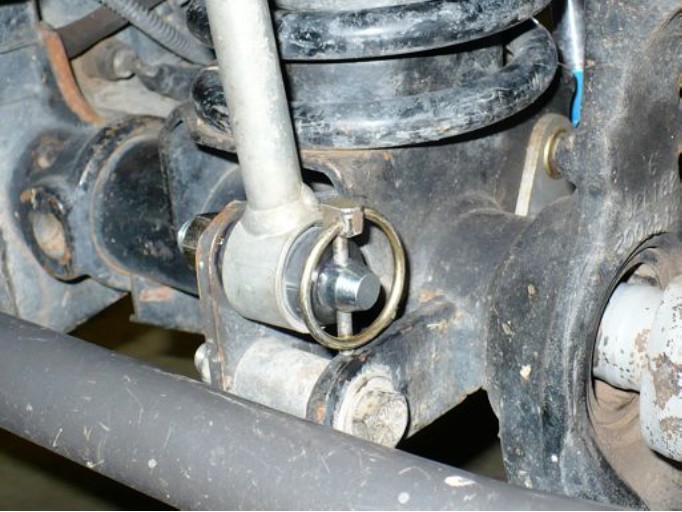
7. Attach the disconnect pins to the frame brackets using a flat washer on both sides and nylock nut as shown below. Slide the pins to the middle of the slotted hole. Tighten the nut to 40 ft-lbs.
8. Position the sway bar end link mounting plates as shown below and slide the sway bar end link bushings onto the disconnect pin.
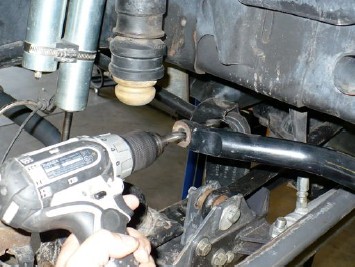
9. Mark the frame to drill the mounting screws and drill 5/16” holes in the frame. Attach the frame bracket with the 3/8” self tapping screws.
10. You can adjust the pins front to back in the frame bracket to allow easy attachment of the sway bar link.
11. Attach the sway bar end links to the axle disconnect pins an insert the pin.
INSTALLATION WITH TRACK BAR RELOCATION BRACKET
1. Follow the same steps as above but you will not use the passenger side sway bar relocation bracket. You will still use the sway bar relocation bracket on the driver side that is included with the track bar relocation bracket.
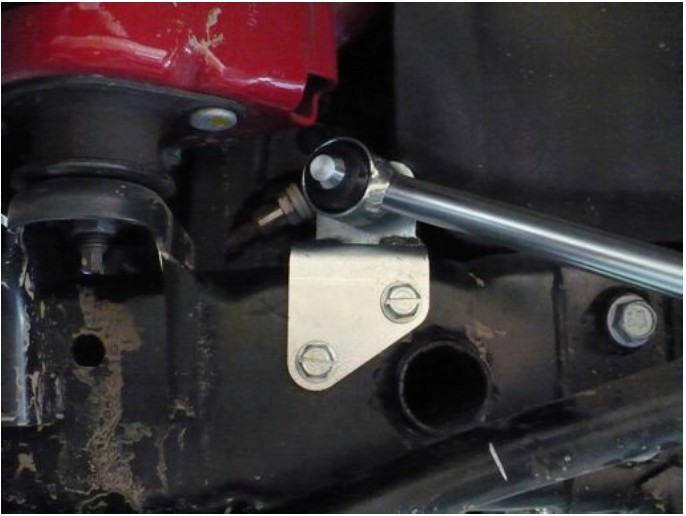
2. Install the sway bar disconnect pin in the top hole on the side of the trackbar relocation bracket as shown below.