 FREE 1 to 3-Day Delivery on Orders $149+ Details

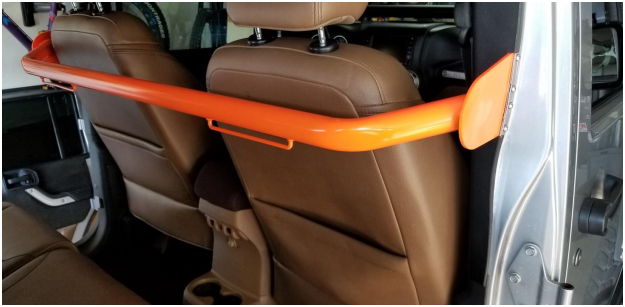
How to Install Steinjager Seat Harness Bar - Fluorescent Orange (07-18 Jeep Wrangler JK 4 Door) on your Jeep Wrangler
Installation Time
2 hours
Tools Required
- T50 Torx
- 1/4 or 3/8 Drive Ratchet (must match T50 Torx bit)
- Small Flathead Screwdriver
- Tape Measure or Ruler
- 2 Clamps with Rubber Covers
- Wet-Erase Marker or Pencil
- Center Punch
- Hammer
- Drill
- 1/8 Drill Bit
- 1/4 Drill Bit
- 5/32 Hex Key
- 7/16 Deep Socket
- 12” Combination Square
- Razor Knife
- Shop Vacuum

Shop Parts in this Guide
Pre-Install
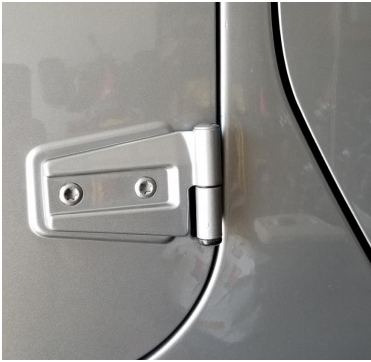
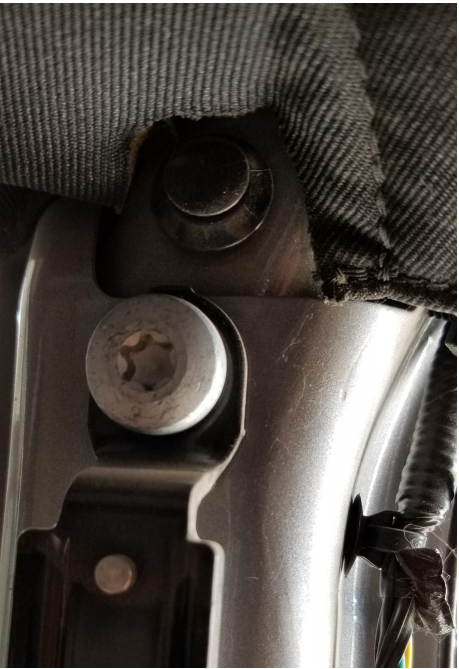
1. Using T50 Torx, remove hinge bolts from rear doors.
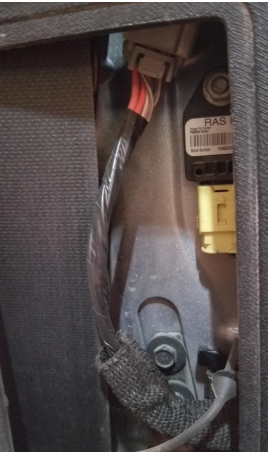
2. Remove rear door wiring harness and limiting straps and remove both rear doors.
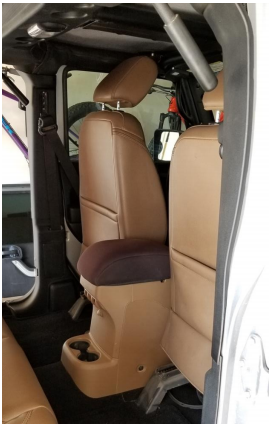
3. Move front seats to the forward most position and decline them fully up to allow better access to B-pillars.
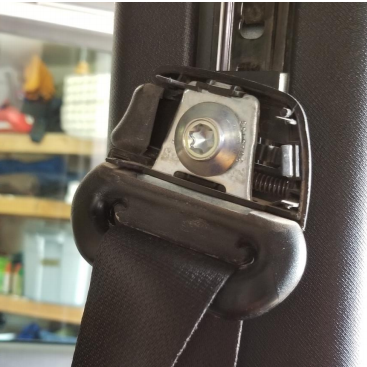
4. Using small flathead screwdriver, remove upper seat belt covers from driver and passenger sides.
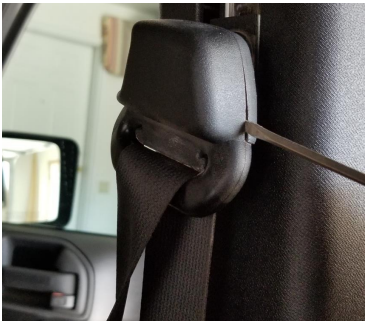
5. Using T50 Torx, Remove upper seat belt bolts from both front seat belts.
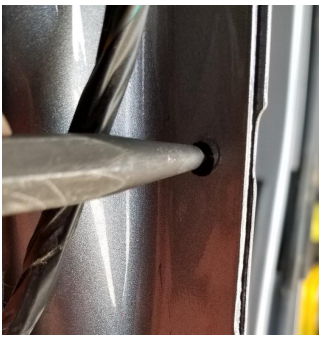
6. Remove B-pillar trim by pulling it towards the inside of the Jeep. If plastic clips remain in the B-pillar, remove them and re-install in the trim piece.
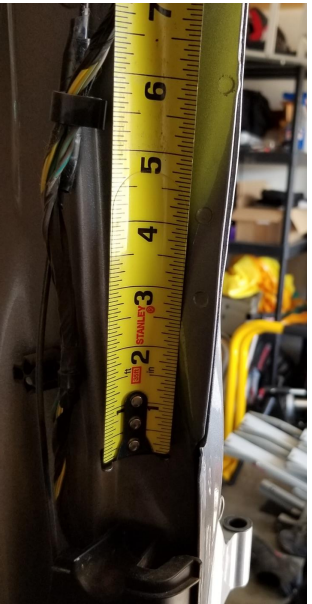
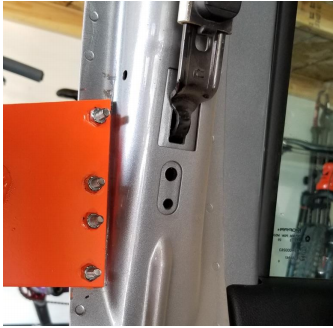
7. Using the lower trim piece mounting hole as a guide, measure up 5 inches and mark a line. Alternatively, measure 18 inches up from the lower door hinge and transfer mark from outside of door to inside.
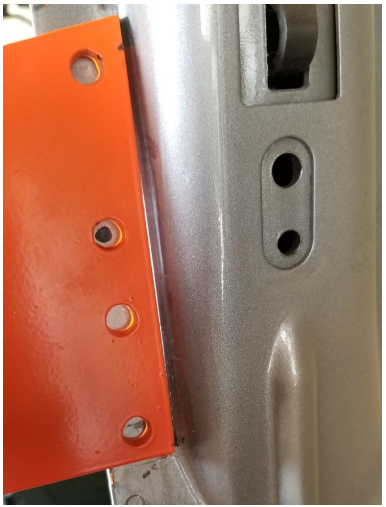
8. Test fit harness bar. Bottom of bar mounting plates should line up with the marks from step 7. If not, remove then raise or lower mounting position as required.
9. Once leveled, clamp or hold bar into position. Mark either of the top bolt holes.
10. Remove harness bar and center punch holes.
11. Drill using 1/8 inch bit first, then finish with 1/4 inch bit.
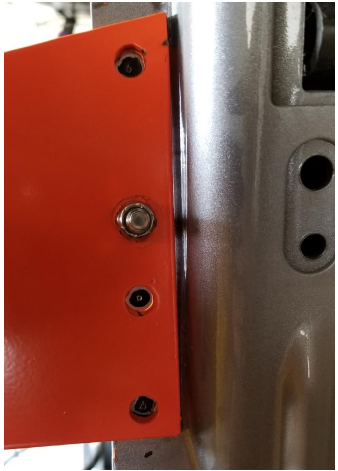
12. Re-install harness bar and secure with 2 of the included bolts and nuts. Snug them both with 1 5/32 hex key and 7/16 deep socket, they will get tightened fully later.
13. Mark remaining 3 holes on both sides and center punch.
14. Drill remaining holes using the same procedure from step 11.
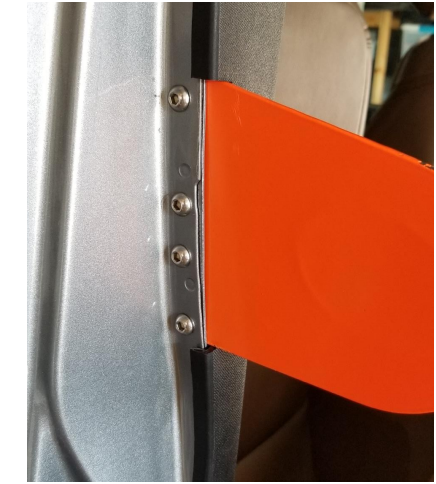
15. Install all hardware and tighten using 5/32 hex key and 7/16 deep socket.
16. Vacuum jeep tub and carpet to remove metal shavings.
17. Hold B-pillar trim piece against harness bar. Align trim piece lower mounting hole with the plastic pin, but DO NOT seat the pin. Mark upper and lower locations the harness bar touches the trim piece.

18. Remove trim piece and make the mark go around the radius of the panel and extend 1/2 inch.
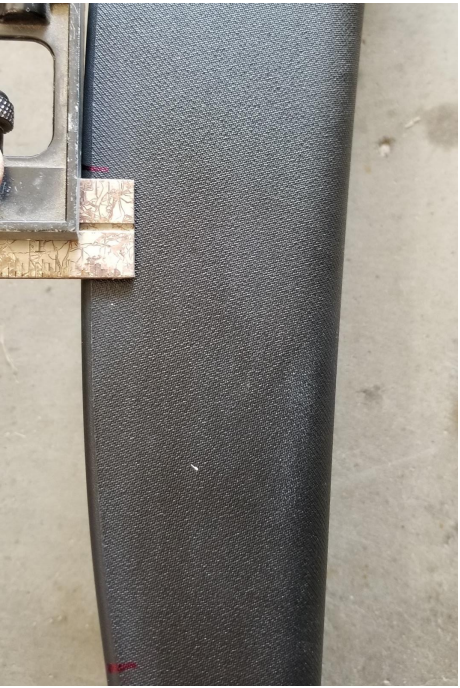
19. Using a combination square, draw a line 1/2 inch in from the top tine to the bottom line. Since the trim piece is curved, it’s hard to get a curved line without using this type of square. Put a marker at the end of the ruler, and move the ruler down the trim piece. It will create a near perfect curved line to cut on.
20. Cut alone lines with a SHARP razor knife. Multiple passes are the key to a smooth, straight cut. After 2 or 3 passes, apply slightly more pressure and it should cut through with ease.

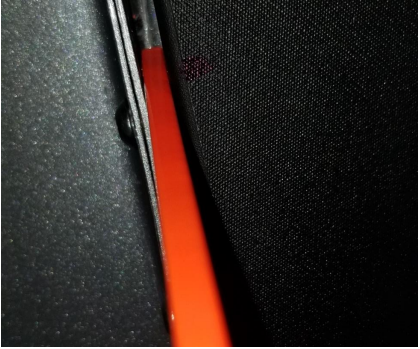
21. Test fit trim piece. It may take 2 or 3 times to get the cut perfect. Take your time! Once desired fitment is reached, final install trim piece.
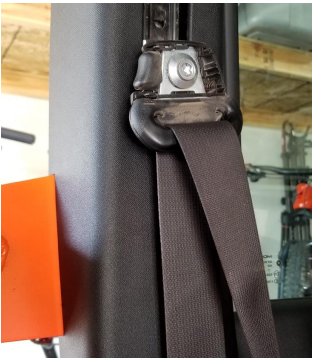
22. Reinstall seat belts, torque T50 Torx bolts to 29.5 ft lbs.
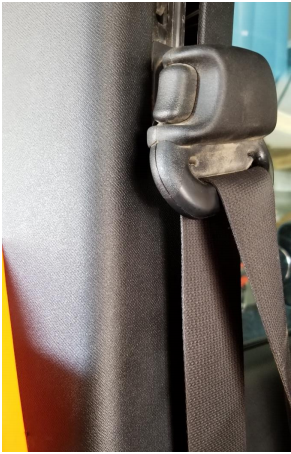
23. Reinstall upper seat belt covers.
24. Reinstall rear doors and move seats back to original position. (Doors removed in picture for better shot!)
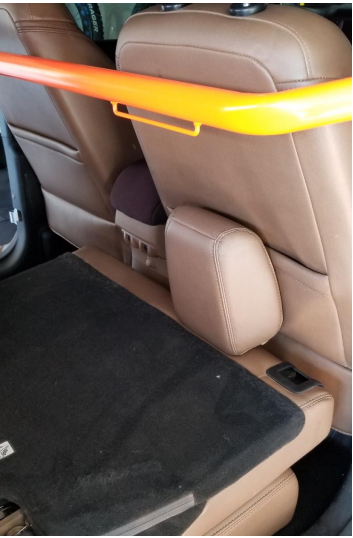
25. Folding seats still function.
Installation Instructions Written by ExtremeTerrain Customer Eric Buss 09/03/2018

