 FREE 1 to 3-Day Delivery on Orders $149+ Details

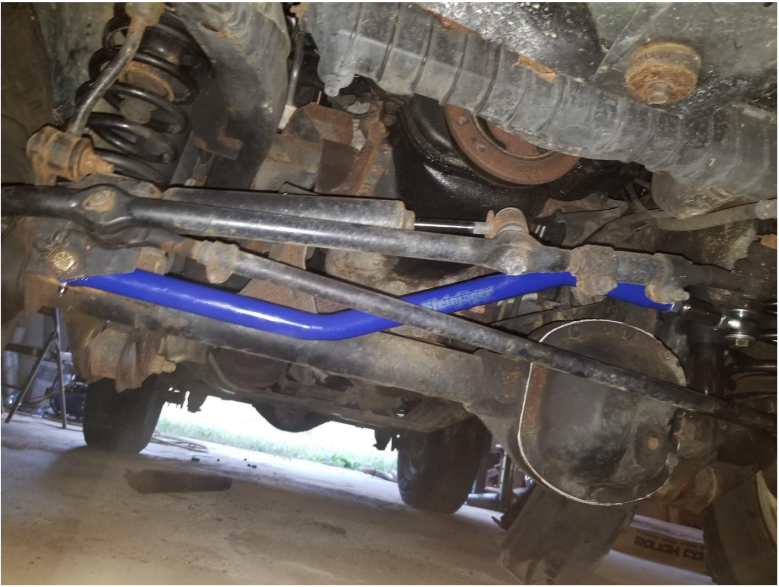
How to Install Steinjager Double Adjustable Track Bar for 3-6 in. Lift - Southwest Blue (97-06 Jeep Wrangler TJ) on your Jeep Wrangler
Installation Time
45 minutes
Tools Required
- 3⁄4 wrench
- 17mm wrench
- 15/16 wrench
- 15/16 socket
- 3⁄4 socket
- Ratchet
- Torque Wrench
- Pickle Fork
- Hammer
- Crescent Wrench
- Needle Nose Pliers
- 1⁄2 Metal Drill Bit
- 5/8 Metal Drill Bit
- Cutting Oil
- Drill

Shop Parts in this Guide
Installation Notes, Pre-Installation notes:
Wear safety glasses when drilling to keep metal shavings out of eyes. You will need to drill the mounting holes of the stock track bar out to bigger sizes. Cutting oil is used to make drilling a little easier and to keep drill bits sharp and extend the life of them. Ratchet wrenches work great but on the 3⁄4 wrench you will need a regular boxed end wrench when installing the new track bar. PB blaster is handy to spray bolts before starting. Grease all fitting and check suspension for wear and tear during install. All torque specs listed came from the ‘’Haynes Repair Manual for Wrangler 87’-08.’’
Installation Instructions:
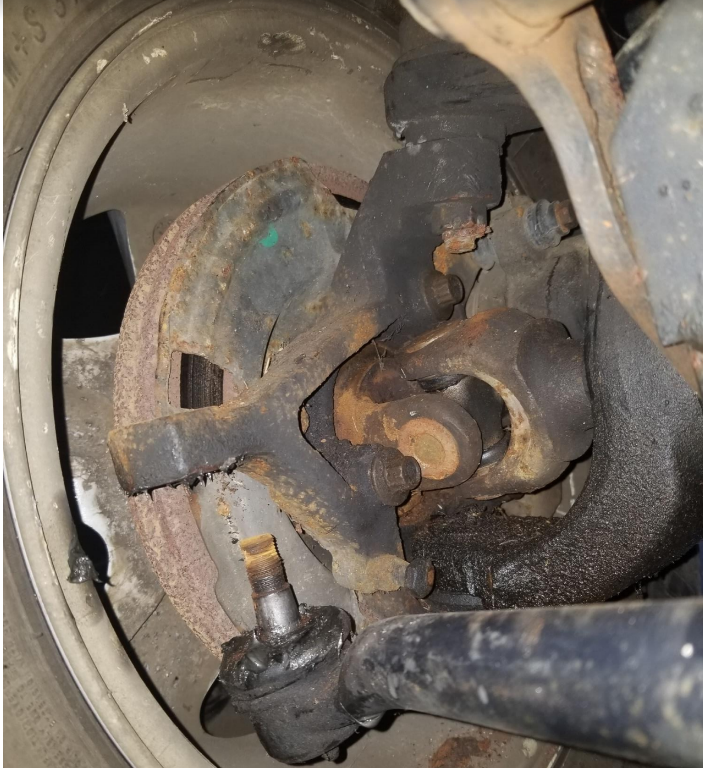
1. Starting frame side there is a cotter pin in the castle nut remove it using needle nose pliers.
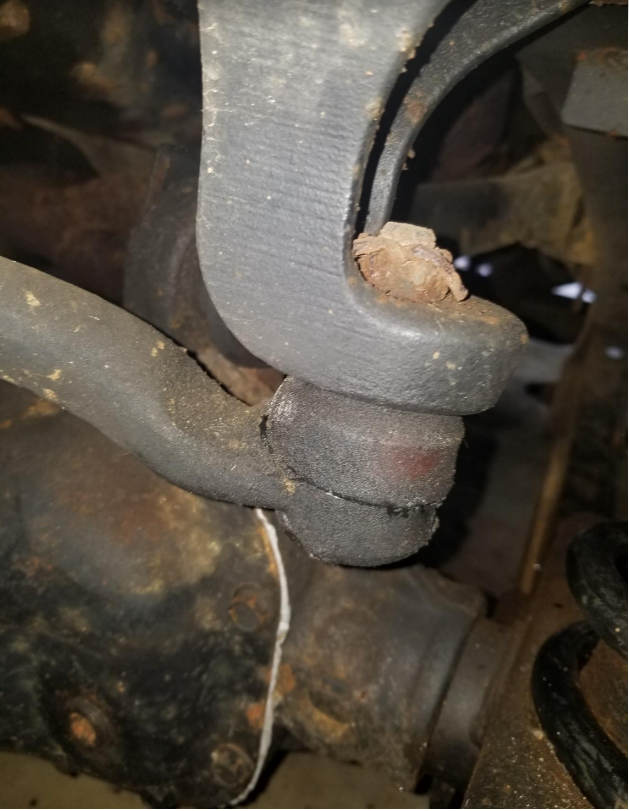
2. Loosen the castle nut using the 3⁄4 wrench.
3. Using the pickle fork, place it in between the bracket and track bar while using the hammer to drive it out.
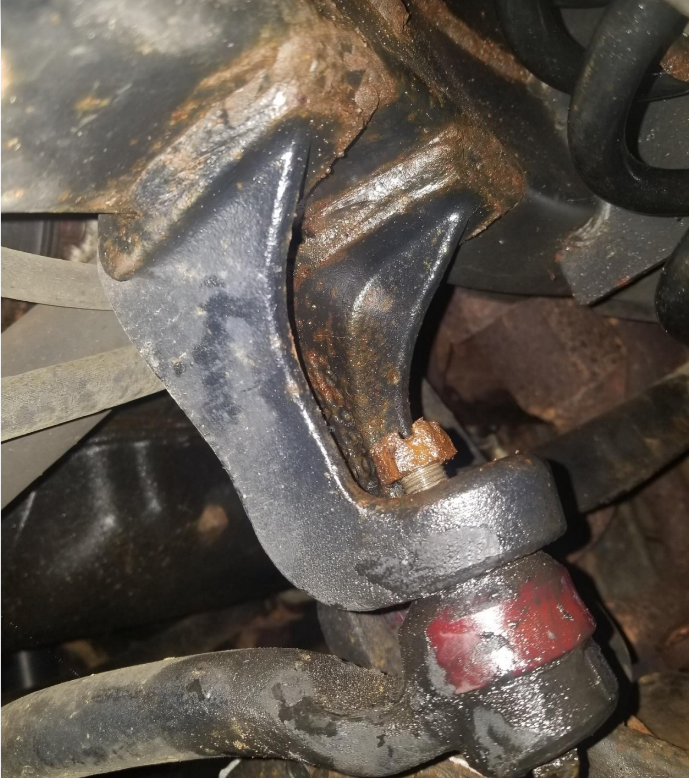
4. Using the 17mm loosen the axle side track bar bolt; there should be a tab nut on the back.
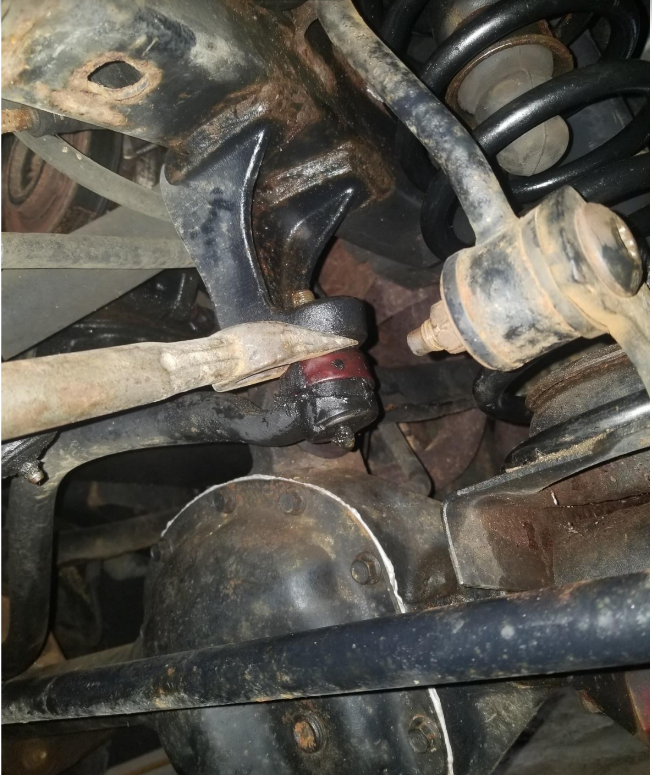
5. Using the needle nose pliers remove the cotter pin from the castle nut on the tie rod end on the passenger side; use the 3⁄4 wrench to remove the nut use the pickle fork like before.
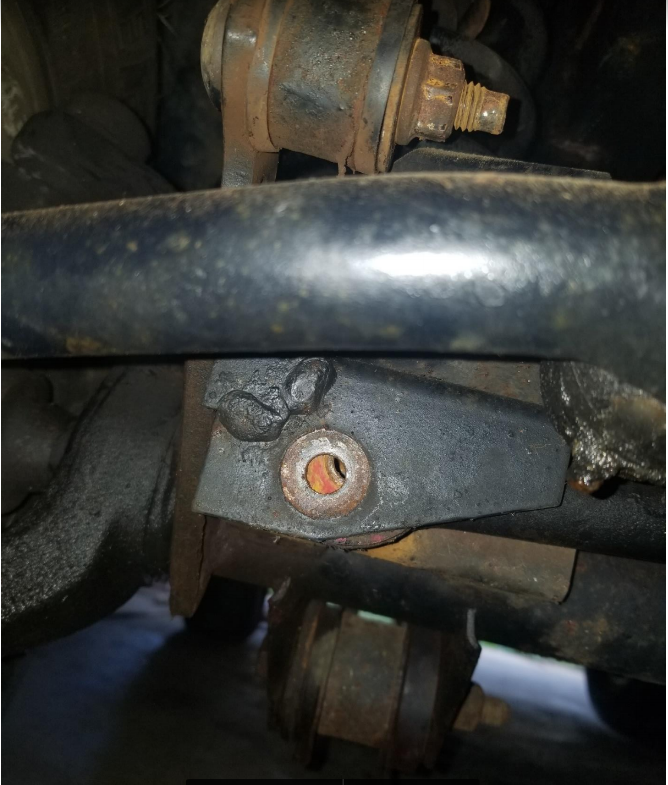
6. Using the 1⁄2 inch bit and drill; Apply cutting oil to bit and drill out axle side mounting bracket (Tie rod removal was to gain access to the hole to drill it out).
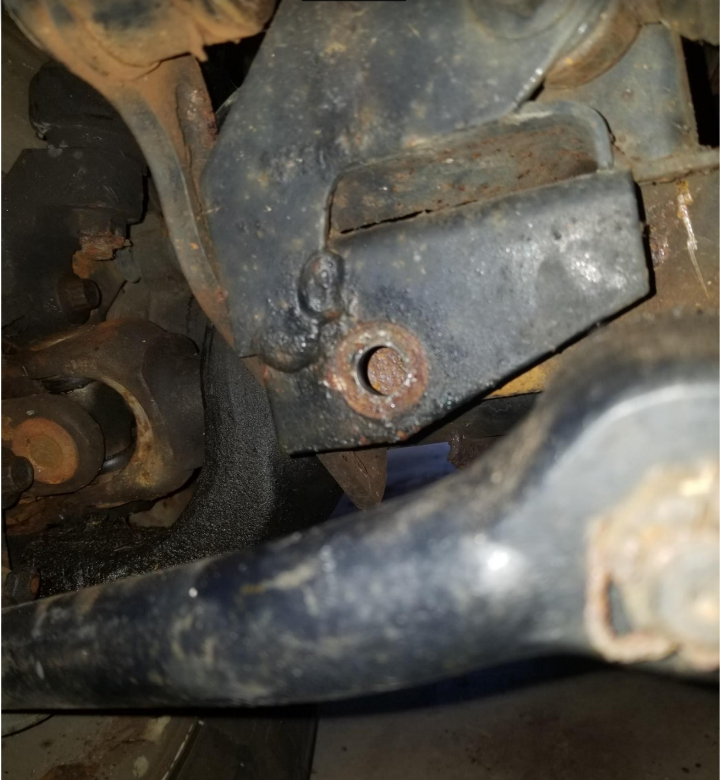
7. Using the 5/8 bit and drill; apply cutting oil and drill out the frame side mounting bracket take it slow keep applying cutting oil this hole is tapered it gets smaller at the top.
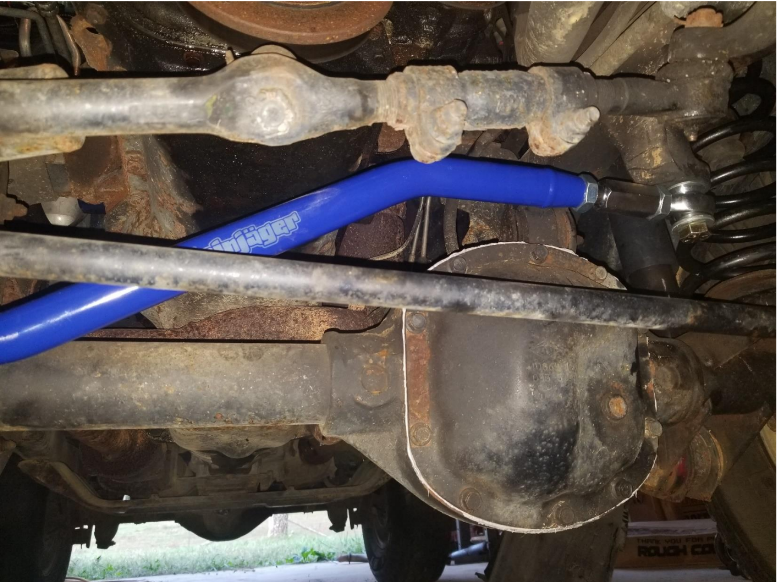
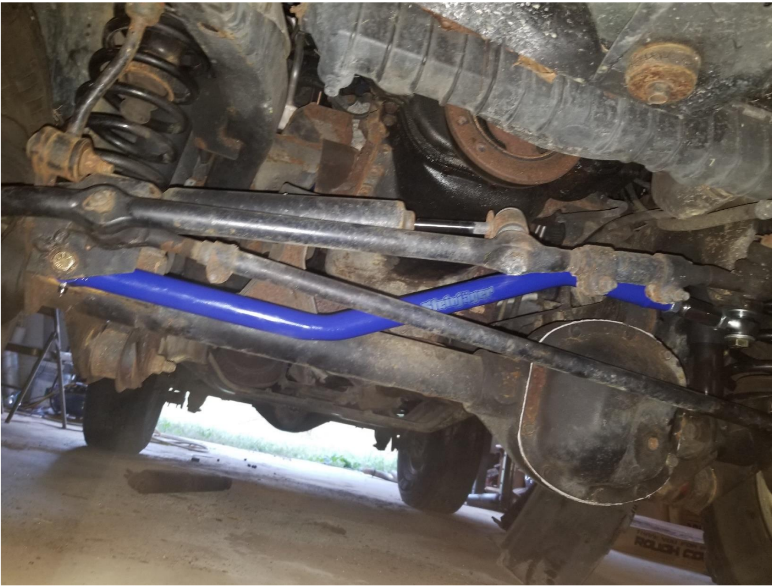
8. Install the end with the poly bushing into the axle side bracket with grease fitting down and company logo facing the front of jeep (this is where the 3⁄4 regular box end wrench comes into play; there is enough room to get it I the back side to hold the new nut) using the 3⁄4 socket tighten the bolt then torque it to 97’-02’ 55 ft-lbs. 03’-06’
40 ft-lbs.
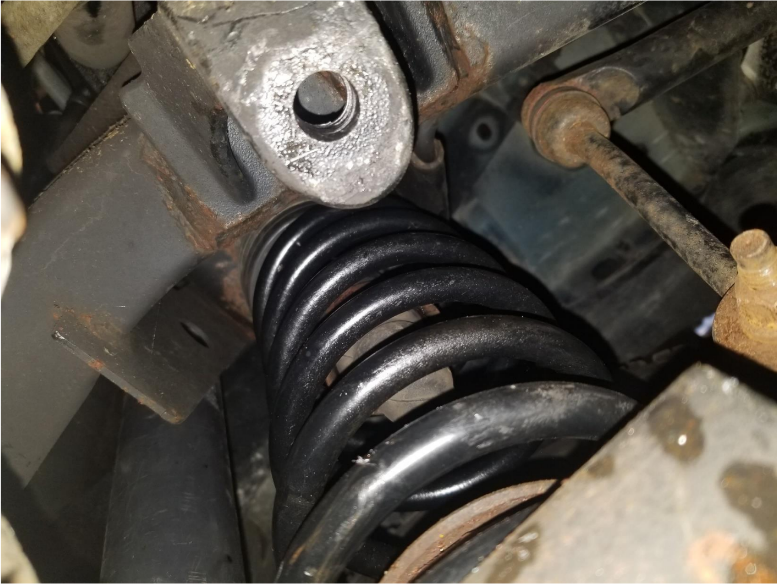
9. On the end going into the frame side bracket, the bolt should be on the bottom; remove the nut and insert into place, the way it comes from box, then screw the nut on. Using the 15/16 wrench on the nut (not enough clearance for a socket and ratchet) and the 15/16 socket and ratchet on the bolt tighten down then torque to 65ft-lbs. all year models.
10. Reinstall the tie rod end and tighten with the 3⁄4 wrench. Then, torque to 35ft-lbs. all year models and reinstall cotter pin. Using the crescent wrench, you can adjust the trackbar to center the axle to where you want it and tighten up the lock nuts, so it will not loosen. Check all suspension and grease all fittings including the track bar.
Installation Instructions Written by ExtremeTerrain Customer Logan Wilson 10/21/2018

