 FREE 1 to 3-Day Delivery on Orders $149+ Details

How to Install Snyper Front Tubular Fender Flares - Textured Black (07-17 Wrangler JK) on your Jeep Wrangler
Installation Time
2 hours
Tools Required
- Panel Removal Tool
- Flat Screwdriver
- Pliers
- X-Acto Knife
- 10mm Open End Wrench
- Soldering Iron and Solder
- Wire Cutters
- Scissors
- 10mm socket
- 13mm socket
- Ratchet
- Ratchet extension

Shop Parts in this Guide
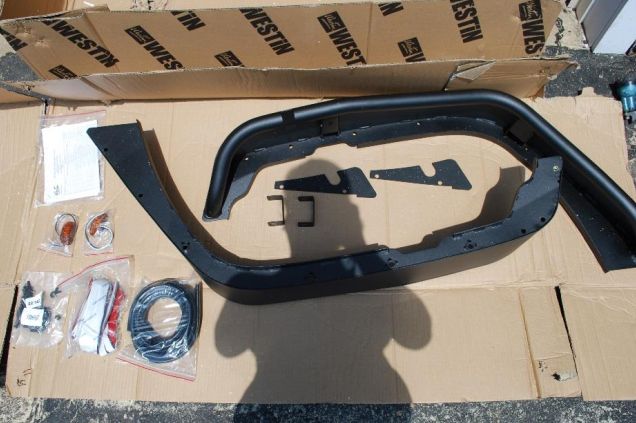
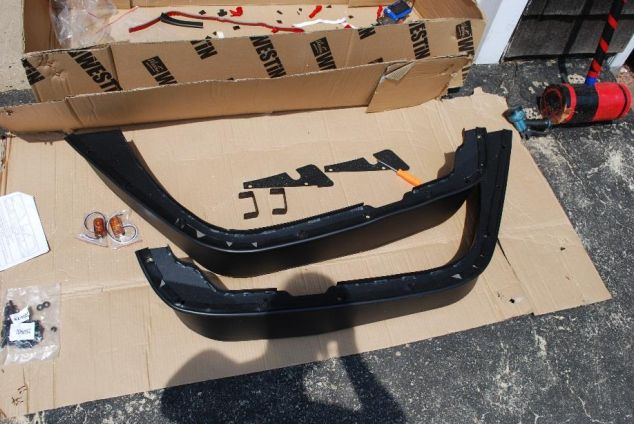
This guide is for installing the Snyper Front Tubular Fender Flares (J107233) on a 2DR 2007-2017 Jeep Wrangler. Read all instructions carefully before starting.
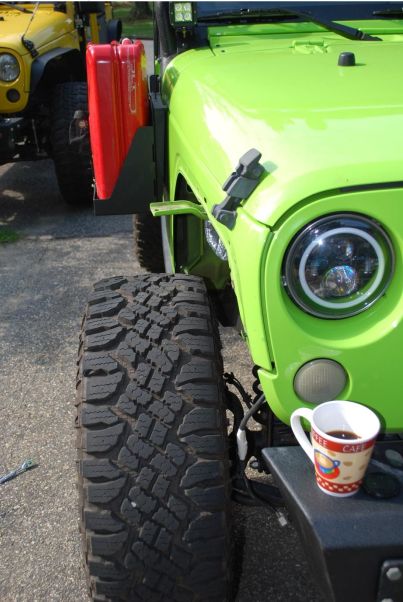
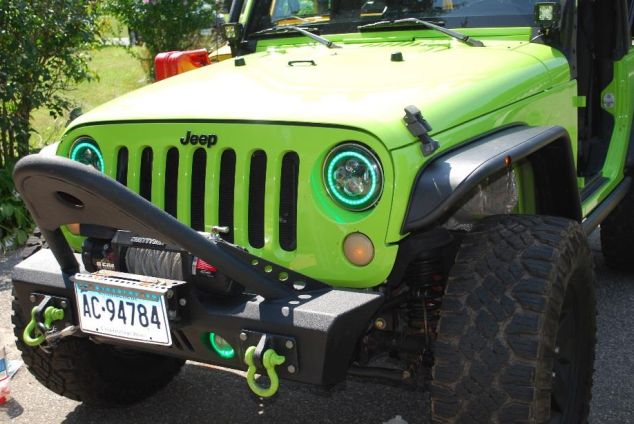
Before

After

Installation Instructions:
1. Park the vehicle on level ground and apply the parking brake.
2. Open the package and inspect the parts received. Make sure all of the hardware indicated in the parts list is included.
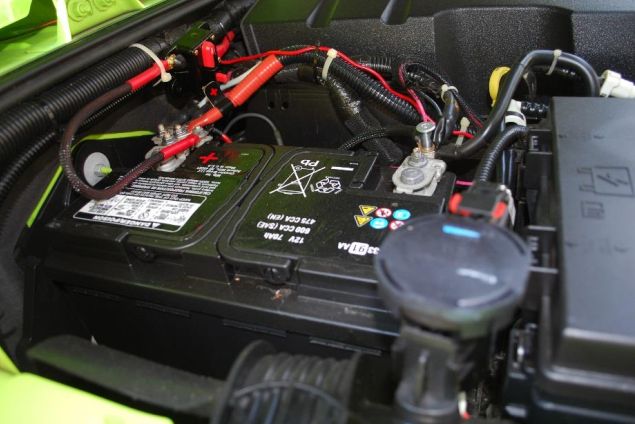
3. Open the hood and disconnect the negative battery terminal with a 10mm open end wrench.
4. Apply the included double-sided tape to each fender along the top edge where the fender will meet the vehicle. Carefully cut the tape and secure it between the bolt holes.

5. Starting at one end of the fender, attach the welting using the double-sided tape. When you reach a bend in the fender, cut small triangles using scissors to allow the welting to bend around the corner and still sit flat on the fender.
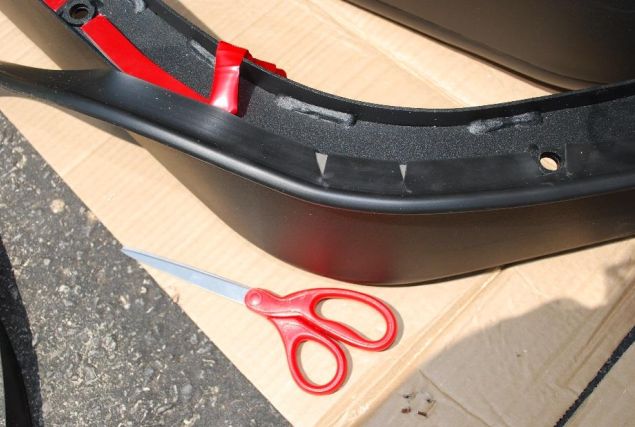
6. Using the X-Acto knife, carefully cut the welting around each bolt hole so the bolts will easily pass through.
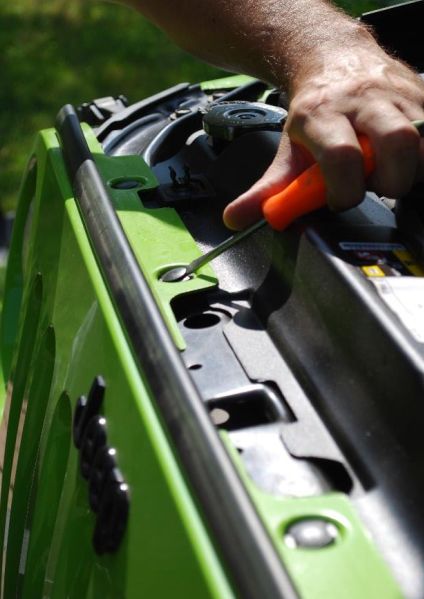
7. Remove the 7 bolts on the bottom side of the inner fender and remove them using a 10mm socket, wrench, and extension. Note that one of the bolts is hidden (see picture below). Retain these bolts if you intend to re-use them for replacement inner fenders.
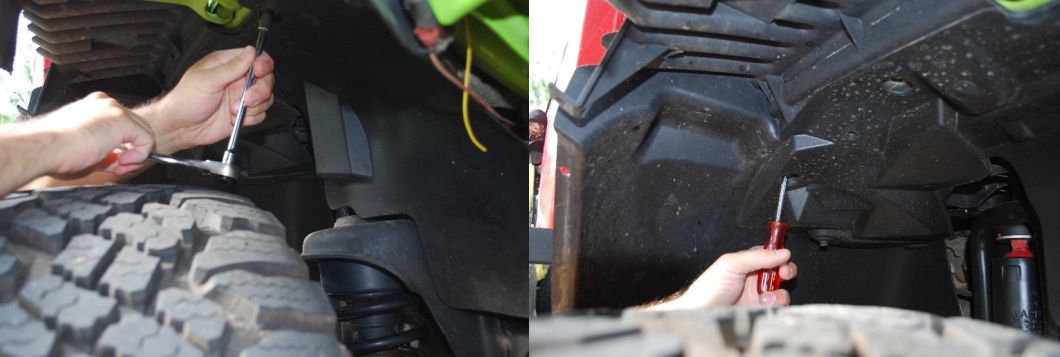
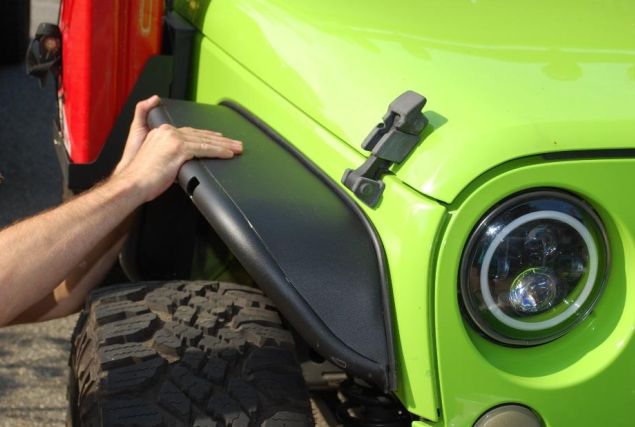
8. Starting at the back of the fender, carefully pull it away from the body of the vehicle. You will hear popping noises as the plastic clips release. The plastic clips often break during removal, but they are not reused with the new fenders. Note that in the picture, the outer fender cover was previously removed, this is not a necessary step.
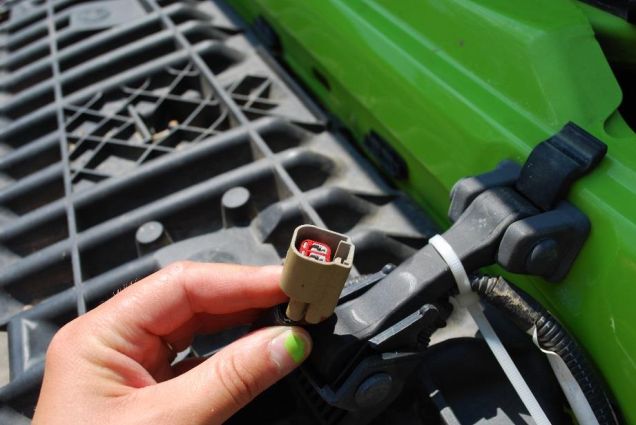
9. Disconnect the electrical connector for the running light.
10. Lift the inner and outer fender over the tire and set aside. Using a plastic panel removal tool or flat screwdriver, remove any remaining plastic clips.
11. Set the new fender on the fender brace and install the included M8 Hex Head cap screw through the fender and brace and attach the included M8 nut. Only tighten it with your fingers at this time.
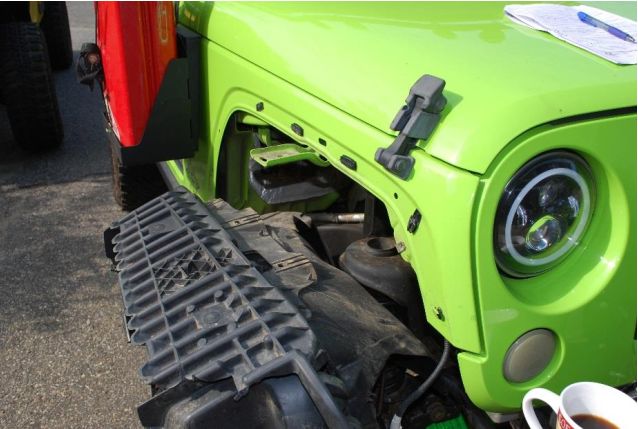
12. It is not strictly necessary to remove the grille to install the fenders, but it is highly recommended to make it easier to get to the bolts at the front. The next step is for removal of the grille.
13. Open the hood and using a flat head screw driver, remove the plastic rivets holding the grill along the top edge. Retain these clips as they will be used for reinstallation. Pull the bottom of the grill away – it is held in with clips that may make a popping noise as they disengage. Unclip the electrical plugs from the turn signals and remove the grille. Set it aside carefully, it will be reinstalled.
14. Place the fender support behind the body at the rear of the fender and align the bolt holes.
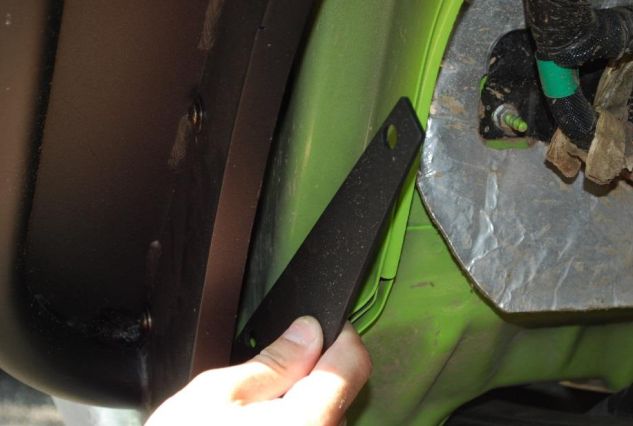
15. Align the front fender and install the 7 6MM hex head cap screws with washers and nuts to attach the fender to the body. At the front of the fender, a 6MM hex head bolt will fasten to the nut in the fender (see photo). Tighten all bolts with the included hex key and the 10MM open end wrench to 10 ft-lbs. Tighten the M8 bolt through the fender support with the 13MM socket to 17 ft-lbs.
16. Reinstall the grille reversing the procedure in step 13.
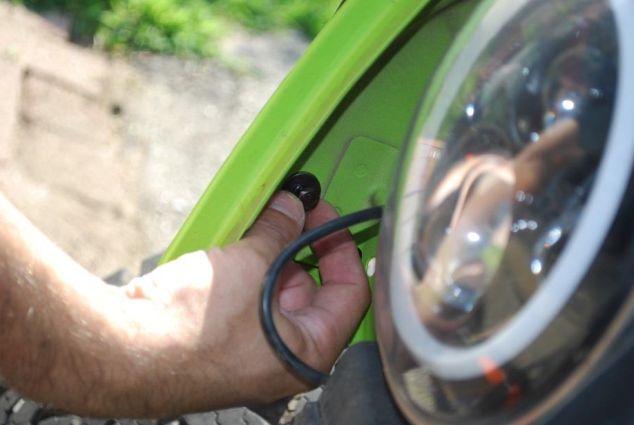
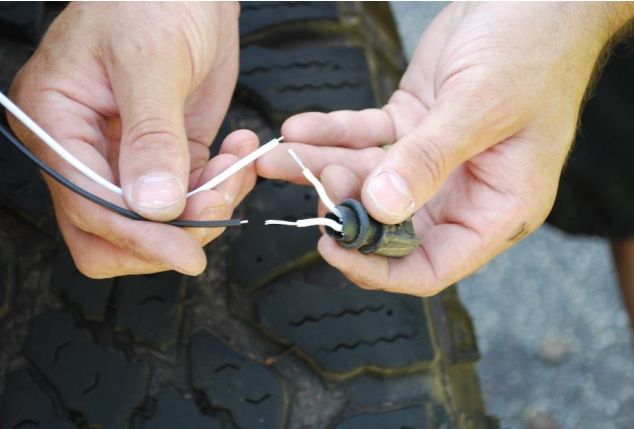
17. Using wire cutters, cut the plug from the factory turn signals. Leave as much wire on the plug as you have available. We will be attaching these to the new turn signal pigtail.
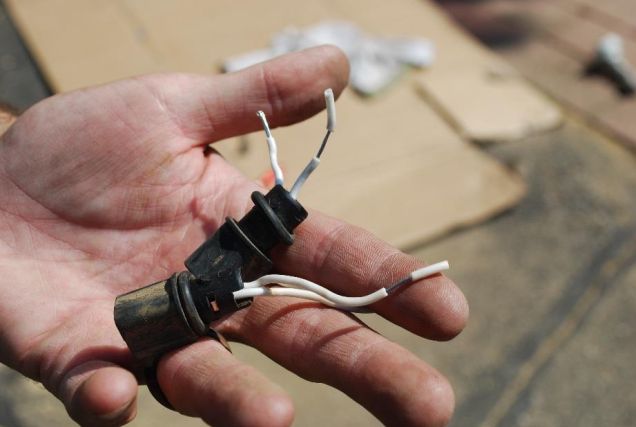
18. Strip ½ inch of the wire casing from the plugs at attach them to the pigtails for the new turn signals using the soldering iron and solder.
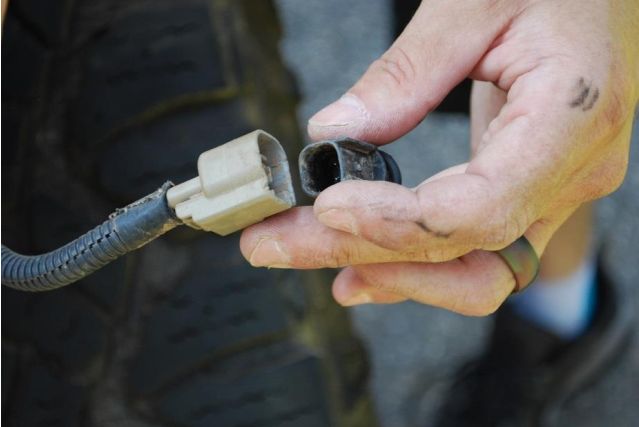
19. Plug the attached pigtail into the factory light harness.
20. Install the turn signals in the fenders using the provided 6MM hex head bolts, nuts and washers. Tighten to 10 ft-lbs using the 10mm open end wrench and socket.
21. Repeat steps 7 through 20 on the other side of the vehicle.
22. Reconnect the negative battery cable using the 10mm open end wrench. Your installation is complete.
Installation Instructions Written by ExtremeTerrain Customer Michael E. 7/26/2017

