 FREE 1 to 3-Day Delivery on Orders $149+ Details

How to Install Snyper Gas Tank Skid Plate (07-18 Wrangler JK 2 Door) on your Jeep Wrangler
Installation Time
1 hours
Tools Required
- Box Cutter/Knife
- 13mm Socket
- 18mm Socket
- Socket Wrench
- Torque Wrench

Shop Parts in this Guide
1. Carefully open the package using a box cutter or knife (Figure A) and ensure the hardware is included and undamaged.

Figure A
2. Remove the two bolts holding the stock gas tank skid plate to the cross member using an 18mm socket wrench (Figure B). Note: Do not remove the stock gas tank skid plate.
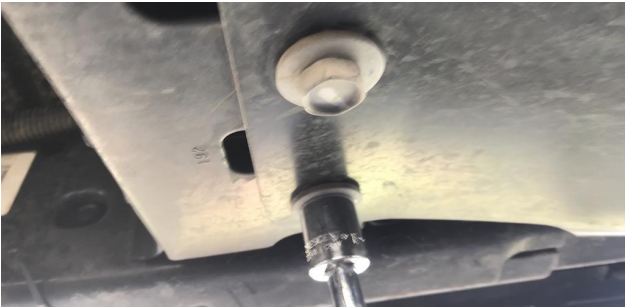
Figure B
3. Position the Snyper skid plate and reinstall the two bolts removed in Step 2 loosely (Figure C).

Figure C
4. Install the first bracket of the Snyper skid plate as shown below, using the supplied carriage bolts and a 13mm socket (Figure D). Note: When installing all carriage bolts, ensure the head is facing the gas tank so that, in case of sudden impact, the bolt will not penetrate the gas tank.
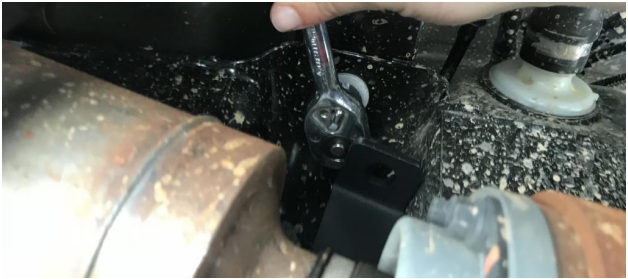
Figure D
5. Install the second bracket of the Snyper skid plate as shown below, using the supplied carriage bolts and a 13mm socket (Figure E).
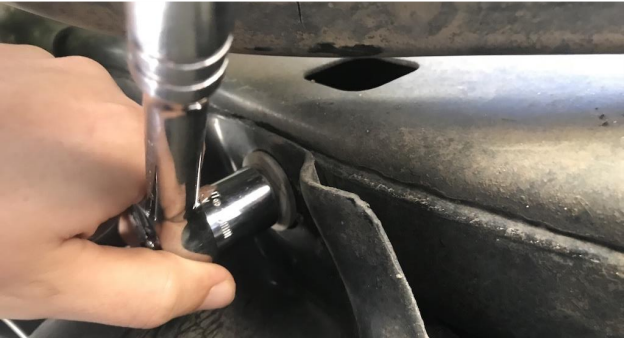
Figure E
6. Install the third brackets of the Snyper skid plate as shown below, using the supplied carriage bolts and a 13mm socket (Figure F).
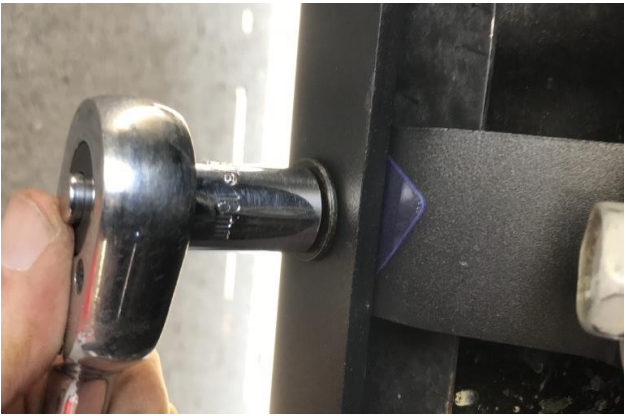
Figure F
7. Install the fourth bracket of the Snyper skid plate as shown below, using the supplied carriage bolts and a 13mm socket (Figure G).
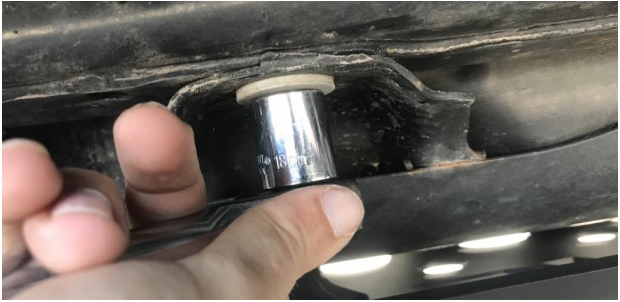
Figure G
8. Torque all M8 (13mm) bolts to 15-17 ft/lbs and torque all M12 (stock 18mm) bolts to 50-55 ft/lbs (Figure H).
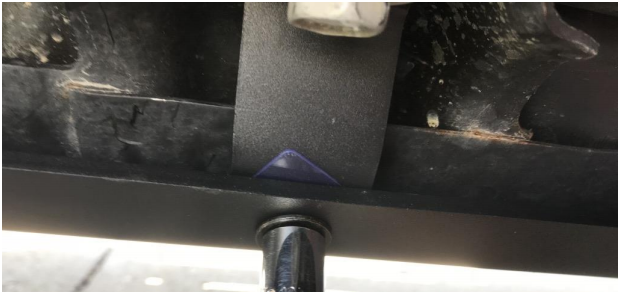
Figure H
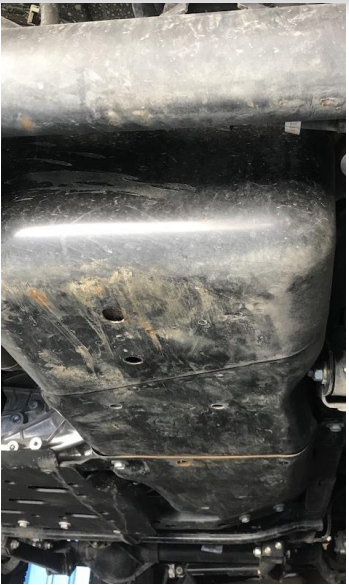
Before
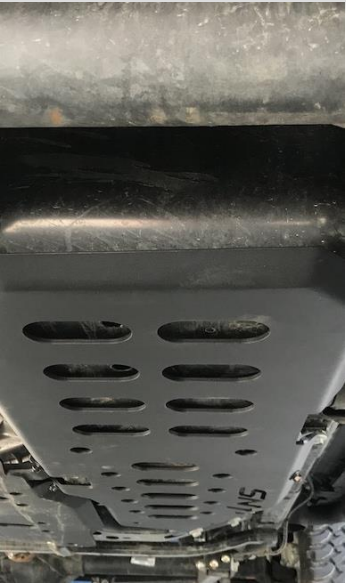
After
Installation Instructions Written by ExtremeTerrain Customer J. Sandlin 04/11/2018


