 FREE 1 to 3-Day Delivery on Orders $149+ Details

How to Install a Smittybilt Black Denim Standard Top on your 97-06 Wrangler TJ
Note: Please read instructions entirely first before installing this product. Installation requires a windshield header. (Smittybilt part # 90104) For best results install when temperature is above 70 degrees.
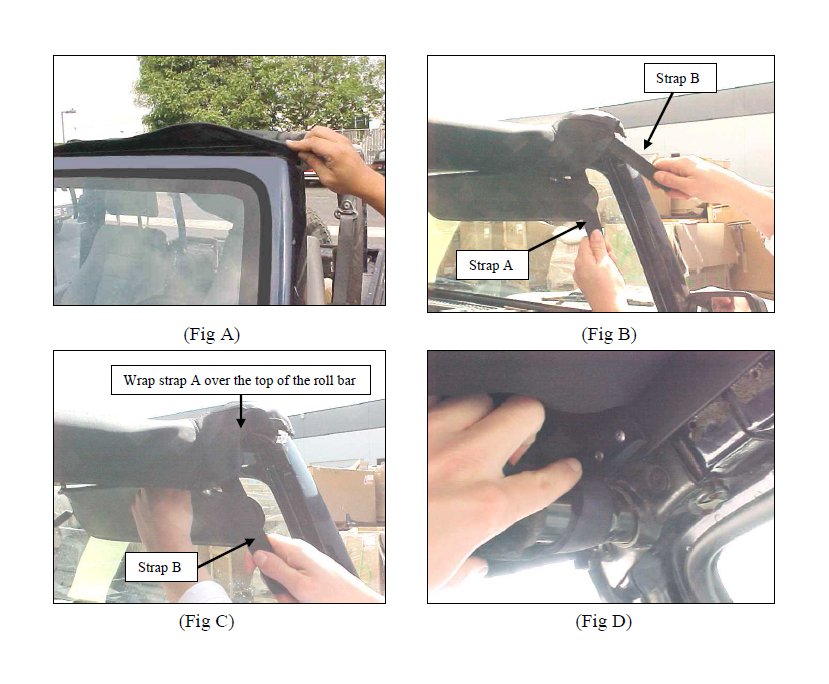
Step 1: Place brief on top of vehicle. Insert front plastic channel on brief into your windshield header. (Fig A)
Step 2: Locate the two Velcro straps on the front of each corner and attach. This is designed to help water run off the side of the brief. (Fig B)
· Pull strap A over the top of the crossbar towards the inside of the vehicle.(Fig C) the Velcro of strap A should be facing outward from the roll bar.
· Strap B wraps around the outside of the roll bar.
· Attach strap B to strap A on the underside of the roll bar. (Fig D)
Step 3: The sides of the brief can be attached two different ways. If your vehicle is equipped with the factory door surrounds the slide the plastic channel on the side of the brief into the channel on top of the door surround.
If your vehicle does not have the door surrounds wrap the flap on the side of the brief around the crossbar and attach to Velcro on side of brief.
Step 4: Locate the rear corner straps and warp them around the roll bar and fasten into buckle. (Fig E, F) If your vehicle is equipped with sound pods/bar it may be necessary to loosen them in order to slide straps through.
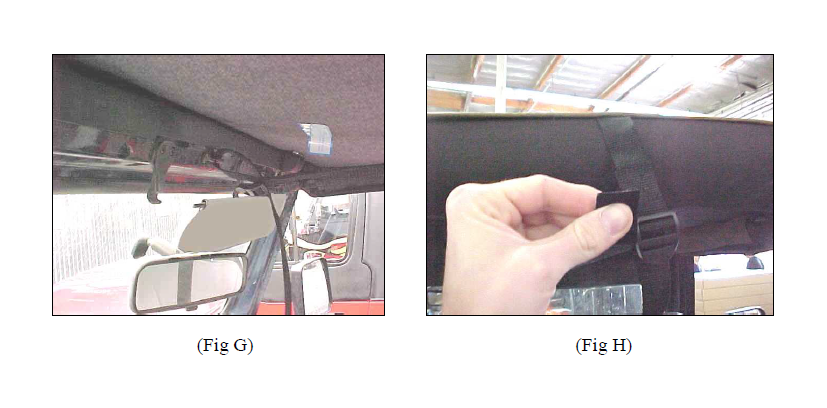
Step 5: Locate the long center strap. Run the strap back around the center roll bar and back forward toward the windshield frame. Put strap through footman loop on windshield frame and secure to buckle. (Fig G)

Step 6: Locate the two smaller center straps and wrap them around the center roll bar. (If vehicle is equipped with sound-pods/bar you may need to loosen them in order to slide straps through. (Fig H)
Step 7: Installation is now complete. Make sure all straps are secured tightly.
