 FREE 1 to 3-Day Delivery on Orders $149+ Details

How to Install a Smittybilt M1 Wire Mesh Grille, Black on your 2007-2015 Jeep Wrangler JK
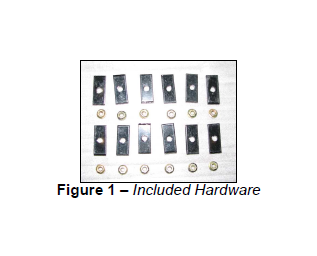
INCLUDED COMPONENTS
1 – Grille (1 piece)
12 – Metal Brackets
12 – M4 Flange Nuts
INSTALLATION INSTRUCTIONS
1. Inspect product and check components with items listed above.
2. Pop Hood, remove plastic shroud at the top and set fasteners aside.
3. Optional: Using factory instructions, remove the entire front grille shell (as pictured in all Figures).
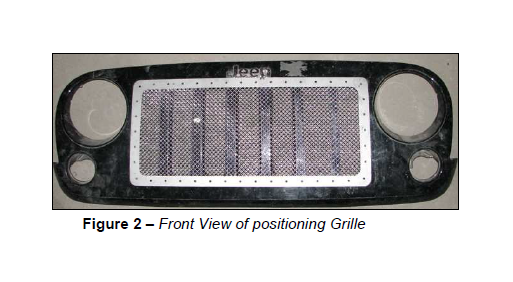
4. Position the Grille onto grille shell cavity (Figure 2).
5. Mark locations for drilling on the shell under the screws. Then drill holes on those locations.
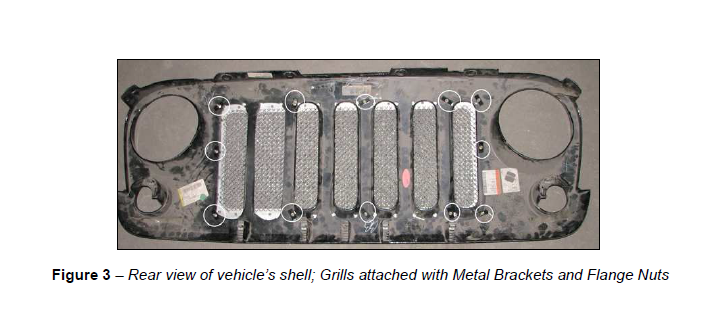
6. Attach the Grille to the shell by inserting the screws through the shell; secure them with Metal Brackets and Flange Nuts provided (Figure 3).
7. Reinstall the plastic shroud with the fasteners removed in Step 2.
You will need to cut out portions of your OEM grille in order to install this part.
> Make sure shell is placed on a clean surface
> Use the M1 grille to determine the appropriate parts of the OEM grille shell that will need to be cut out
> Most applications require a lip to be left on the grille shell in order to attach the included brackets
> Tape off all areas that will be cut to protect the finish of the grille shell
> Use extreme caution when cutting or drilling
> Its recommended to cut a little large and then trim access where needed
> Clean all cuts with a file
> Once cut, check fitment of grille and brackets to determine if more of the shell needs to be cut out
CARE AND MAINTANCE INFORMATION
We recommend normal cleaning by using mild soap and water also applying a non-abrasive aluminum polish on a regular schedule. (Taking into consideration your climate and driving time and conditions.)

