FREE 1 to 3-Day Delivery on Orders $149+ Details

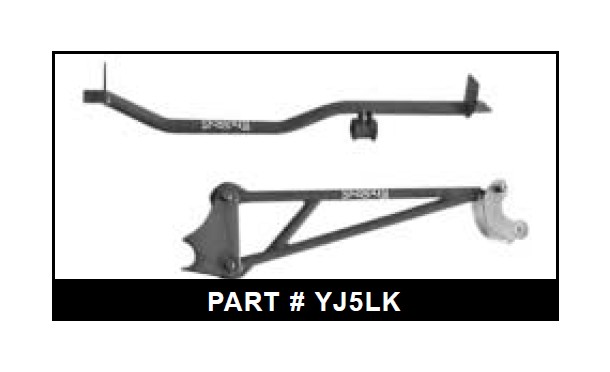
How to Install SkyJacker Heavy Duty 5th Link Traction Bar for 6 in. Lift (87-95 Wrangler YJ) on your Jeep Wrangler

Shop Parts in this Guide
Before beginning the installation, read these instructions and the enclosed driver’s “WARNING NOTICE” thoroughly and completely. Also affix the “WARNING” decal in passenger compartment in clear view of all occupants. If any of these items are missing from this instruction packet, do not proceed with installation, but call SKYJACKER® to obtain needed items. If you have any questions or reservations about installing this lift kit, call SKYJACKER® at 318-388- 0816 for Technical Assistance or Customer Service departments.
PRE-INSTALLATION NOTES:
• A professional mechanic is recommended to perform the installation.
• Read the instructions carefully and study the photo illustrations before attempting the installation.
• Secure and properly block the vehicle on a level concrete or asphalt surface.
• Always wear safety glasses.
Installation:
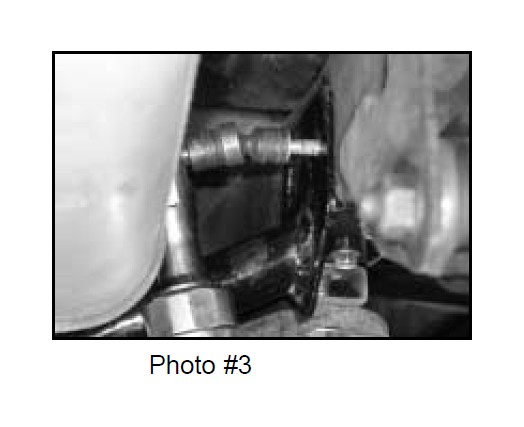
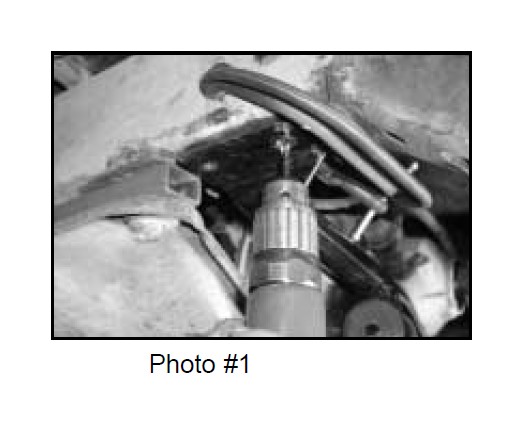
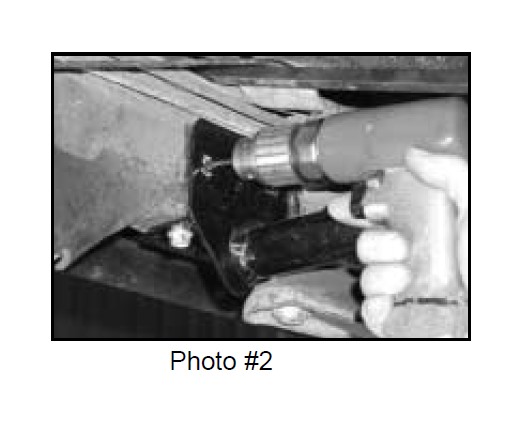
1. Locate transfer case skid plate. The new cross member will mount behind the rear of the skid plate. Cross member will install with link assembly mount closer to driver side. Measure 2.5" from the center of the rear bolt on the skid plate. The forward hole on the cross member will mount at this location. Mark and drill the two forward holes using a 19/64" drill bit. Install cross member using two self-taping 5/16" bolts. Tighten these two bolts and mark the six other holes that need to be drilled. Remove cross member and drill the remaining holes. (See Photos 1, 2 and 3).
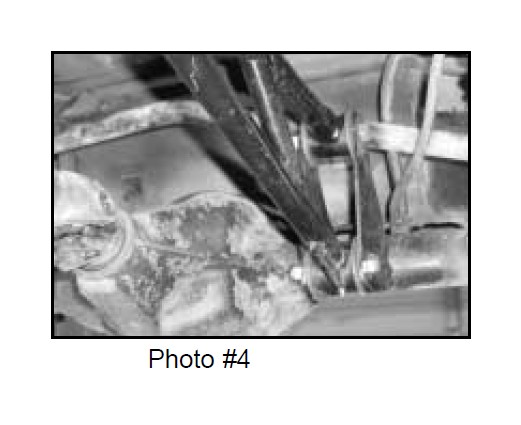
2. Before reinstalling the cross member, install the drive in zirc fittings in cross member mount and link assembly. Also install poly bushings, part number 2618. Be sure to slightly grease them prior to installation. Insert the steel sleeve inside bushings. Part number LS20DU. Install cross member at this time. (See Photo #4)
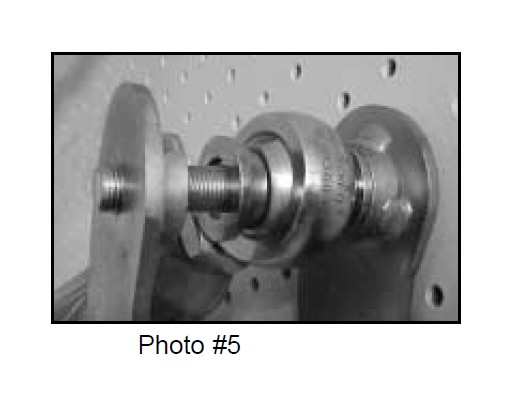
3. Install the two 1/2" I.D. step down spacers into heim joint. Attach link assembly to boomerang brackets using 1/2" x 3 1/2" fine thread bolt, washer and lock nut. Then attach brackets to cross member using 9/16" x 3 1/2" fine thread bolt, washer, and lock nut. (See Photo 5).
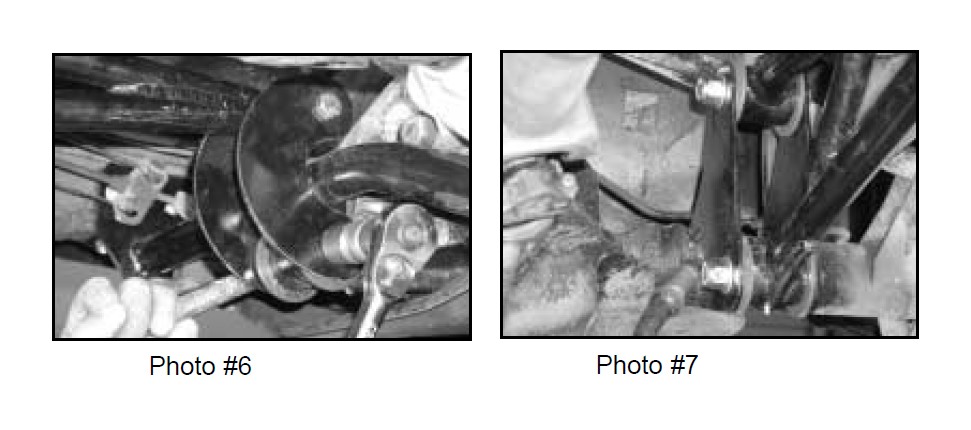
4. To install rear axle assembly, place vehicle on the ground with all weight on the springs. Same as before, install zirc fittings, poly bushings, and steel sleeves. Attach the two rear brackets to link assembly using 9/16" x 3 1/2" bolt, washer, and nut. A certified welder should weld brackets to axle tube. Before bracket is welded in place, the boomerang bracket should sit so that the upper and lower bolts are straight up and down. (See Photos 6 and 7).