FREE 1 to 3-Day Delivery on Orders $149+ Details

How to Install Putco Luminix License Plate Frame w/ 10 in. Light Bar on your 87-18 Jeep Wrangler YJ, TJ, JK & JL

Shop Parts in this Guide
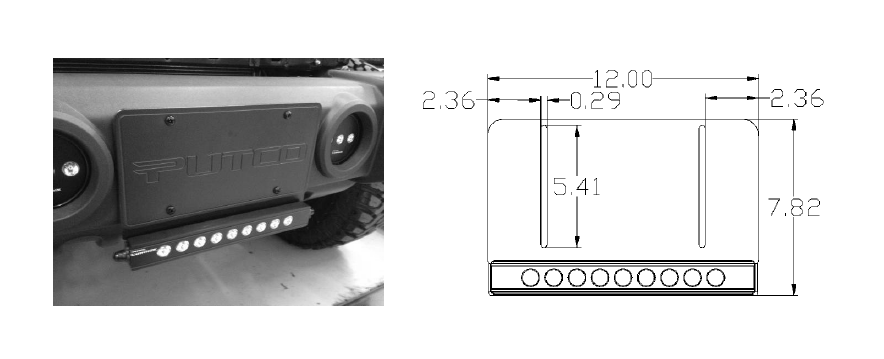
Light License Plate Bracket Installation
Verify that Lighted License Plate Bracket will fit on your vehicle before installation.
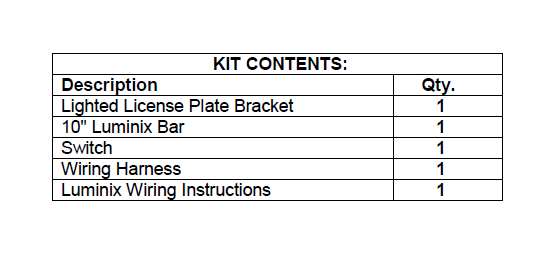
1. Remove lighted license plate bracket from packaging. Check to see if all parts from above table are included.
2. Remove license plate from vehicle using a screwdriver. Keep factory hardware, this will be used to reinstall license plate and bracket.
3. Place license plate on top of bracket with the light at the bottom of the license plate. Insert factory hardware through holes in license plate and lighted bracket. Mount back in factory hole on vehicle.
Refer to Wiring Installation on Light Bar Installation Instructions for wiring installation.