FREE 1 to 3-Day Delivery on Orders $149+ Details

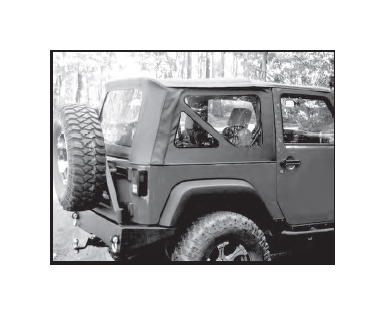
How to Install Rugged Ridge XHD Fabric Replacement Top Diamond Khaki on your 2007-2013 Wrangler
Kit Contents:
1. Soft top fabric skin
2. Rear quarter windows (2)
3. Rear window
PLEASE READ AND UNDERSTAND ALL INSTRUCTIONS BEFORE YOU BEGIN.
Note: For ease of installation temperature must be above 72 deg Fahrenheit. Safety goggles should be worn when handling old deteriorated fabric.
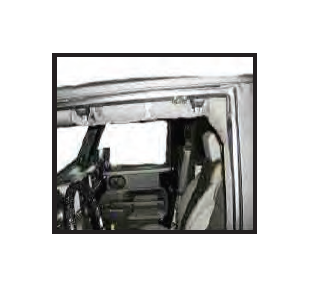
Step 1. Remove the quarter windows and rear window. Remove the tailgate bar from the rear window. The tailgate bar will be reused with the new top. Release the plastic window strips that retain the top above the front doors. Release the windshield latches on the front header. Do not fold the top back at this time.
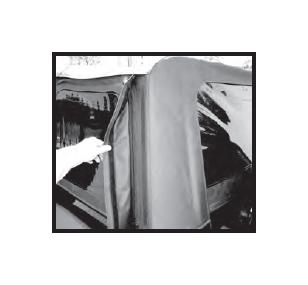
Step 2. Release the rear corners of the top. Pull down and out on the rear corners to remove the fabric from the belt rail. Repeat this procedures for both sides.

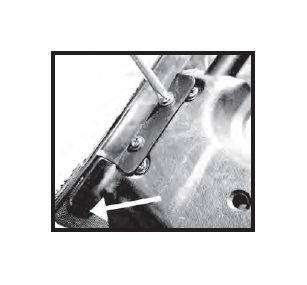
Step 3. Remove both sets of (4) Phillips head screws on the rear bow using a (#2) Phillips head screwdriver. Do not use power tools. Set the screws aside as they will be used to attach the new top.

Step 4. Unfasten the hook and loop retainer that secures the top to the bow located above the roll bar. It may be necessary to lower the top at this time to aid in the removal.
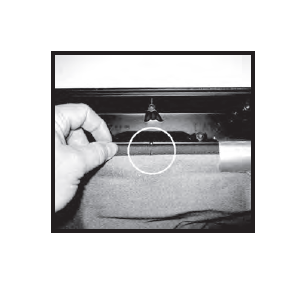
Step 5. Lower the soft top and bow assembly. With the top collapsed on the rear of the vehicle, remove the screws that fasten the soft top fabric to the bottom corners of the header. Set the screws aside as they will be used to attach the new top.

Step 6. With the assistance of a second person, raise the top and bow assembly in the up position. Lock the header to the windshield. Carefully drape the top over the windshield onto the hood. With the top portion of the header exposed remove all of the screws from the top side of the header. Remove the top portion of the header. Remove the old top from the header.
Step 7. Place the new top and onto the header with the bottom side of the top facing upward. With the top draped over the hood and windshield, locate the center notch on the top and the header. Once the two marks have been aligned, use tape to hold the top in position. Replace the top portion of the header over the soft top. Using the screws removed earlier, re-attach the top portion of the header.
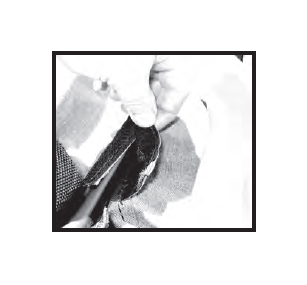
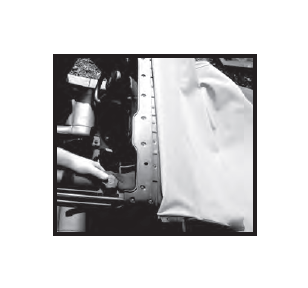
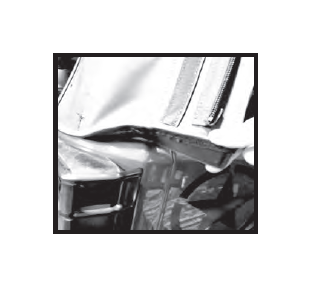
Step 8. With the assistance of a second person, drape the new soft over the back of the vehicle and lower the frame assembly. Wrap the fabric around the corners of the header assembly. Make sure to tuck the fabric between the lip of the header as indicated in the image. Fasten the plastic tab to the header using the screws removed earlier.
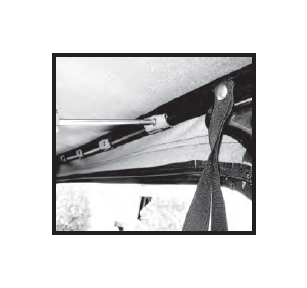
Step 9. With the assistance of a second person, raise the top and bow assembly in the up position. Lock the header to the windshield. With the top laying loosely over the bow assemblies, re-attach the fabric to the bows using the screws removed earlier. The fabric on the rear bow wraps under from the back side of the bow toward the front of the vehicle. The fabric on the middle bow wraps over the top and the front side of the bow.
Step 10. Re-attach the hook and loop retainer around the front bow that is above the center roll bar.

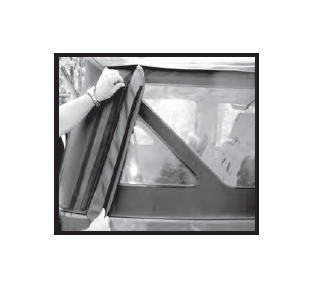
Step 11. Insert the rear corners of the soft top into the belt rail on the rear of the vehicle.
Step 12. Install the side windows and rear window onto the top. Replace the tailgate bar into the rear window.
Step 13. Secure the top above the doors by inserting the plastic retainer strips into the door surround. Your new top installation is now complete.