FREE 1 to 3-Day Delivery on Orders $149+ Details

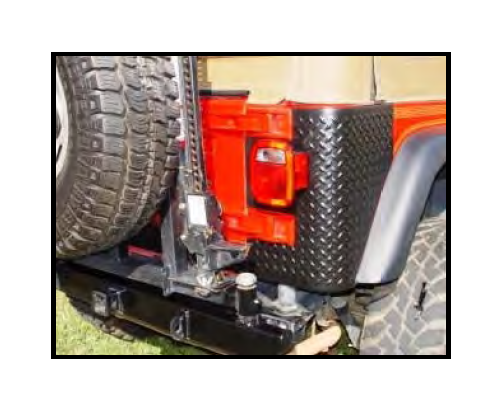
How to Install Rugged Ridge 2 Black Plastic Tall Corner Rear Body Armor on your 1997-2006 Wrangler

Shop Parts in this Guide
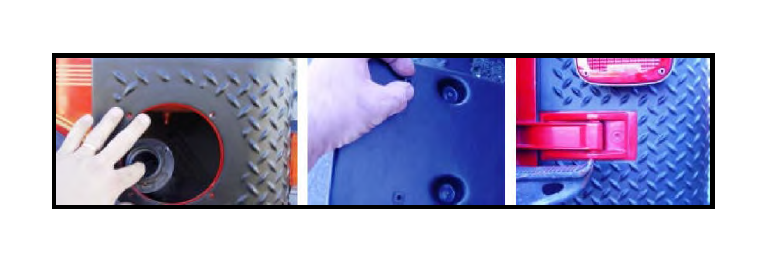
Step 1: Remove both left and right side rear taillight assembles. This will require the removal of 3 bolts for each light that are assessable from the inside of the tail light assembly and from the upper inside of the fender. The lower plastic fender cover can be pulled back without removing. The left side license plate holder and fuel filler neck will also be removed.

Step 2: Clean mounting surface with a strong cleaner or rubbing alcohol. Avoid areas that the product will not be adhered to.
THIS MUST BE DONE FOR ADHESIVE TAPE TO PROPERLY STICK. FAILURE TO CLEAN COULD RESULT IN POOR ATTACHMENT AND FAILURE OF PRODUCT TO STAY ATTACHED.
Allow area to dry completely before attaching body armor.
Step 3: Test fit the Rear Corner Guards to the vehicle before removing the plastic backing film. This will aid in aligning the piece properly before securing with the two-sided 3M tape.
Step 4:Position the armor onto the rear fender. Make sure that it is evenly spaced before applying any pressure to armor. When satisfied with placement apply pressure to all areas to properly secure armor to vehicle. Reinstall the side fuel neck assembly, and rear tail lights. Install the (4) license plate tabs in holes from supplied hardware.