 FREE 1 to 3-Day Delivery on Orders $149+ Details

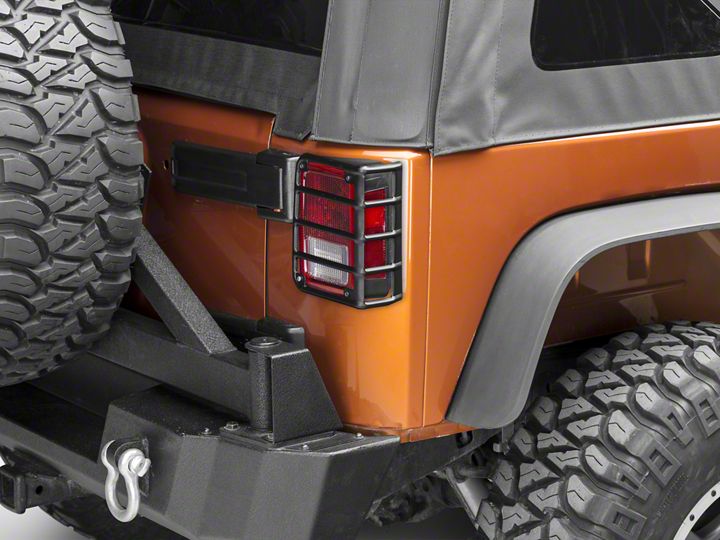
How to Install Rugged Ridge Tail Light Euro Guards - Textured Black (07-18 Wrangler JK) on your Jeep Wrangler
Installation Time
30 minutes
Tools Required
- Phillips Head Screwdriver
- Tray to hold screws
Shop Parts in this Guide
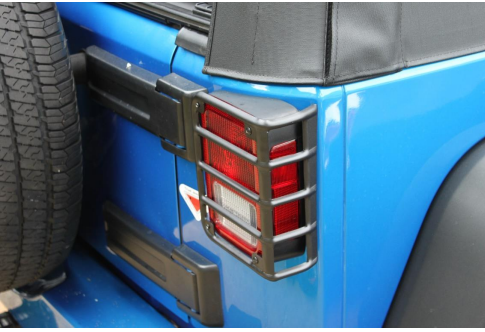
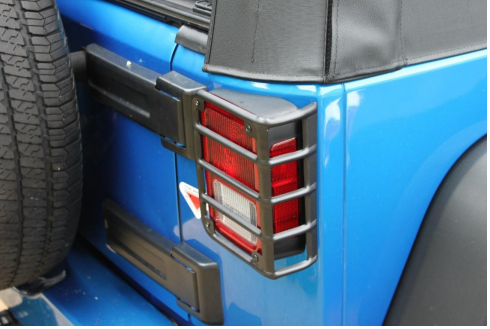
Note: These Taillight guards are easy to install and go over your existing taillights. The manufacturers instructions say there is a right and a left but after careful inspection they are the same for each side.
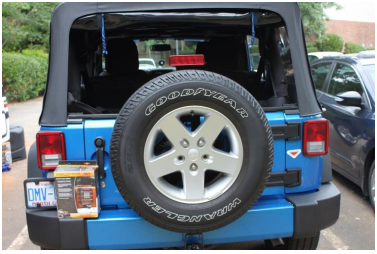
1. Gather your tools and work on one side at a time.
2. Remove the factory screws.
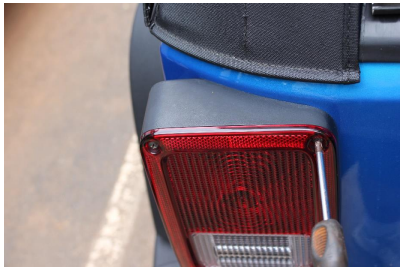
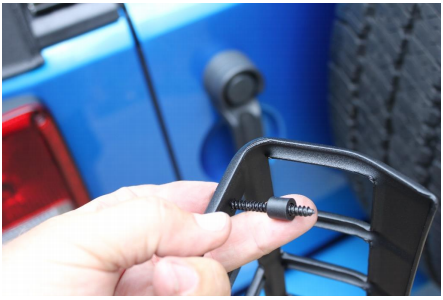
3. Note that inside screws are a different size than outside. Inside screws are smaller but longer.
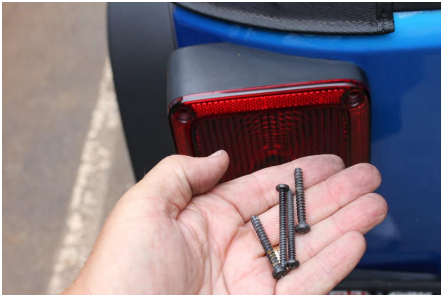
4. Start with the upper outside screw. Thread it through the hole and place the spacer between the guard and the taillight lens. Because the included screws are a slightly different thread, you may be tempted to reuse the factory screws. Don’t. The included screws are longer to accommodate the spacer.
5. Position the guard on the lens and start the screw but do not tighten at this time.
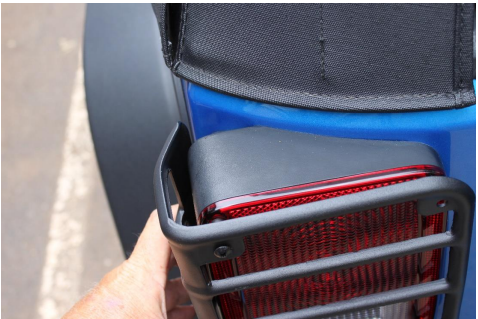
6. With the spacers between the lens and the guard start all the screws. Do not tighten until all screws are in place.
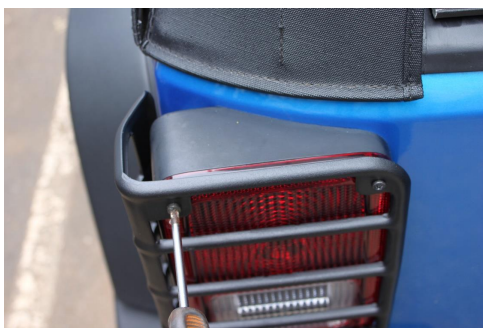
7. Working around tighten all the screws. DO NOT OVERTIGHTEN. You may be tempted to use an electric screw driver or a drill. If you do make sure the final tightening is by hand. Otherwise you may crack the lens.
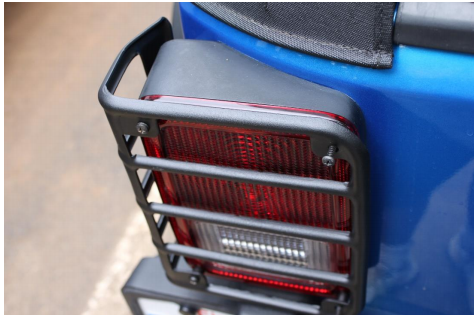
That’s one down
Repeat the procedure on the other side
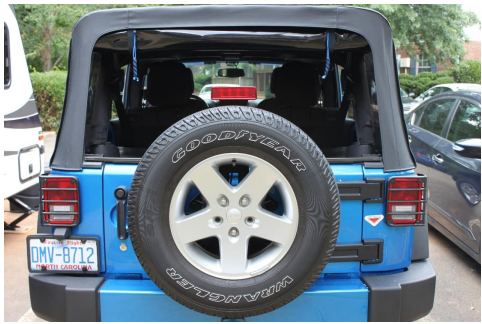
That’s it. Enjoy.
Installation Instructions Written by ExtremeTerrain Customer Jac Grimes 07/24/2018

