 FREE 1 to 3-Day Delivery on Orders $149+ Details

How to Install Rugged Ridge RRC Rear Bumper w/ Tire Carrier Provision - Textured Black on Wrangler
INSTALLATION PROCEDURE
1. Remove factory rear bumper or bumperettes.
2. On all models the passenger side inner two holes will not line up with the factory holes and will need to be drilled.
3. Mount bumper on your vehicle and fasten with included bolts using only the outside holes. Make sure bumper is positioned correctly and tighten bolts snug. Use the inner bracket holes as a template; mark the holes on the frame. Now remove bumper and set to the side.
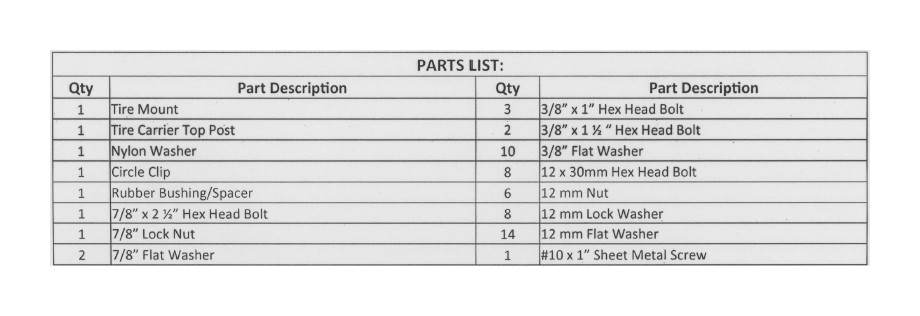
4. Caution: Use Extreme care and caution before drilling. Make sure to check backside of frame for hazards and obstructions. Using a 7/16" bit, drill the marked holes. (Figure 1)
5. Position bumper against rear vehicle frame. Attach driver and passenger side rear brackets using (1) 12 x 30mm bolt, (2) 12mm flat washers, (1) 12mm lock washer, (1) 12mm nut, at each of the six mounting holes. Note: Do not tighten completely at this time.
6. Using (1) 12 x 30mm bolt, (1) 12 mm flat washer, (1) 12mm lock washer for each hole, mount the bottom brackets of the bumper to the bottom hole in the vehicle frame.(Tighten all hardware now)
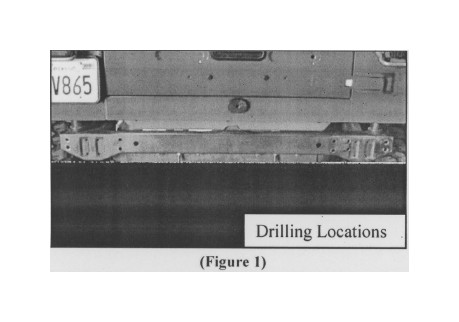
7. Place nylon washer over rear bumper post, then place tire carrier on top. Once the tire carrier has been place over post, swing it to the closed position and latch it into place. Secure it with the already installed bolts. (Figure 2 and 3)
8. Carefully place the Circle Clip on top of the post over the tire carrier portion.
9. Locate the tire carrier top post, along with (1) 7/8" x 2 'A" Hex Head Bolt, (2) 7/8" Flat Washer, and (1) 7/8" Lock Nut. Insert the top post into the top of the tire carrier and secure with the 7/8" hardware.

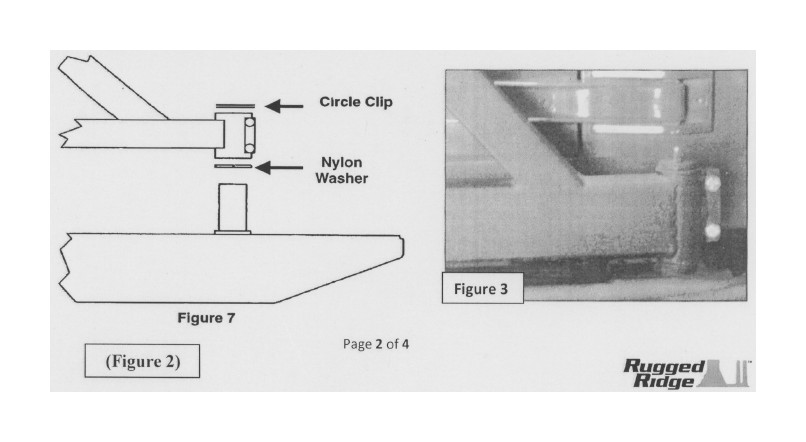
10. Locate tire mounting bracket, (3) 3/8 x 1" Hex Head Bolts, (6) 3/8" Flat Washers, (3) Lock Nuts. Slide the tire mounting bracket over support bracket on carrier. Lineup the 3 slotted holes and install with the 3/8" hardware. (Figure 5,6) Note: There are two sets of slotted holes. This is to accommodate oversize tires. Determine the best position for your tire size and then tighten all hardware on mounting bracket. For best results the back side of the tire should rest against the (Triangle) tire carrier.
11. It may be necessary to install the supplied rubber bushing/spacer on the backside of the (Triangle) tire carrier. This will help reduce any rattling that may occur. Determine the best mounting spot on the backside of the carrier where it will rest flush on the back of the vehicle and not interfere with anything. Mount by drilling a 1/8" hole and the supplied #10 x 1" sheet metal screw.
Do periodic inspections to the installation to make sure that all hardware is secure and tight.
To protect your investment, wax this product after installing. Regular waxing is recommended to add a protective layer over the finish. Do not use any type of polish or wax that may contain abrasives that could damage the finish. For stainless steel: Aluminum polish may be used to polish small scratches and scuffs on the finish. Mild soap may be used also to clean the Sidebar. For gloss black finishes: Mild soap may be used to clean the Product.

