 FREE 1 to 3-Day Delivery on Orders $149+ Details

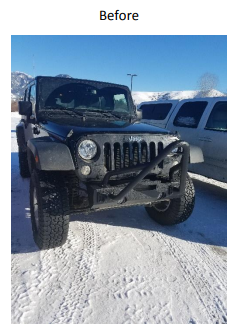
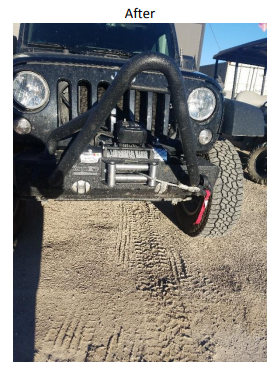
How to Install Rugged Ridge Nautic 12,500 lb. Winch w/ Steel Cable on your Jeep Wrangler
Installation Time
2 hours
Tools Required
- Allen Wrench Set
- 14 mm Wrench
- 16 mm Wrench
- 18 mm Wrench
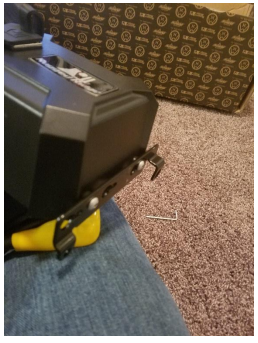
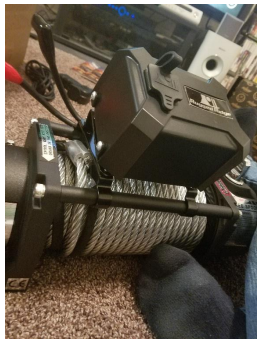
There are 4 different ways to mount the solenoid onto the winch itself. The instruction guide will go through all 4 but only 1 will be used. It may be necessary to take the bumper or winch plate off of the Jeep in order to install the winch.
Installation Instructions
1. Solenoid Mounting Option 1 (Side Mount): Using the metal bracket pictured attach the bracket to the side of the solenoid using the provided bolts and allen wrench. Attach this to the to the motor side of the winch using the back large allen bolt and one of the small supplied allen bolts
2. Solenoid Mounting Option 2 (Vertical Mount): Bolt together the 2 90 degree brackets and the 2 bar brackets using the provided allen bolts and nuts. Take the solenoid and mount the other side of the 90 degree brackets to the bottom of the solenoid. Place the assembly over the winch bars and using the provided allen bolts secure the assembly to the winch.
3. Solenoid Mounting Option 4 (Flat Mount): using only the two winch bar brackets mount the brackets to the bottom of the solenoid and then secure the brackets to the winch bars, all using the supplied allen bolts and nuts.
4. Solenoid Mounting Option 4 (Angled Mount): Bolt together the 2 angled brackets and the winch bar brackets and attach them to the bottom of the solenoid then secure them to the winch bars all using the supplied allen bolts.
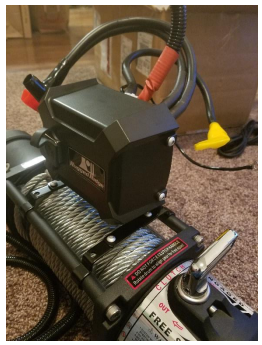
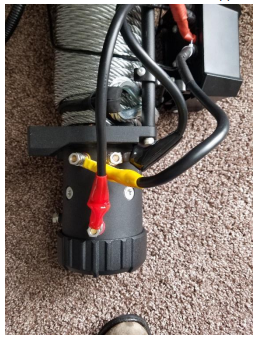
5. Attach the wires from the solenoid box to the winch using the picture below for reference and tighten the bolts using a 14 mm wrench. Pull the rubber caps over the bolts to help seal the connections. The small black wire goes to the bottom bolt of the motor side of the winch as well as the supplied long black cable.
6. Attach the fairlead to the bumper using the supplied 18 mm bolts, nuts, and locking washers.
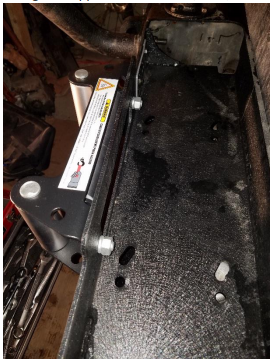
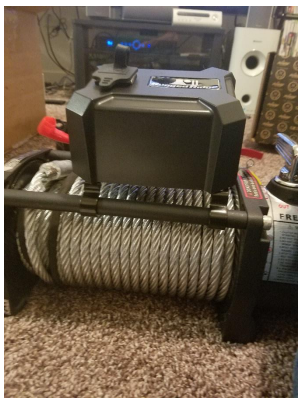
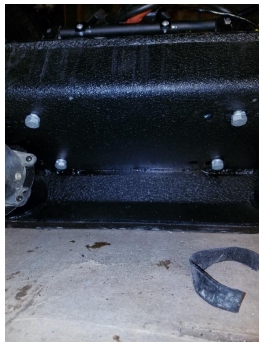
7. Slide the 4 square nuts into the slots on the feet of the winch (it may be helpful to secure these with tape in order for them to not fall out). Place the winch onto the bumper and using the 4 16 mm bolts and locking washers secure the winch to the bumper (it may be helpful now to unwrap some of the winch line and feed it through the fairlead).
8. Take the long red positive cable coming from the solenoid and the long black negative cable coming from the bolt on the motor side of the motor and route them behind the grill and up to the battery making sure that the cables are away from anything hot or moving. Attach the cables to the correct side of the battery.
9. Now the winch is ready to use. Install the remote and test the winch and make sure to re-spool the winch under at least a 1000lb load before the first winching operation.
Installation Instructions Written by Extreme Terrain Customer Matt Jackson 9/13/2017

