FREE 1 to 3-Day Delivery on Orders $149+ Details

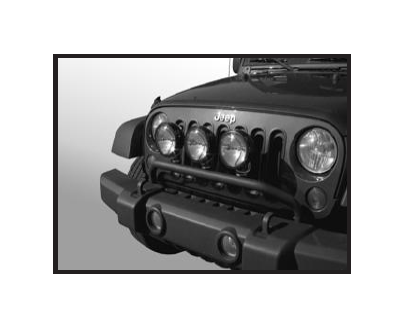
How to Install Rugged Ridge Light Bar Bumper Mounted, Textured Black on your 2007-2013 Wrangler

Shop Parts in this Guide
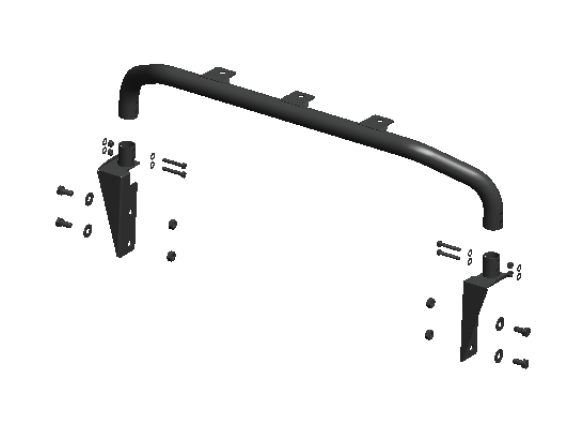
Contents:
1. Light Bar (1)
2. Left Side Bracket (1)
3. Right Side Bracket (1)
4. M12 Hex Bolt (4)
5. M12 Flat Washer (4)
6. M12 Flange Nut (4)
8. M8 button Head Bolts (4)
9. M8 Flat Washer (8)
10. M8 Lock Nut (4)
11. Hex Key (not shown) (1)
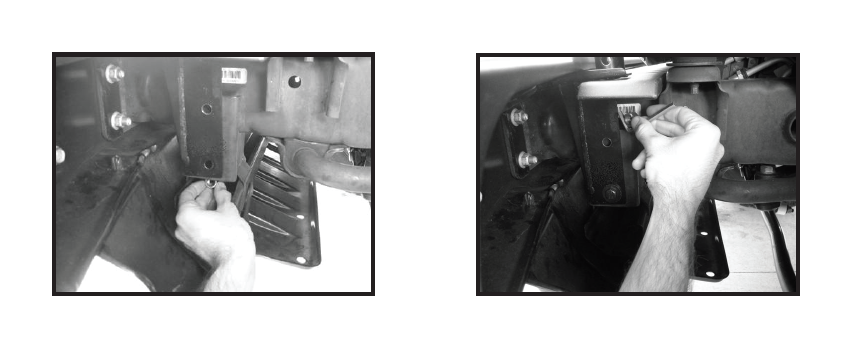
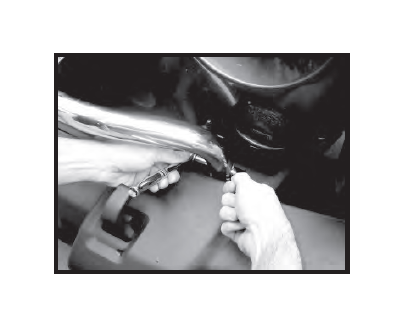
1. Locate frame mounting holes behind the bumper on the left side of the vehicle. Slide one M12 flange nut behind the lower frame hole to attach the Left Side Bracket as shown. Use this nut to secure the bottom of the Left Side Bracket in position with a M12 Hex Bolt and M12 Flat Washer. Place a M12 Flange Nut on the supplied Allen Key. Lower the nut behind the upper frame mount hole. Insert a M12 Hex Bolt and M12 Flat Washer to secure the top of the bracket. Do not fully tighten the bolts at this time. Repeat for Right Side Bracket.
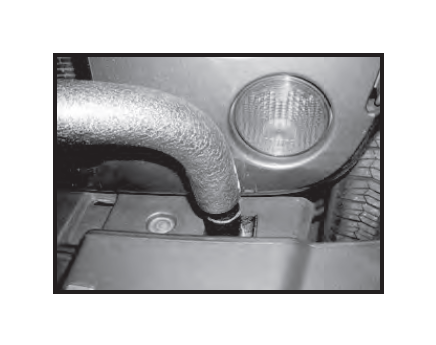
2. Place light bar over the tube sleeves of both the Left and Right Side Brackets. Adjust the brackets as necessary to accommodate the tube.
3. Use the M8 Button Head Bolts, M8 Flat Washers, and M8 Nylock Nuts to secure the Light Bar to the Mounting Brackets. Install and tighten the lower bolts first, then install the upper ones. Tighten to 20 ft-lbs.
4. Tighten all hardware. Install lighting per manufacturer's instructions.