FREE 1 to 3-Day Delivery on Orders $149+ Details

How to Install Rugged Ridge Inverted Drag Link on your 2007-2013 Wrangler

Shop Parts in this Guide
PLEASE READ AND UNDERSTAND ALL INSTRUCTIONS BEFORE YOU BEGIN.
Caution: Always park vehicle on level ground when working under vehicle. Eye protection is required when drilling and working under vehicle. Penetrating oil may be necessary to remove drag link.
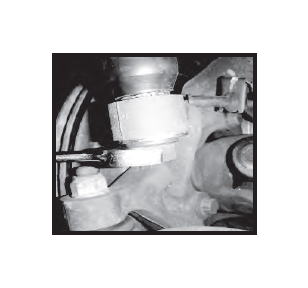
Step 1. Remove the front passenger side tire in accordance with factory owners manual guidelines. Remove the factory drag link. Remove the nut that holds the ball joint side of the drag link. Do not discard the nut it will be reused. Remove the ball joint end from the steering knuckle. Note: Use of a joint separator may be necessary.
Step 2. Loosen the drag link adjuster sleeve. Unthread the drag link clockwise. Count the amount of turns it takes to remove the drag link. The new drag link will need to be installed with the same amount of turns.
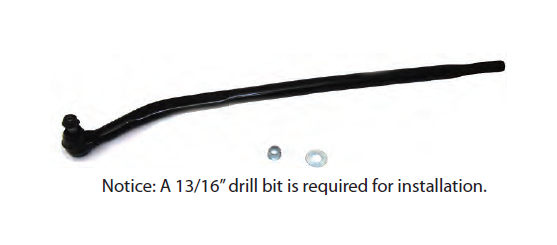
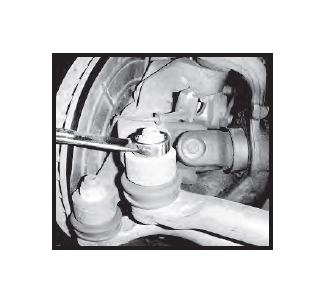
Step 3. Drill out the hole on the knuckle using a 13/16” drill bit. Carefully check the alignment when drilling to ensure a straight hole.

Step 4. Insert the taper sleeve. You will need to seat the new sleeve into the knuckle. Use caution when using a hammer to seat the sleeve. Do not crush the top of sleeve.
.png)
Step 5. Install the new flipped drag link into the connecting sleeve using the same amount of turns as when removed in step 2. The drag link will need to be turned counter clockwise to install.
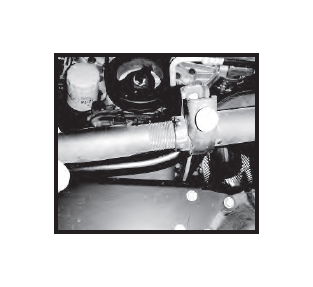
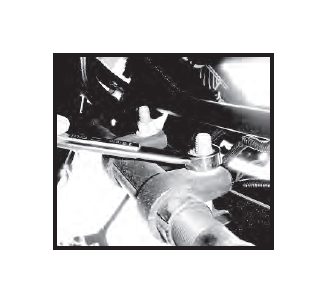
Step 6. Install the ball joint end of the new drag link into the knuckle. Install the supplied washer and nut onto the drag link and torque to 65 ft-lbs.
Torque the adjuster sleeve to 45 ft-lbs.
Test drive the vehicle to ensure the alignment of the steering wheel. Final adjustments of the steering can be made by the adjuster sleeve.