 FREE 1 to 3-Day Delivery on Orders $149+ Details

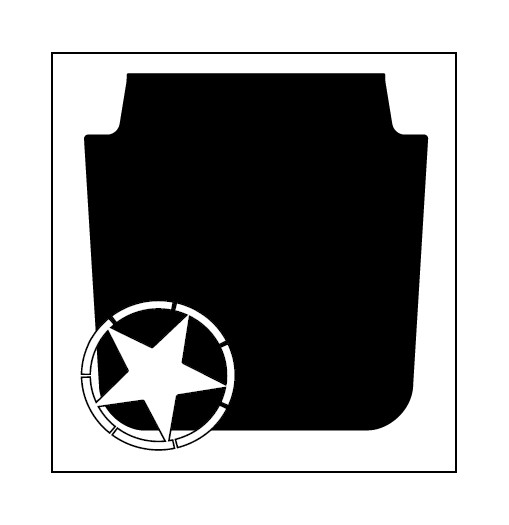
How to Install Rugged Ridge Hood Decal - Matte Black on your 07-18 Jeep Wrangler JK; 2018 Jeep Wrangler JL
Tools Required
- Soapy water lubricant (one drop of liquid detergent soap per one cup of water)
- Non-marring Squeegee with soft edge. (it is recommended to use a commercially available one to decrease chances of scratching vehicle or vinyl)
- Microfiber cloth

Shop Parts in this Guide
Notes:
Vinyl Graphic Information: The vinyl graphic is sandwiched between two layers: backing paper and transfer tape. The backing paper will be removed during installation to expose the adhesive on the back of the vinyl. The transfer tape holds the vinyl in place during positioning on the vehicle surface.
Vehicle Preparation: Clean vehicle surface extensively to remove all dirt, debris, and wax. (household kitchen soap can be used for wax removal). Do not apply wax. Use of clay bar will help eliminate surface contaminants.
Installation should be completed indoors to avoid direct sunlight and wind as this will cause difficulties in installation.
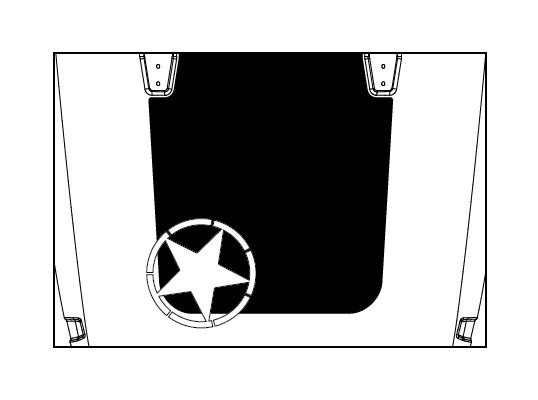
If applying hood decal: Remove windshield rest rubber bumpers, nozzles, and footman loop.
Installation:
1. Place decal on a flat surface and use squeegee to ensure decal is adhered to the transfer tape.
2. Perform a dry fit of the decal on the vehicle in the desired location. This will show the approximate area to spray in step 4.
3. Peel backing paper off vinyl. Ensure vinyl stays fully adhered to the transfer tape.
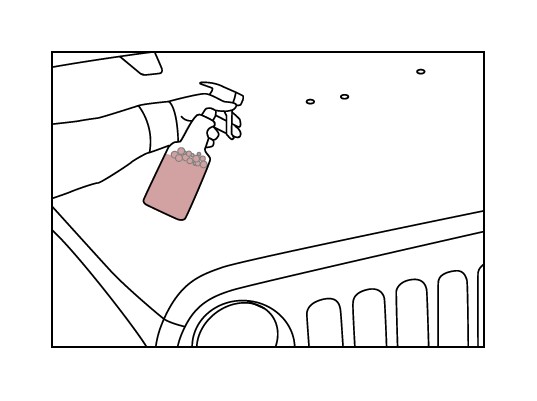
4. Spray vehicle surface for the vinyl thoroughly with soapy water lubricant. The entire surface must be wet to allow adjustment of vinyl.
Spray the adhesive side of the vinyl with the soapy water lubricant
5. Lightly place the vinyl onto the vehicle surface in the approximate location. Ensure a light touch is used to allow for adjustment. Be careful not to press the decal.
6. Position decal in desired location.
7. Use squeegee to push liquid and bubbles out from under the decal starting in center. Multiple passes will be required to remove liquid and bubbles.
8. Wait 10-15 minutes and pull small corner of transfer tape away from the vinyl to test adhesion. If vinyl does not stay with vehicle repeat previous step.Otherwise, completely remove the transfer tape.
Note: Spray top of transfer tape with soapy water to make removal easier.
9. If any bubbles remain after transfer tape is removed, use the squeegee to remove them. Use the same center to outside motion as in step 7.
Note: Wrap the squeegee with a microfiber cloth to prevent scratching the vinyl
If applying hood graphic: Make incision and cut openings in locations of windshield rest rubber bumpers, windshield nozzles, and footman loop.
Vinyl Decal Care: Never use high pressure water of any sort. Only use soapy water with clean soft sponge to wash decal by hand.
