FREE 1 to 3-Day Delivery on Orders $149+ Details

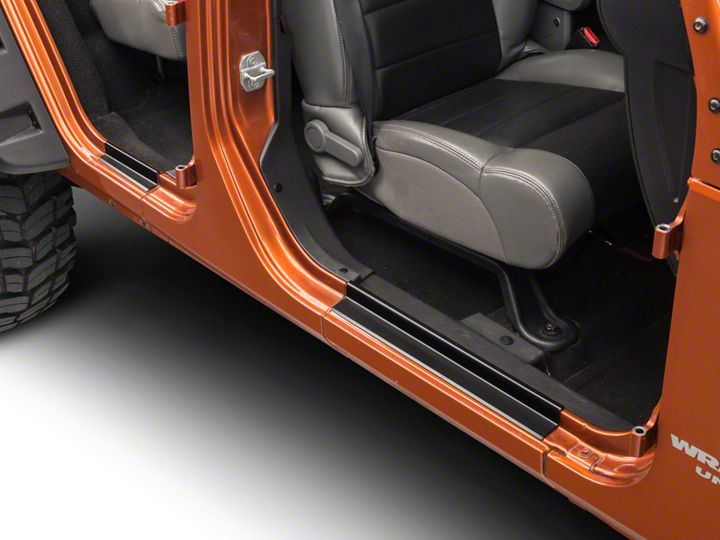
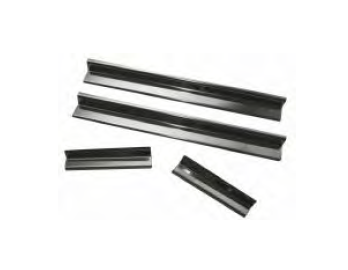
How to Install Rugged Ridge Entry Guard Pair, Black on your 2007-2013 Wrangler
Shop Parts in this Guide
Part Number: 11119.04 - Stainless Steel 2dr.
11119.05 - Stainless Steel 4dr.
11216.10 - Black 2dr.
11216.11 - Black 4dr.
WARNING: It is recommended that the entry guards be installed with the outside temperature between 52F - 97F (15C - 35C) No rain and low humidity.
Step 1: Inspect parts before installation. For both the stainless steel and black powder coated versions there should be no visible scathes to the surface.
Step 2: Guards are to be installed only when the outside temperature is between 52F - 97F and when there is no rain and low humidity. This will allow the Adhesive tape to bond strongly to the painted surface and help to maintain a firm attachment.
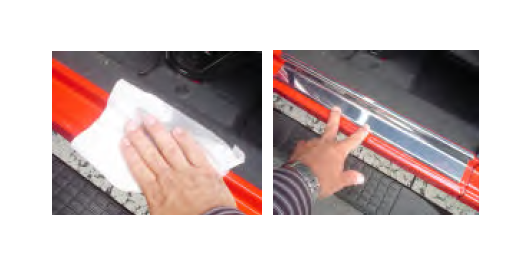
Step 3: Using a clean cloth and rubbing alcohol clean the entry door jam as shown. Make sure all dirt, oil or any residue is completely removed.
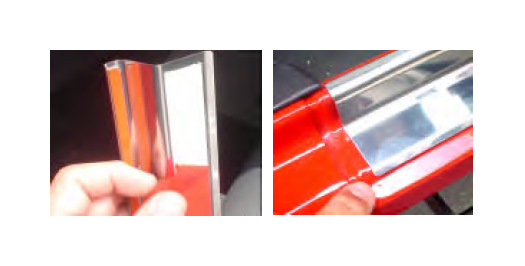
Step 4: Dry door jam with a clean cloth and allow any alcohol to dry before installing guards. Place entry guard over door jam and determine where proper placement will be before proceeding. Remove red tape backing. CAUTION! DO NOT touch the adhesive surface of the tape. This may cause the tape to loose the ability to properly bond to the door jam.
Step 5: Carefully place the guard onto the door jam. Work from the outer edge downward. Be very careful to position the guard correctly. When tape makes contact with the door jam it will be very difficult to remove and reposition. TAKE YOUR TIME!
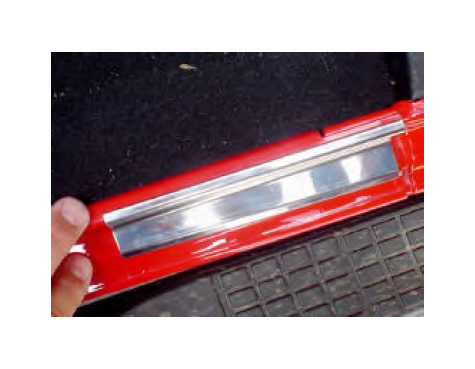
Step 6: Repeat above steps for the other side. For 4door applications please note that there is a left and a right side rear entry guard. PLEASE TEST FIT EACH SIDE PRIOR TO INSTALLING TO INSURE PROPER FITMENT!