 FREE 1 to 3-Day Delivery on Orders $149+ Details

How to Install Rugged Ridge Elite Tail Light Guards - Unpainted (07-18 Wrangler JK) on your Jeep Wrangler
Installation Time
50 minutes
Tools Required
- Philips Head Screw Driver #2
- Ratchet with 4MM Hex Socket or a 4MM Hex Allen Wrench
- Utility Knife (Razor Blade)

Shop Parts in this Guide
Note: The Rugged Ridge Elite Tail Light Guards – Unpainted was used to create this installation guide. This installation guide only shows how to install the Elite Tail Light Guards. The Rugged Ridge Elite Tail Light Guards were installed on a 2009 Jeep® Wrangler Unlimited X.
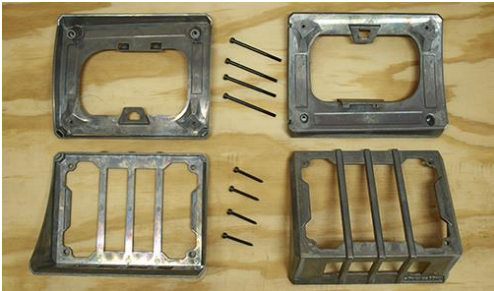
There is a total of 12 parts. 1 – Driver Side Guard, 1 – Driver Side Housing, 1 – Passenger Side Guard, 1 – Passenger Side Housing, 4 – #6 Screws and 4 – M5 Screws

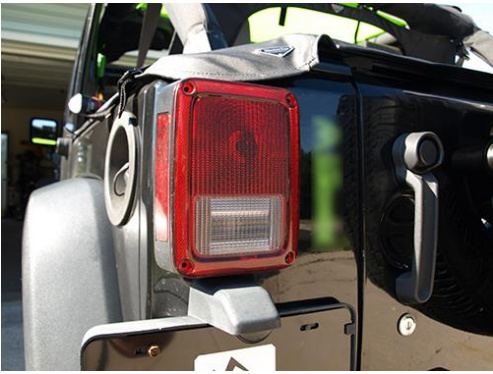
Before Install
1. Remove the two (2) screws from the driver side tail light that attached the tail light to the tub of the Jeep®. Then remove the two (2) outer screws from the tail light. Note that these outer screws do not secure the tail light to the tub of the Jeep®.
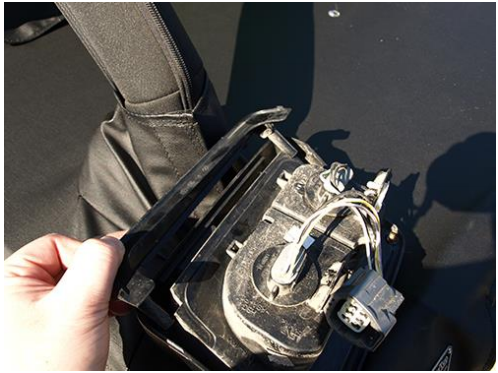
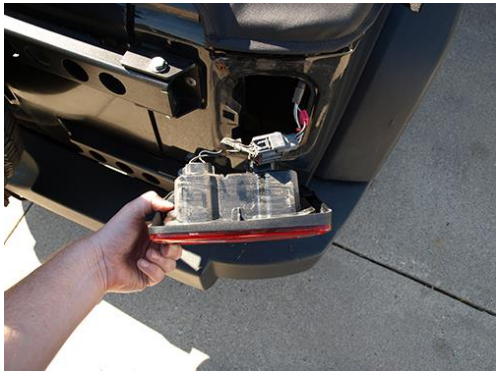
2. Remove the tail light from the tub of the Jeep®.
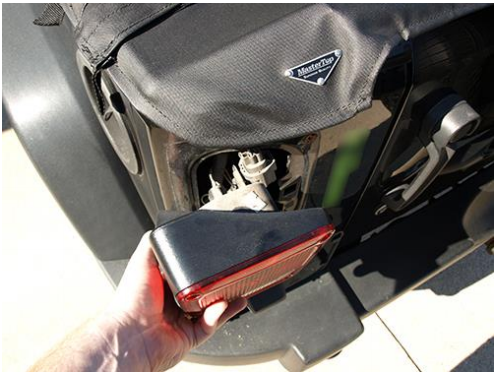
3. Remove the top wiring harness from the tail light by pushing down on the clip.
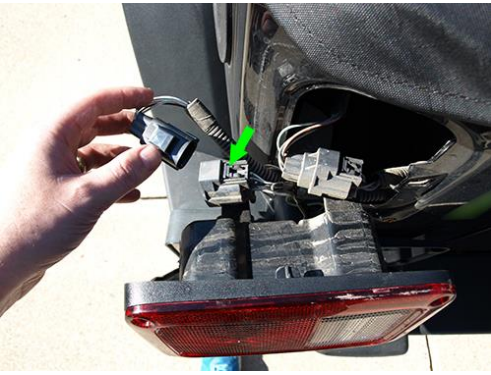
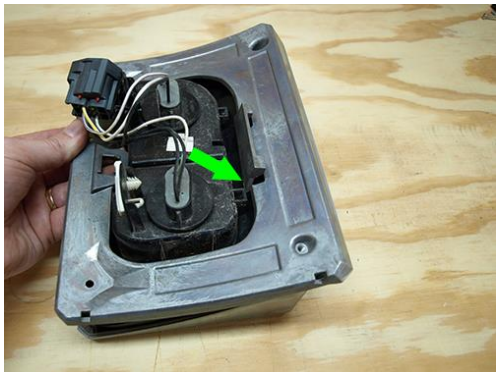
4. Remove the bottom wiring harness from the tail light by sliding it off the white clip as shown.
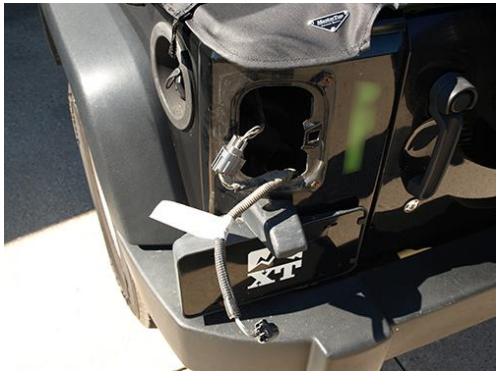
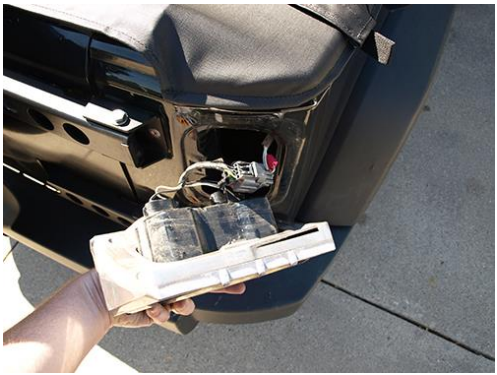
The wiring harness on the driver side should look like the picture shown below once its removed from the tail light.
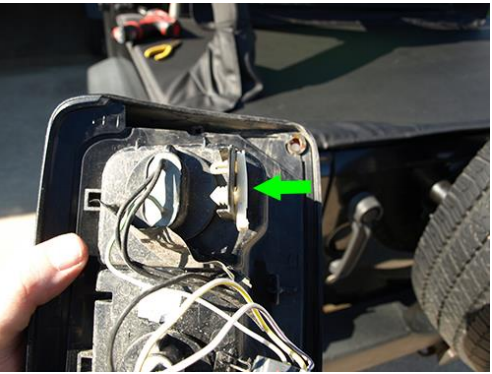
5. Remove the plastic hardware trim piece on the outer side of the tail light. Note: The plastic hardware trim piece will not be used to secure the Elite Tail Light Guards to the Jeep®. Hold on to this trim piece if you plan on removing the Elite Tail Light Guards for any reason.
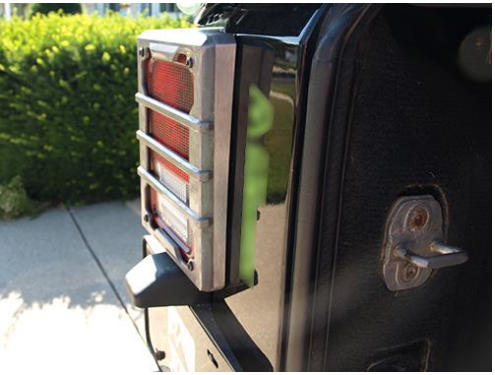
6. Place the tail light into the driver side guard as shown below.
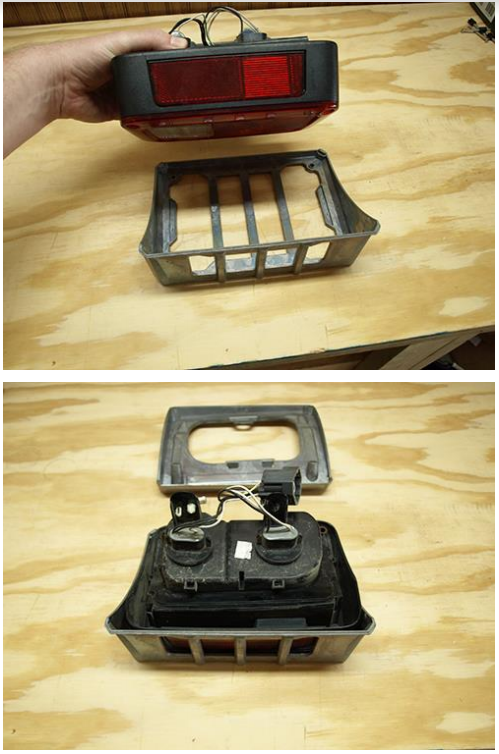
7. Place the driver side housing on the back of the guard. The housing should be flush with the guard. Note: The long lip on the outer side of the housing will need to slide under the two plastic squares on the tail light as shown below.
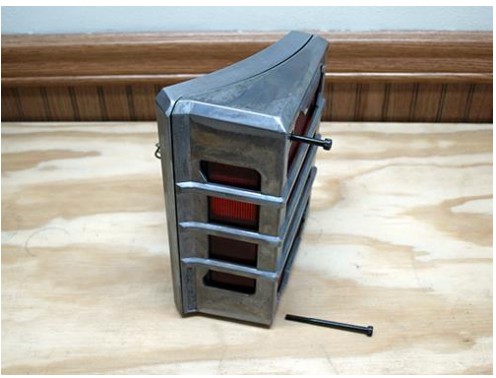
8. Use a Ratchet with 4MM Hex Socket or a 4MM Hex Allen wrench, secure the guard and housing together with two (2) M5 screws as shown below.
9. Reconnect the wiring harness to the tail light.
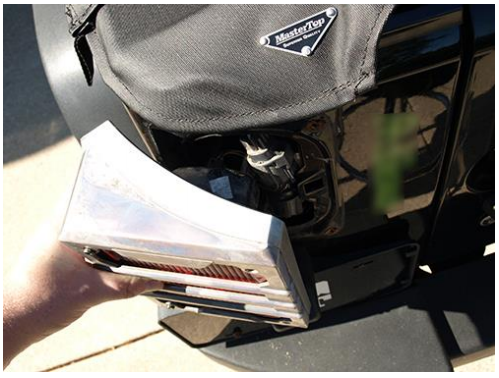
10. Secure the guard to the tub of the Jeep® using two (2) #6 screws with a Philips #2 screw driver. The body of the Elite Tail Light Guard should be flush with the tub of the Jeep® all the way around.
11. Remove the two (2) screws from the passenger side tail light that attached the tail light to the tub of the Jeep®. Then remove the two (2) outer screws from the tail light. On the passenger side there will only be one (1) wiring harness connected to the tail light. Pushing down on the clip and disconnect the wiring harness from the tail light.
12. Repeat steps 5 – 10 for the passenger side tail light.
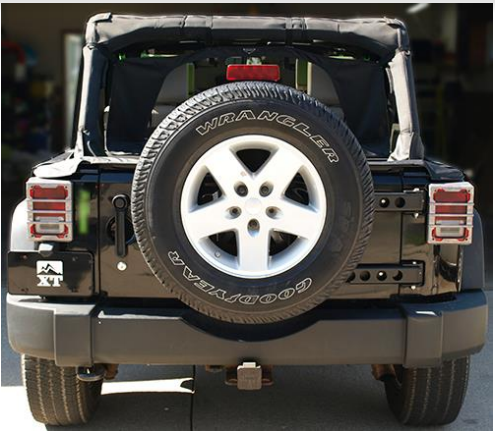
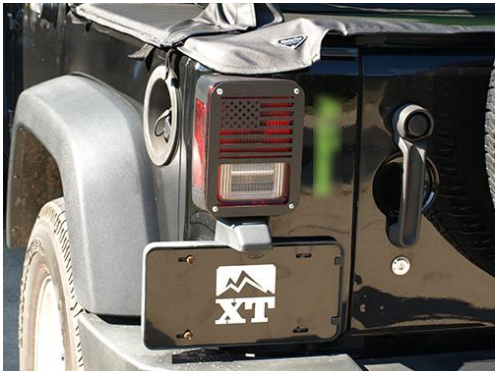
After Install
Installation Instructions Written by ExtremeTerrain Customer Brian Voelzke 07/19/2018
