 FREE 1 to 3-Day Delivery on Orders $149+ Details

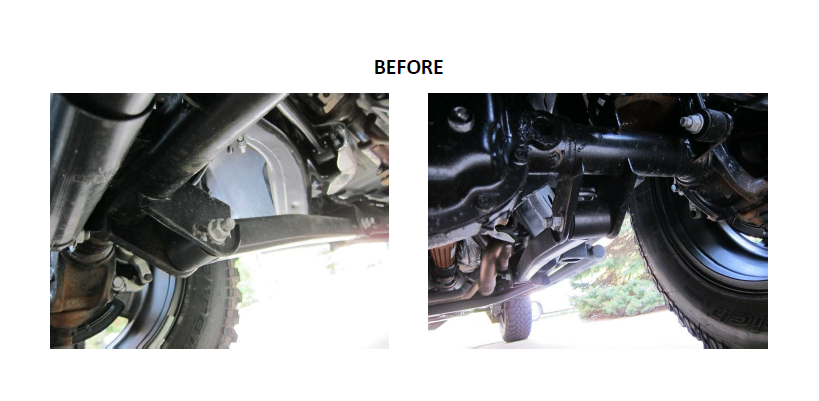
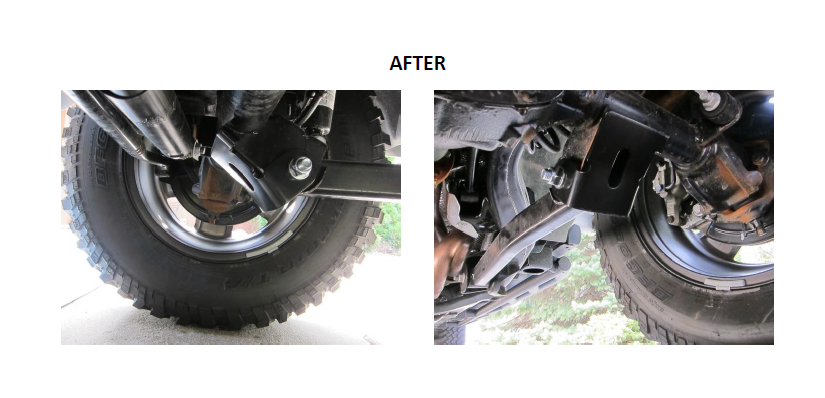
How to Install Rugged Ridge Front Lower Control Arm Skid Plates on your 2007-2015 Jeep Wrangler JK
Installation Time
45 minutes
Tools Required
- Two 21mm and two 22mm ratcheting sockets or wrenches
- Jack or similar device to support control arm
- Breaker bar (optional, but allows easier release of stock LCA bolts)

Shop Parts in this Guide
NOTES: The front lower control arm skid plates are not driver/passenger specific. Both pieces are identical and can go on either side. Make sure the vehicle is on a level surface with the parking brake engaged. 21 mm sockets used to remove the stock bolts however, 22mm sockets are needed to install the Rugged Ridge included bolts.

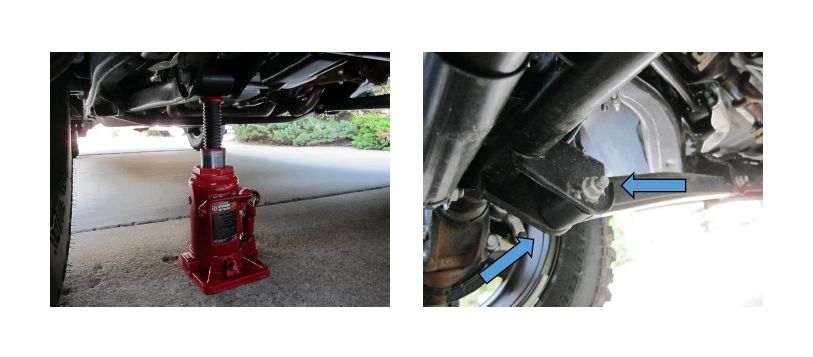
Step One: Unscrew LCA Bolt
Place a jack or similar object below the control arm so that it does not slide down and out of place once the bolt is removed. Next, place a wrench or socket on one side of the bolt, and another on the other side (nut). Unscrew the nut, and pull out the LCA bolt.
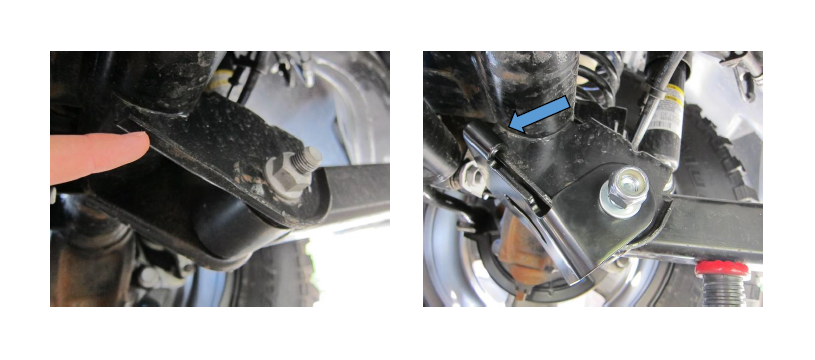
Step Two: Install Skid Plate onto LCA Bracket
Align the skid plate onto the LCA bracket, sliding the curved edge of the plate over the lip of the bracket. Once in place, you will need to slide the spacers between the bracket and the skid plate. There are two spacers, one for each side.
Step Three: Install Bolt and Tighten
Slide the bolt with washer through assembly, and cap with a washer and nut. Tighten to 130 ft. lbs.
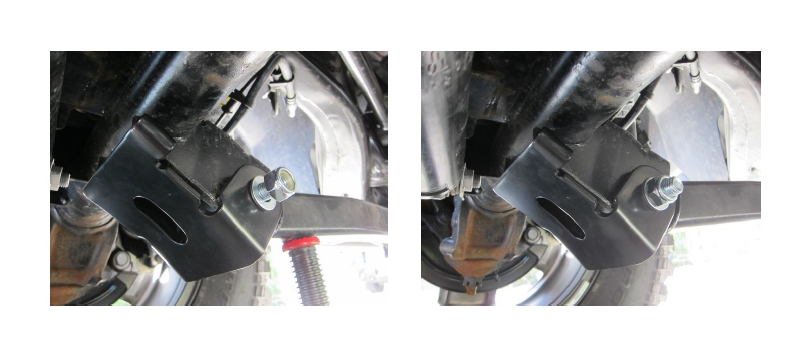
CAUTION: As with all steering and suspension components. After driving for a few hundred miles, be sure to re-inspect bolts, and re-tighten to 130 ft. lbs. if necessary.
