 FREE 1 to 3-Day Delivery on Orders $149+ Details

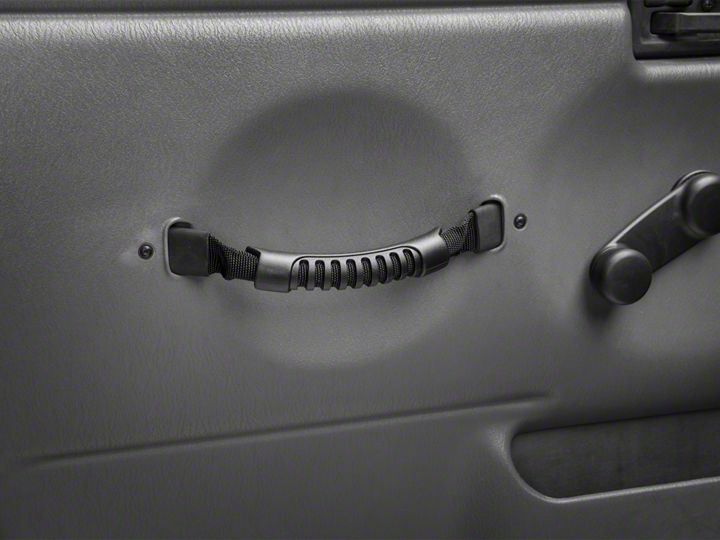
How to Install Rugged Ridge Black Replacement Door Handle Strap Pair on your 1997-2006 Wrangler
Shop Parts in this Guide
Installation Instructions:
(1) Remove the three lower mounting screws securing inner door cover. Keep screws as they will be reused.
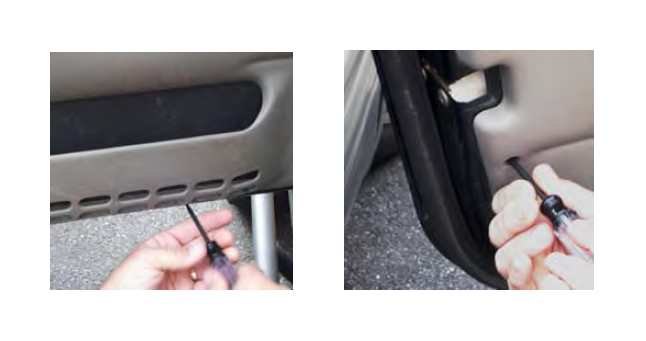
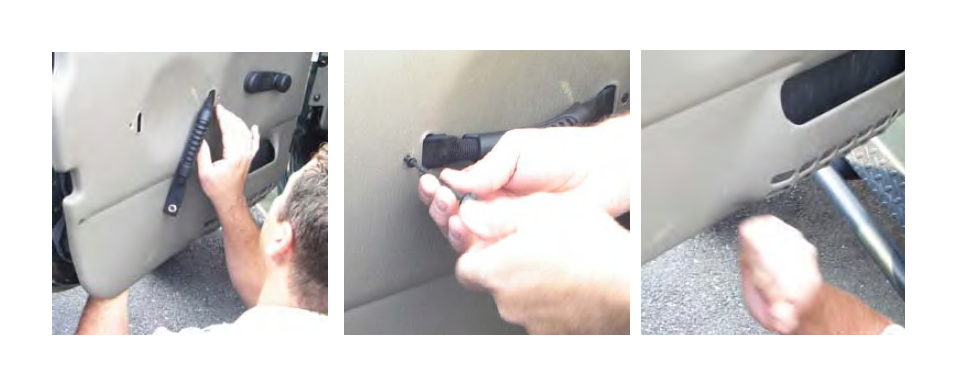
(2) Remove screws securing pull handle to door. Keep screws as they will be reused. Pull handle from door being careful not to dislodge threaded clip from inner mounting bracket.
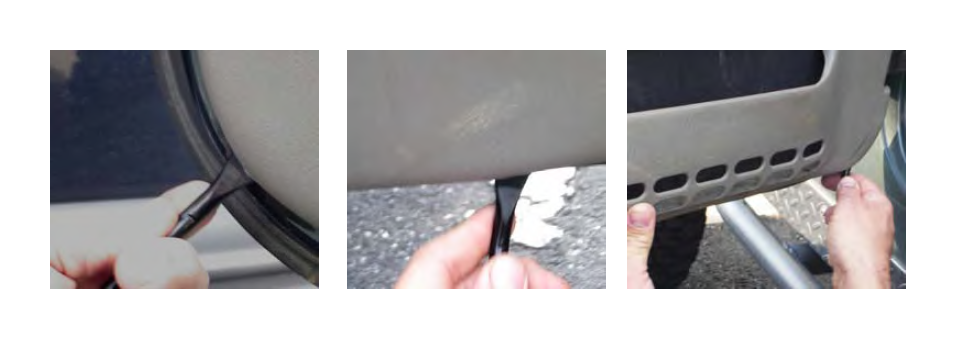
(3) Using supplied door panel removal tool, carefully pop door panel from inner frame. Carefully pull inner door panel from frame. You will only need to loosen enough clips to allow you to reach up inside the door to where the OE door pull handle was located.
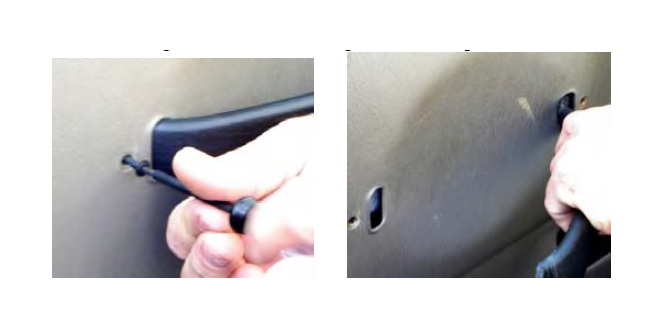
(4) Insert one end of new Nylon door strap through the front slot of the inner door skin. With hand Inserted into door from underneath align eyelets with threaded clip. Make sure not to dislodge clips. If this happens, simply reinsert and continue with installation. With handle ends installed push panel back and secure strap with screws saved in step (2).
(5) Pop door panel back into place and reinstall screws removed in step (1). Repeat for other side.
