 FREE 1 to 3-Day Delivery on Orders $149+ Details

How To Install a Rugged Ridge Aluminum Hood Catch Kit - Black - on your 2007-2016 Jeep Wrangler JK
Installation Time
30 minutes
Tools Required
- 10mm Socket
- 13mm Socket
- Socket Wrench
- Flat Head Screwdriver
- 4mm and 5mm Allen Wrenches

Shop Parts in this Guide
Installation Instructions:
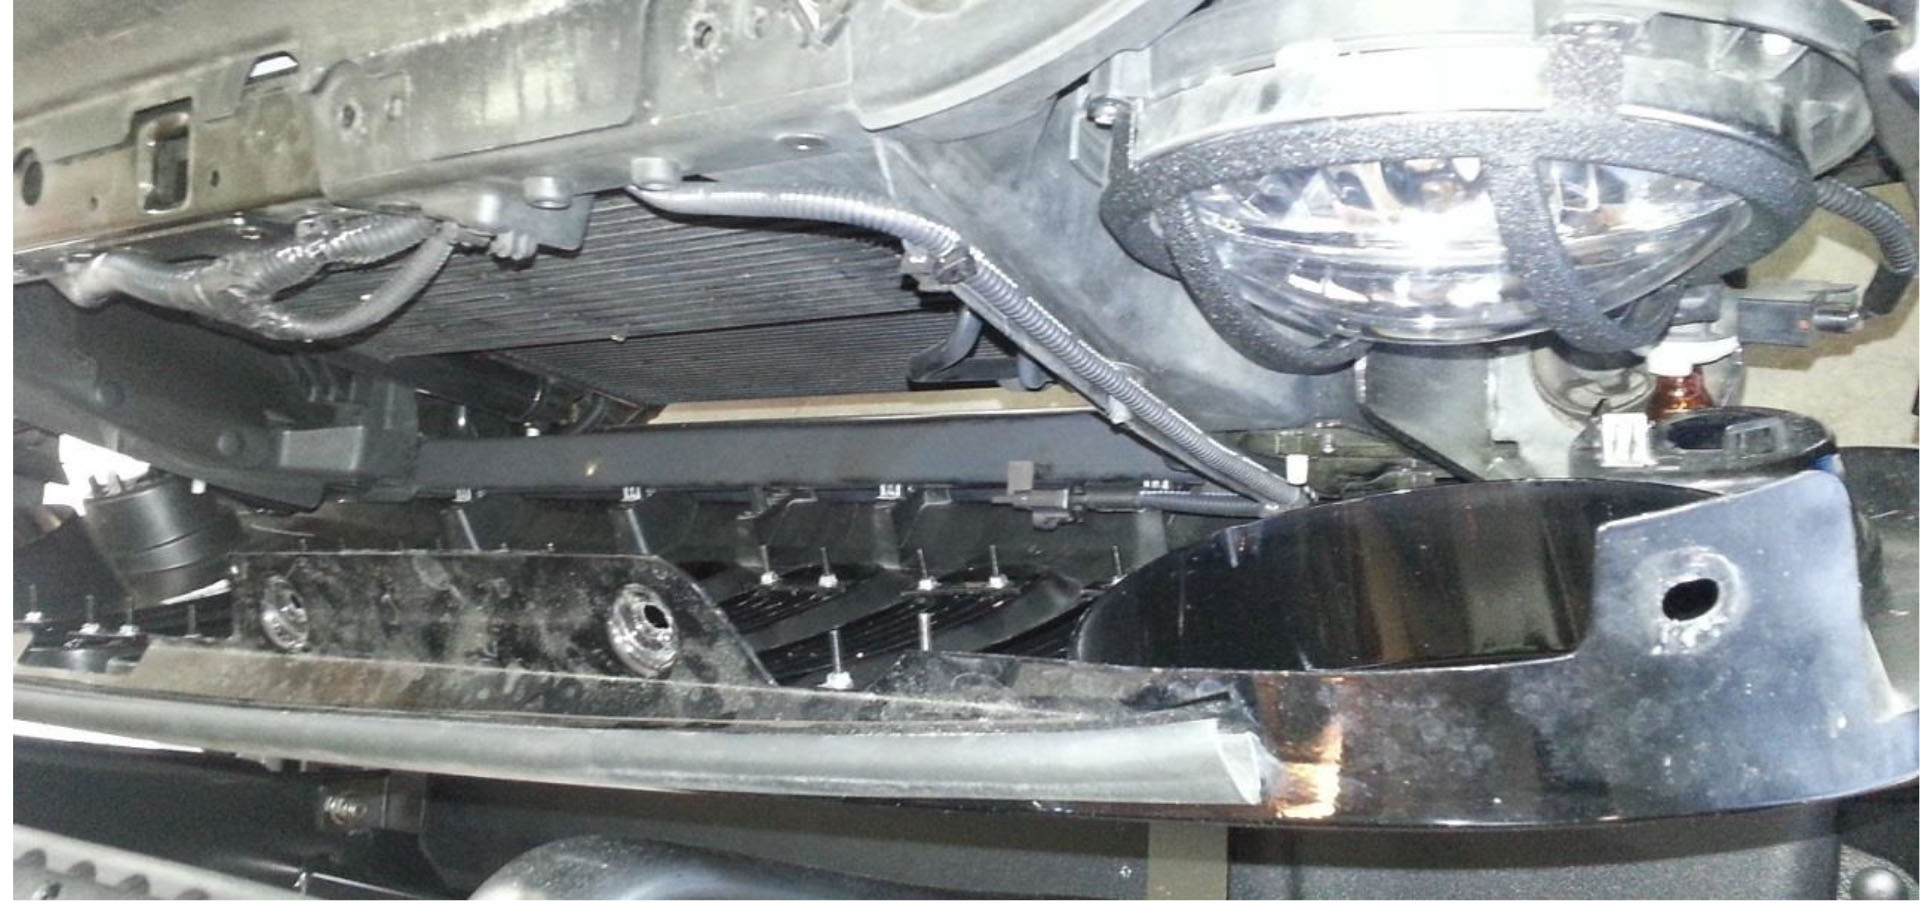
1. Release the hood latches and open the hood. Then use the flathead screw driver and remove the plastic push pins to release the grille. (Pic 1) No need to remove the grille completely. (Pic 2)
(Pic 1)
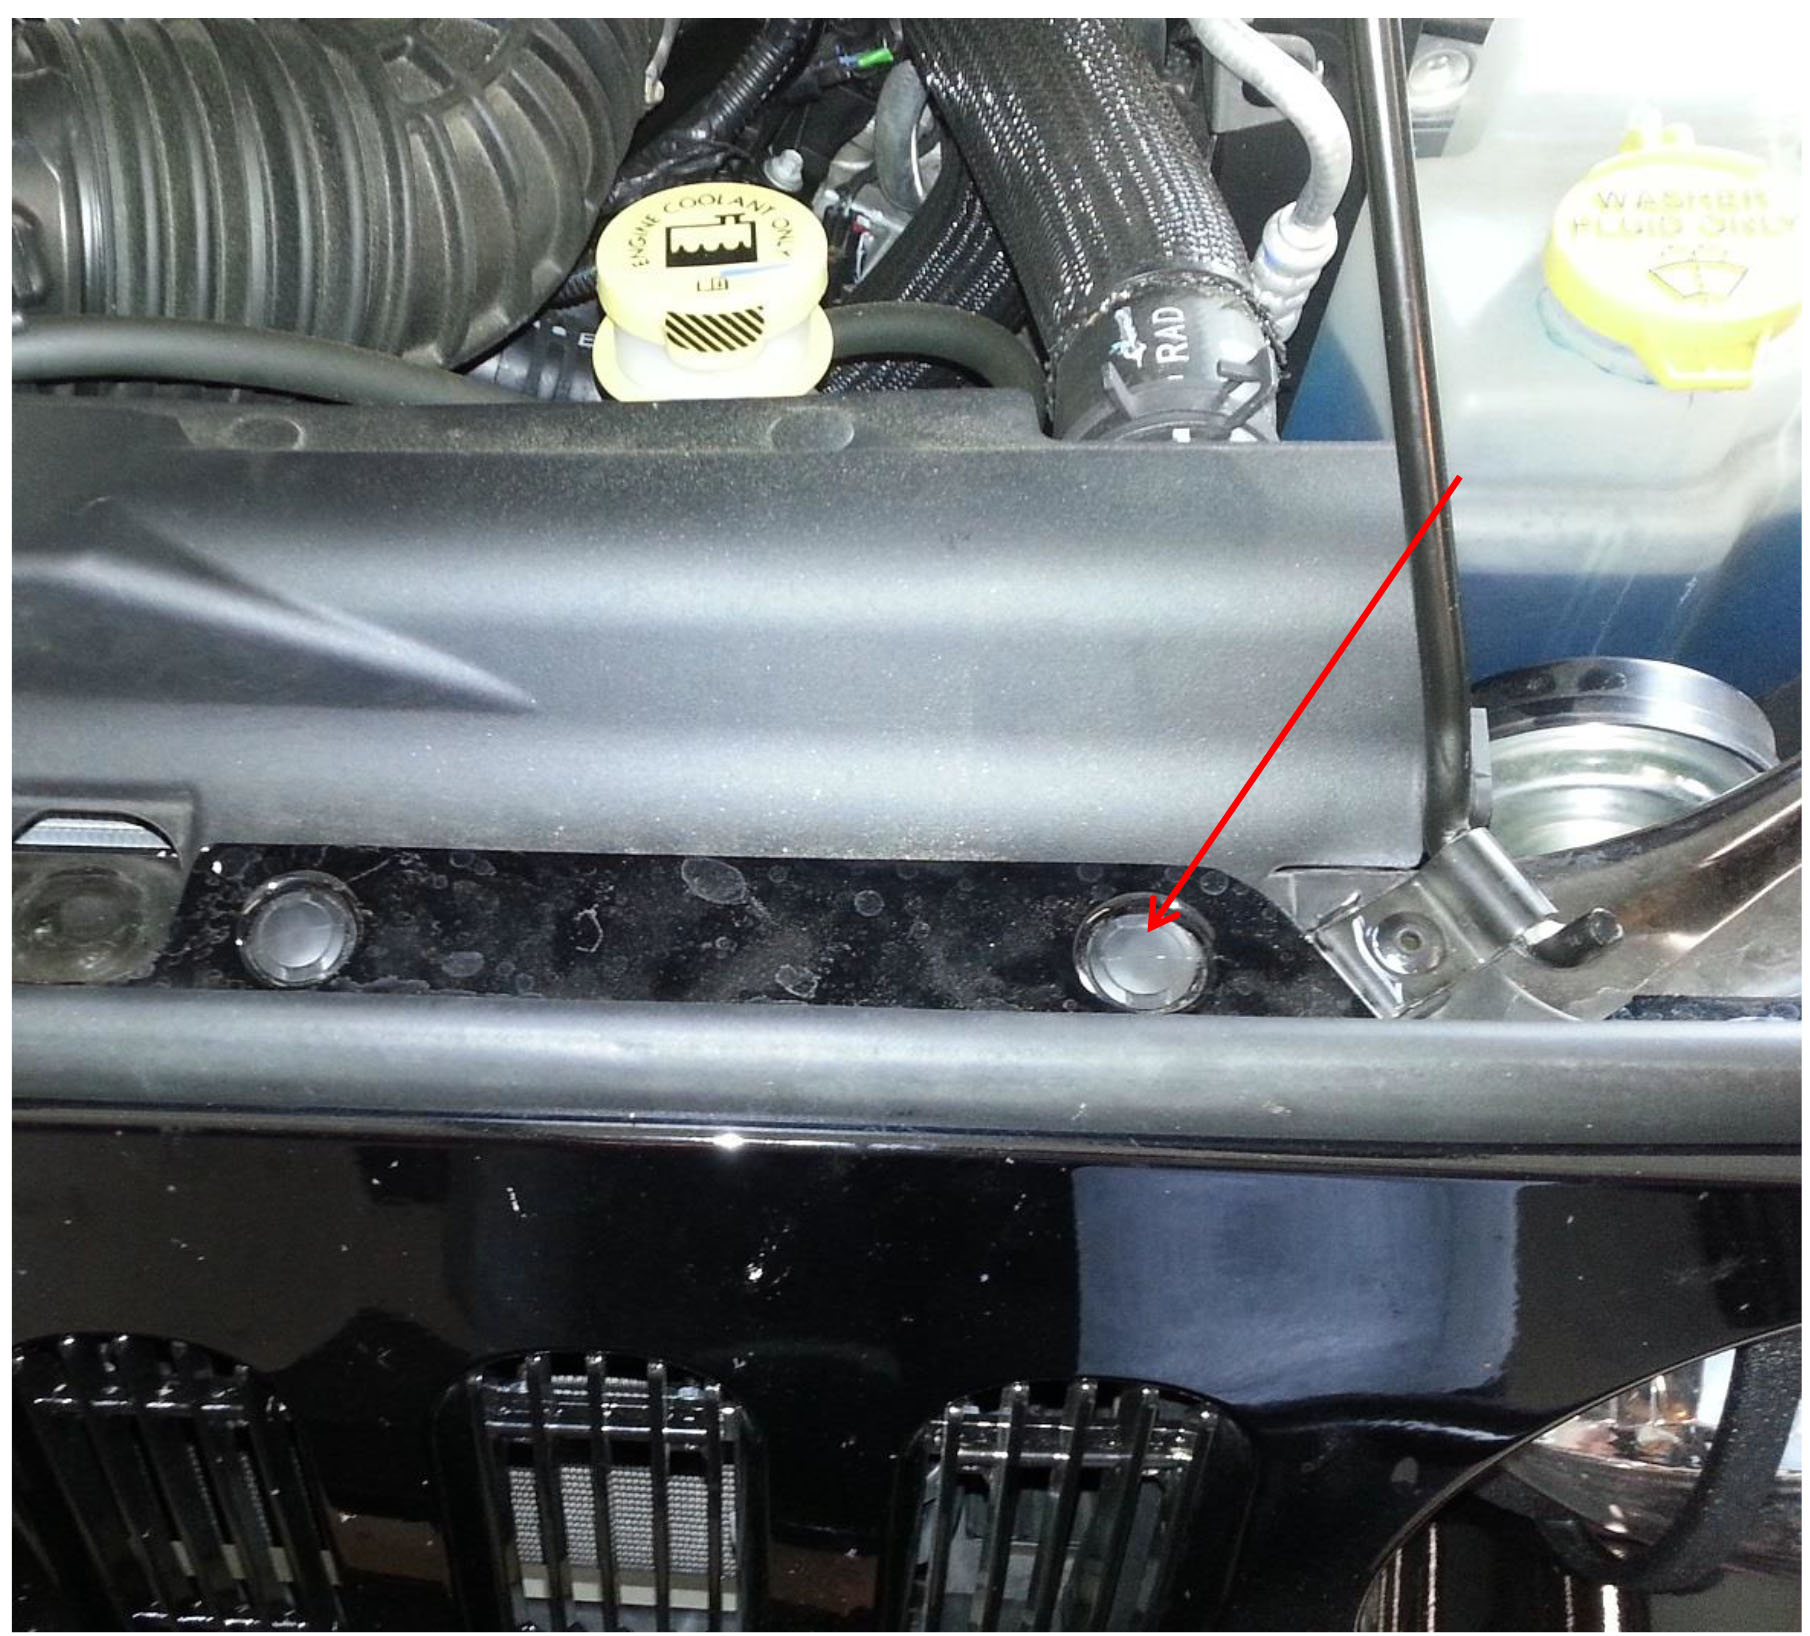
(Pic 2)
2. Use the 10mm socket to remove the upper hood latch bracket. (Pic 3 A & B)
(Pic 3 A)
(Pic 3 B)
3. Then use the 13 MM to remove the lower hood latch bracket. (Pic 4 A & B)
(Pic 4 A)
(Pic 4 B)
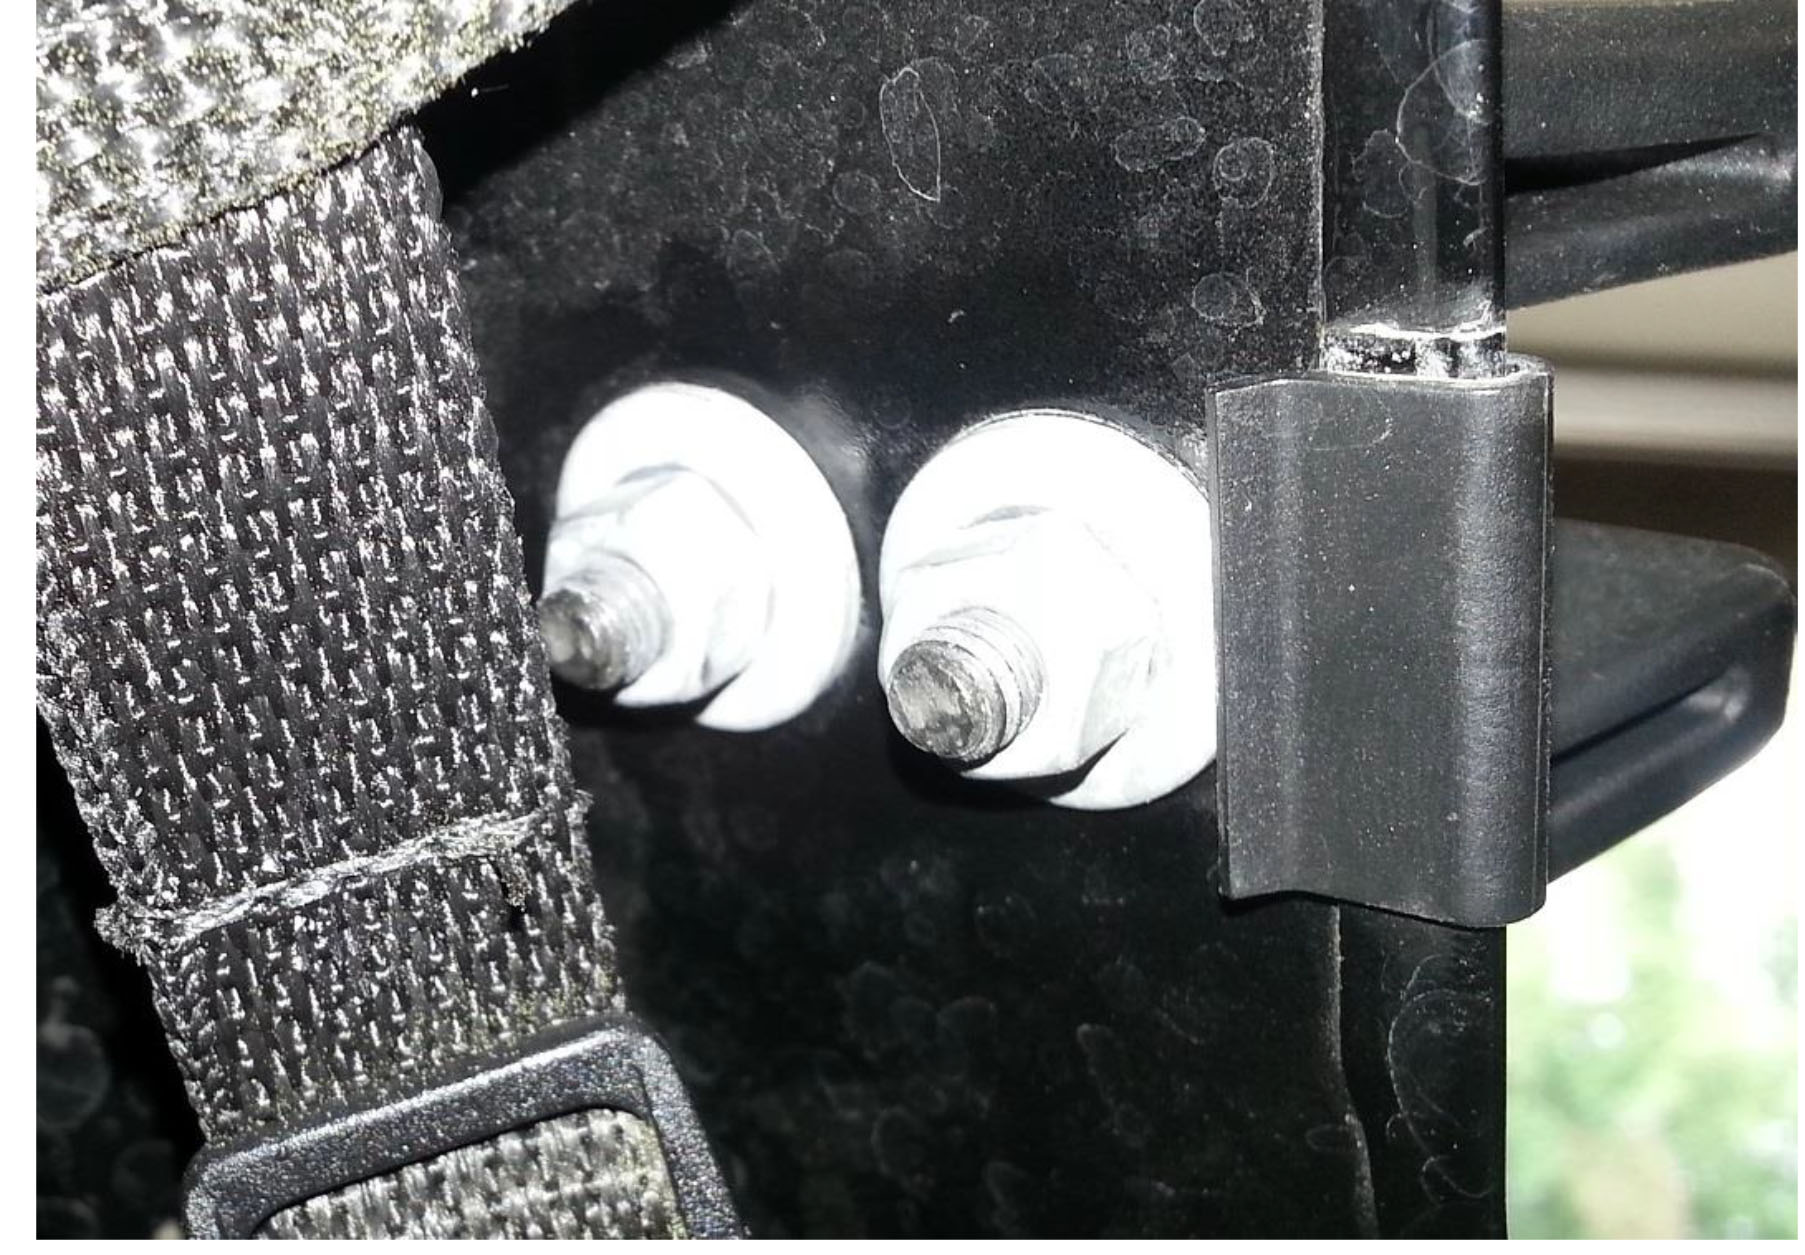
4. Attach the hard plastic latch catch to the upper bracket. It will be the thinner of the two hard plastic pieces provided in the kit. (Pic 5 A) Insert the upper latch into the hood. Then use the 4 MM Allen wrench to hold the bolt. Place the washer and lock nut on the bolt. Use the 10 MM socket to tighten the nut but don’t over tighten. (Pic 5 B)
(Pic 5 A)
(Pic 5 B)
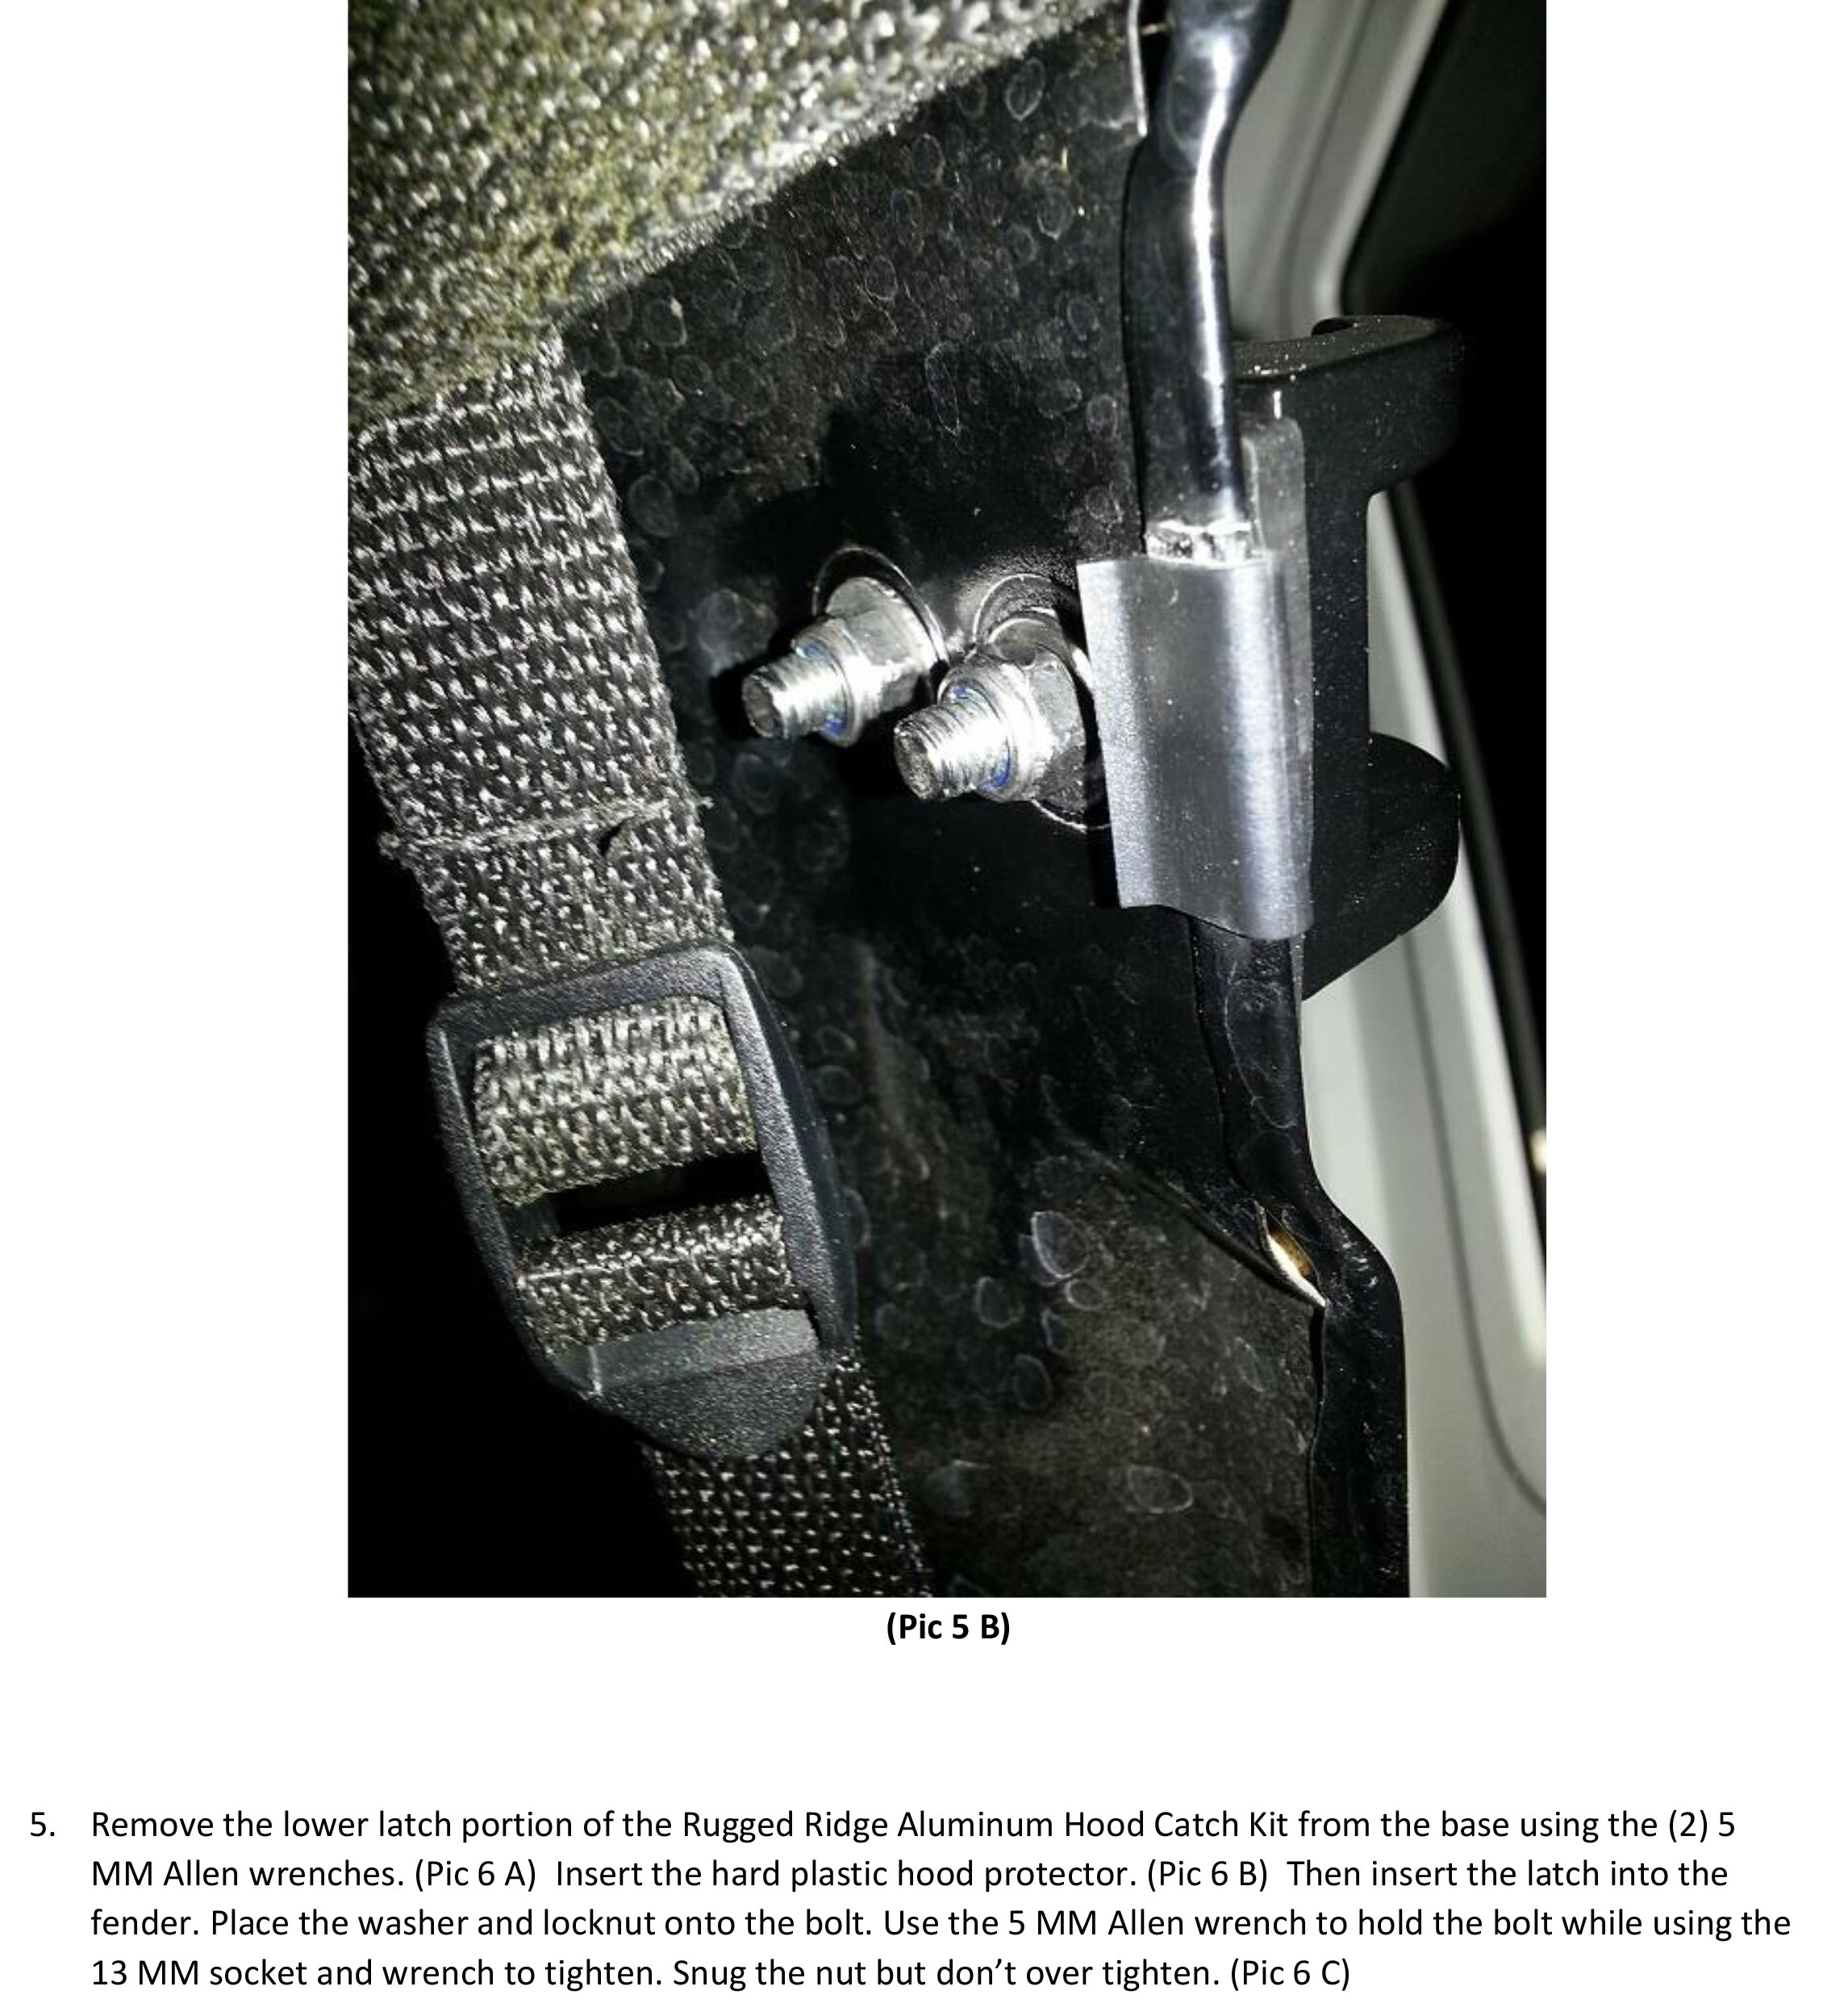
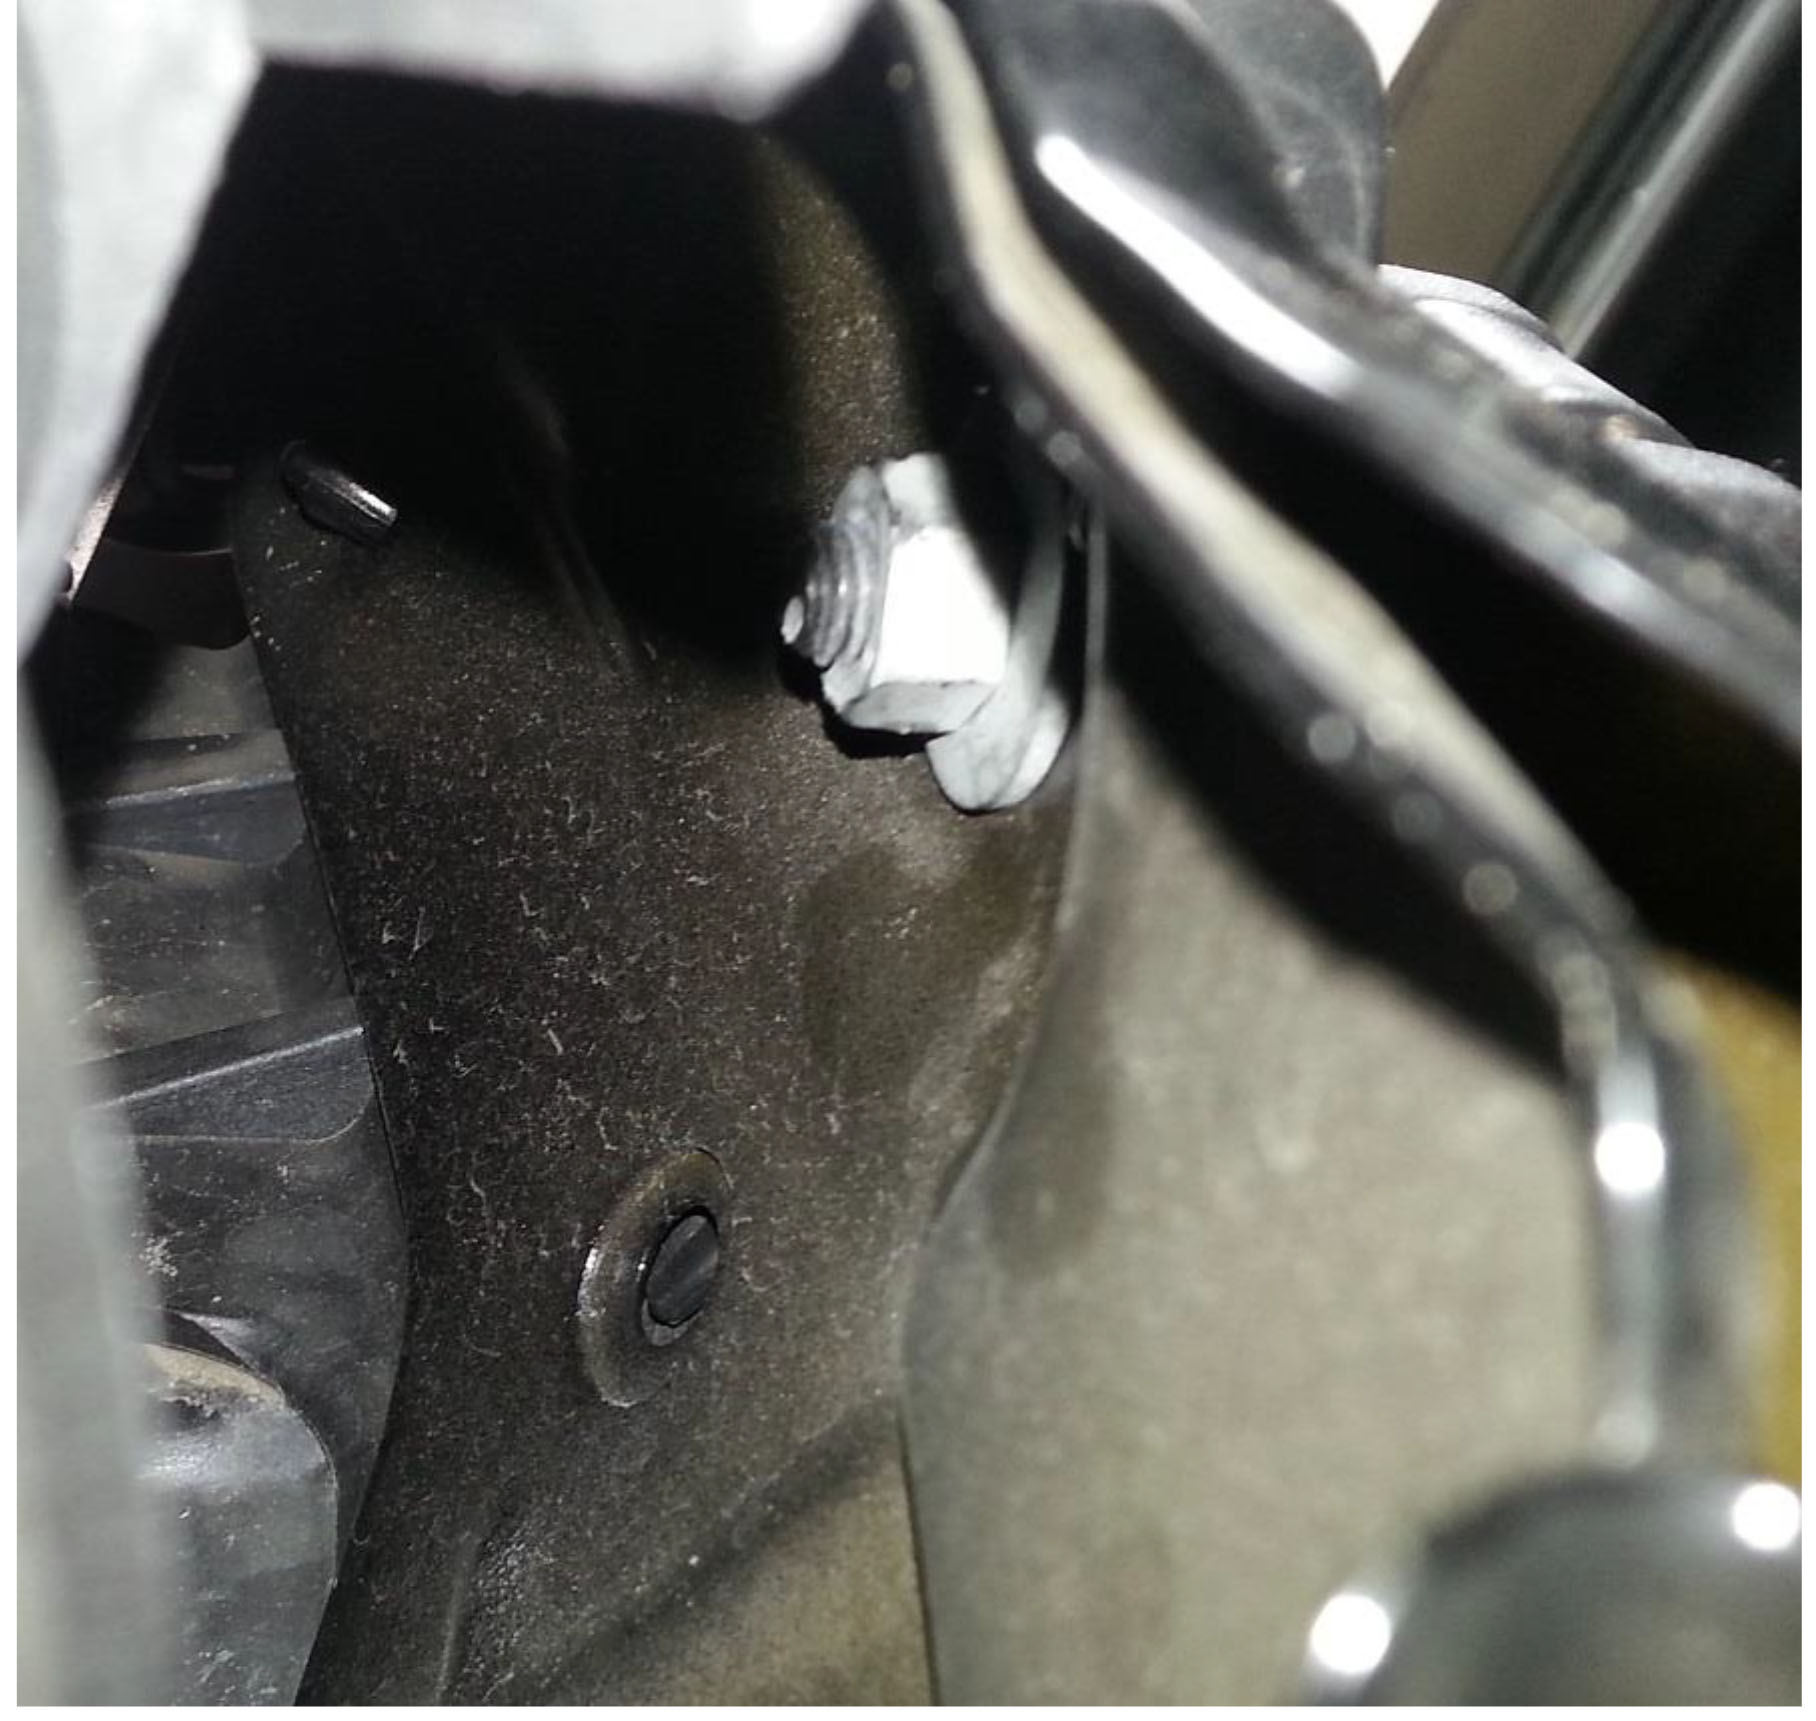
5. Remove the lower latch portion of the Rugged Ridge Aluminum Hood Catch Kit from the base using the (2) 5 MM Allen wrenches. (Pic 6 A) Insert the hard plastic hood protector. (Pic 6 B) Then insert the latch into the fender. Place the washer and locknut onto the bolt. Use the 5 MM Allen wrench to hold the bolt while using the 13 MM socket and wrench to tighten. Snug the nut but don’t over tighten. (Pic 6 C)
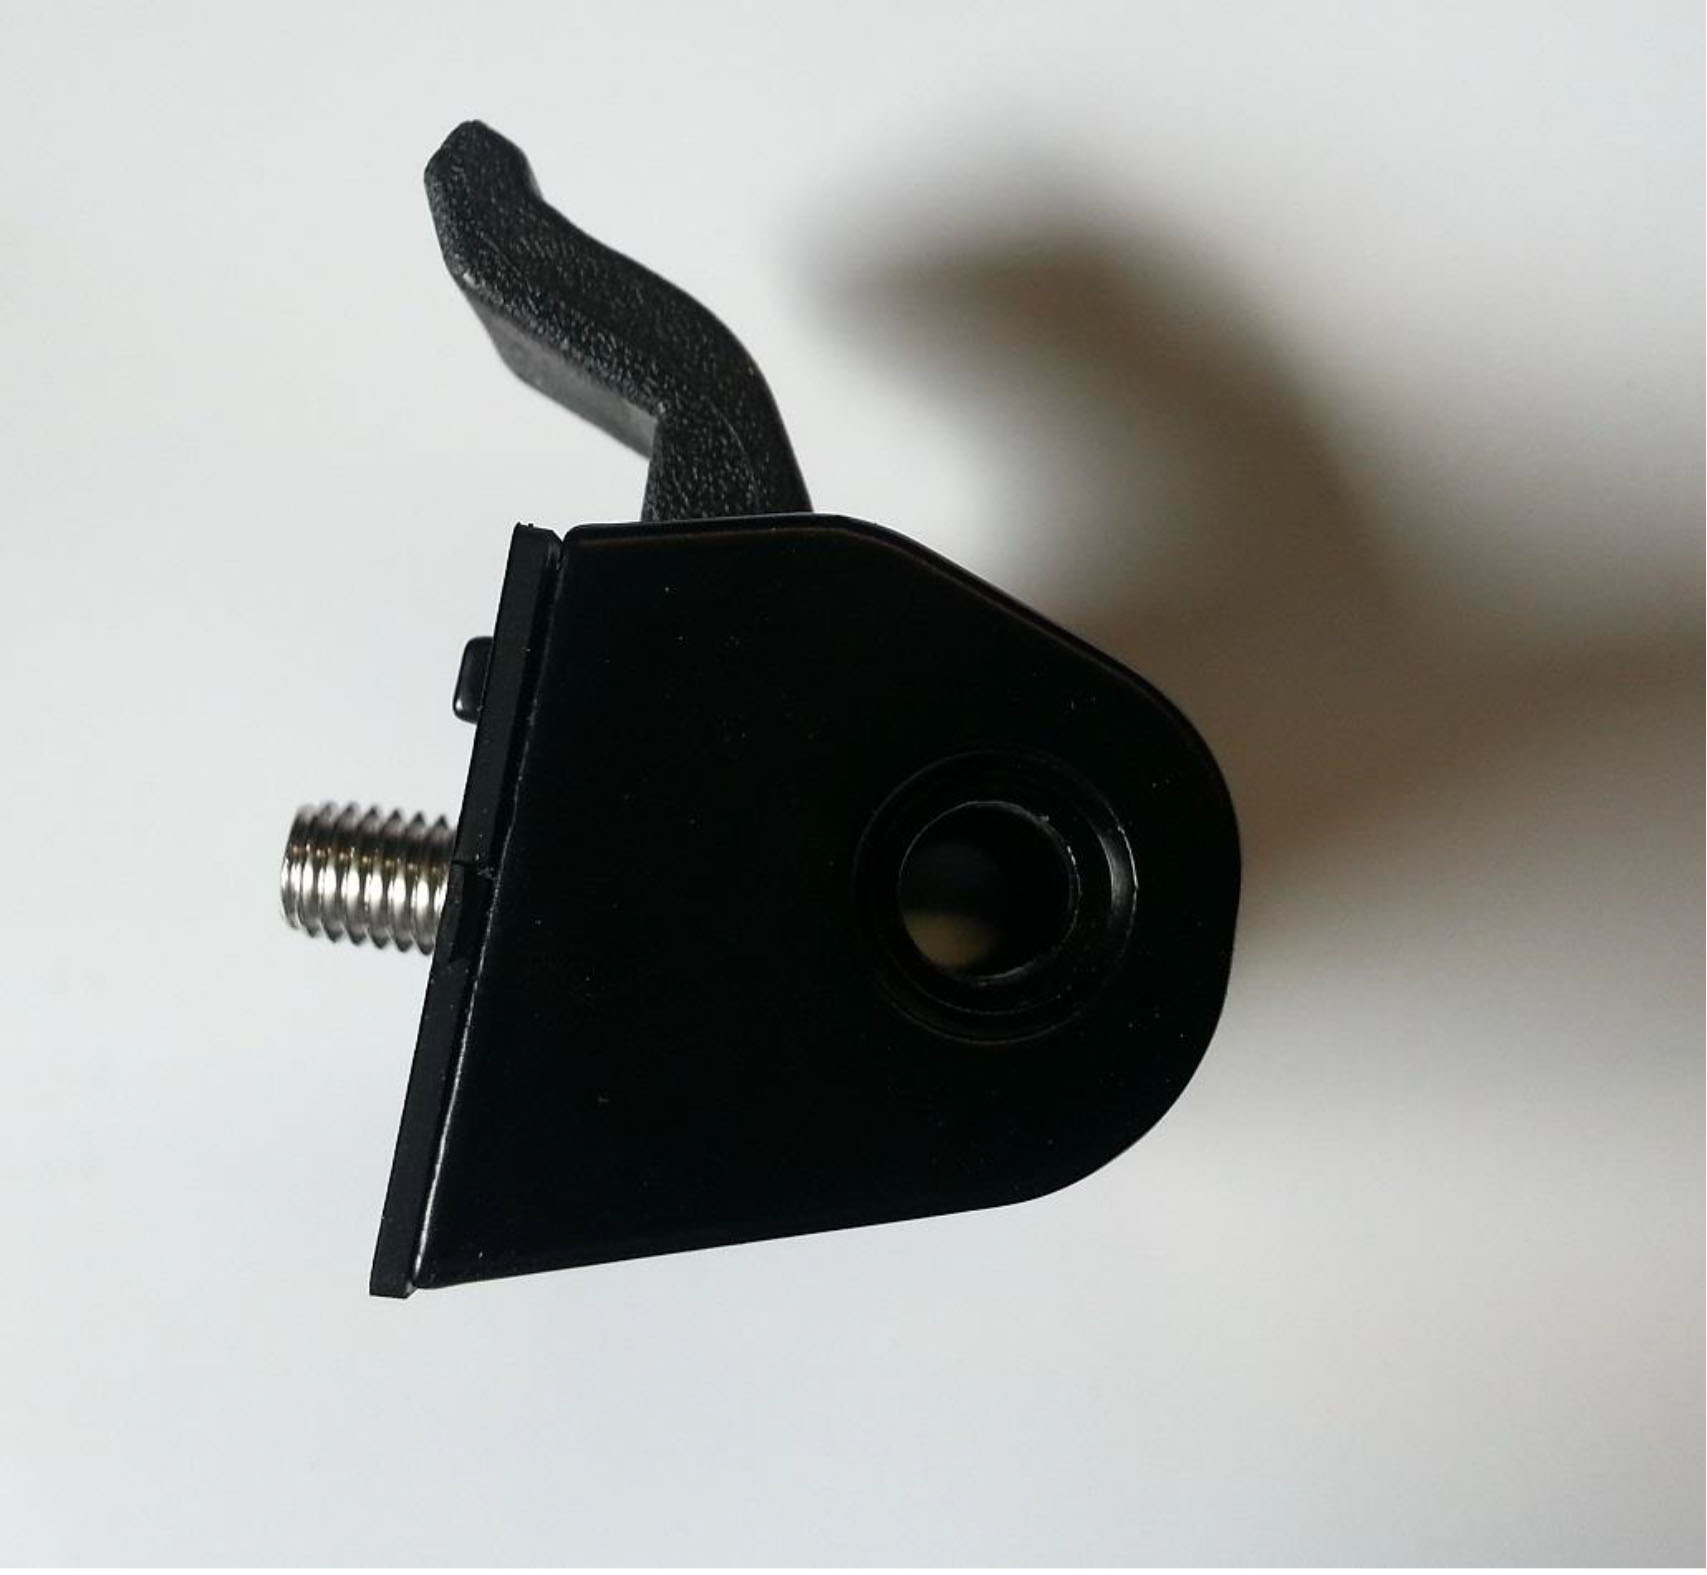
(Pic 6 A)

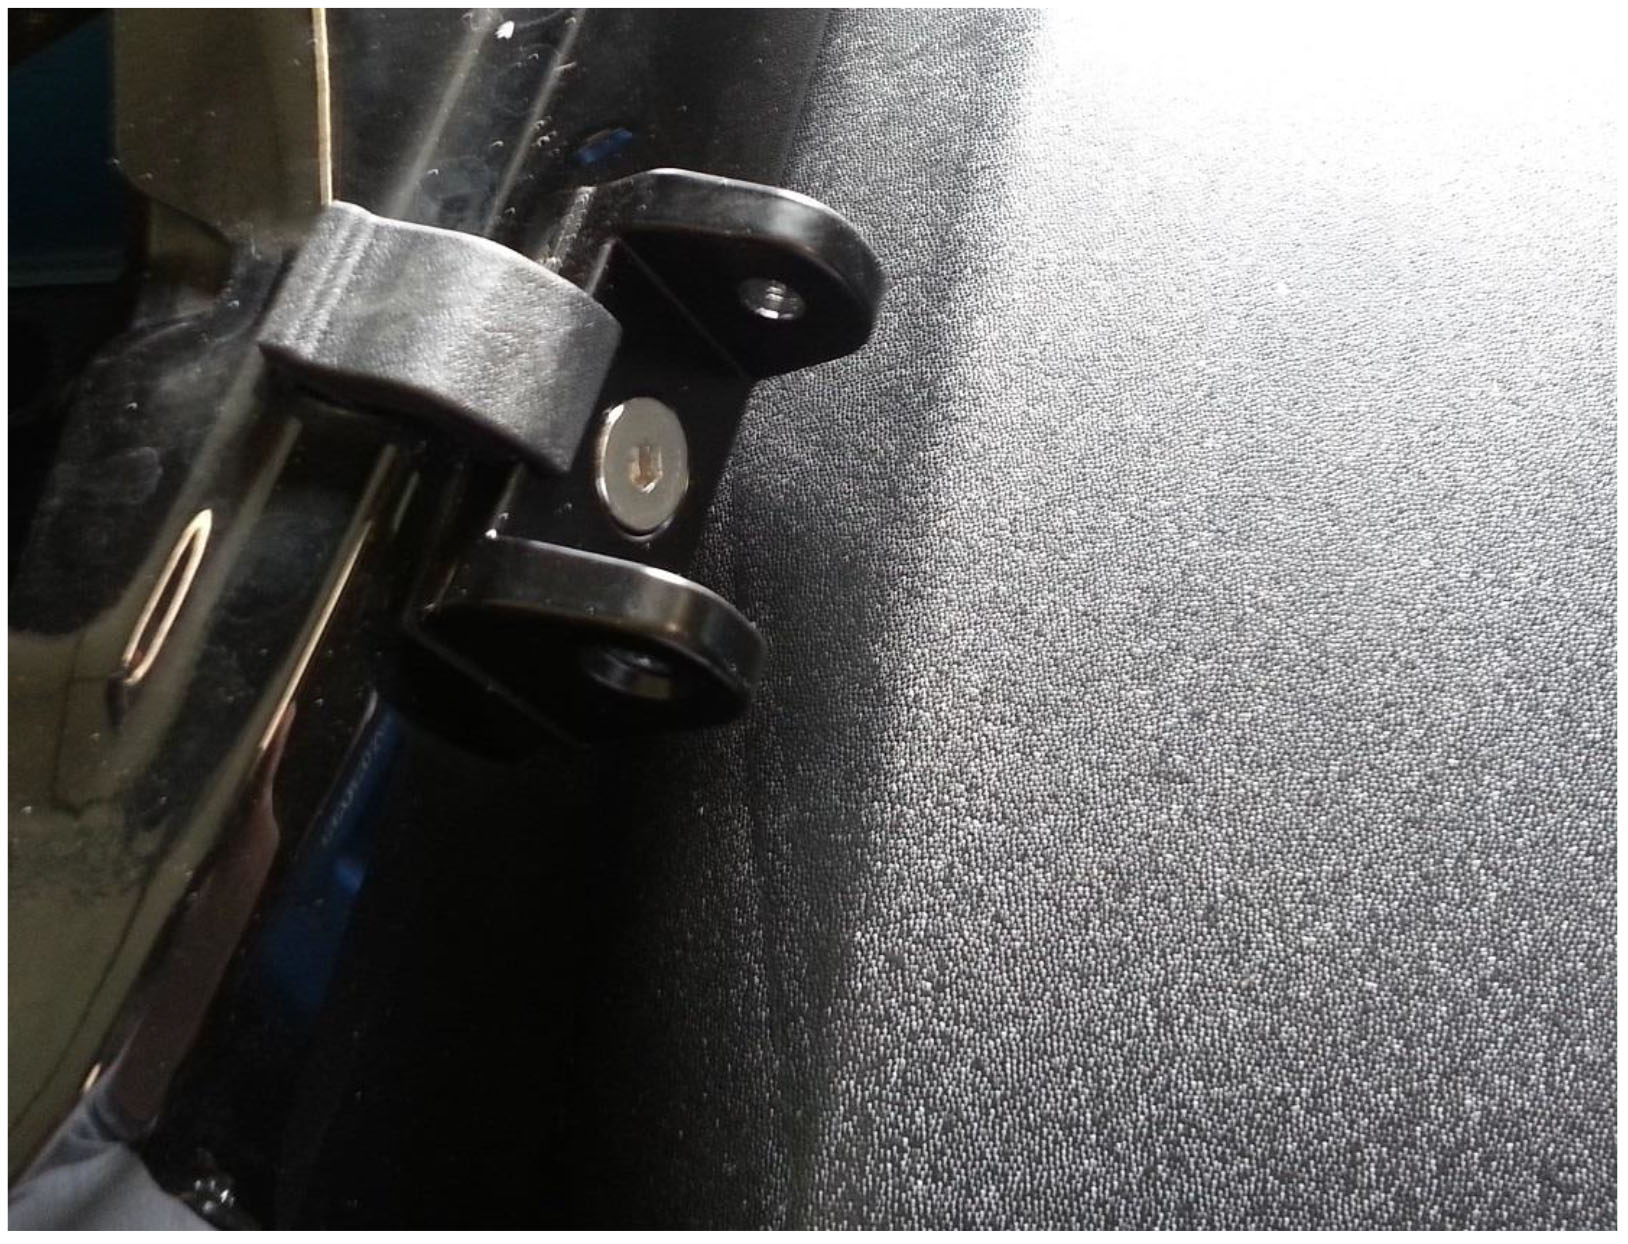
(Pic 6 B)
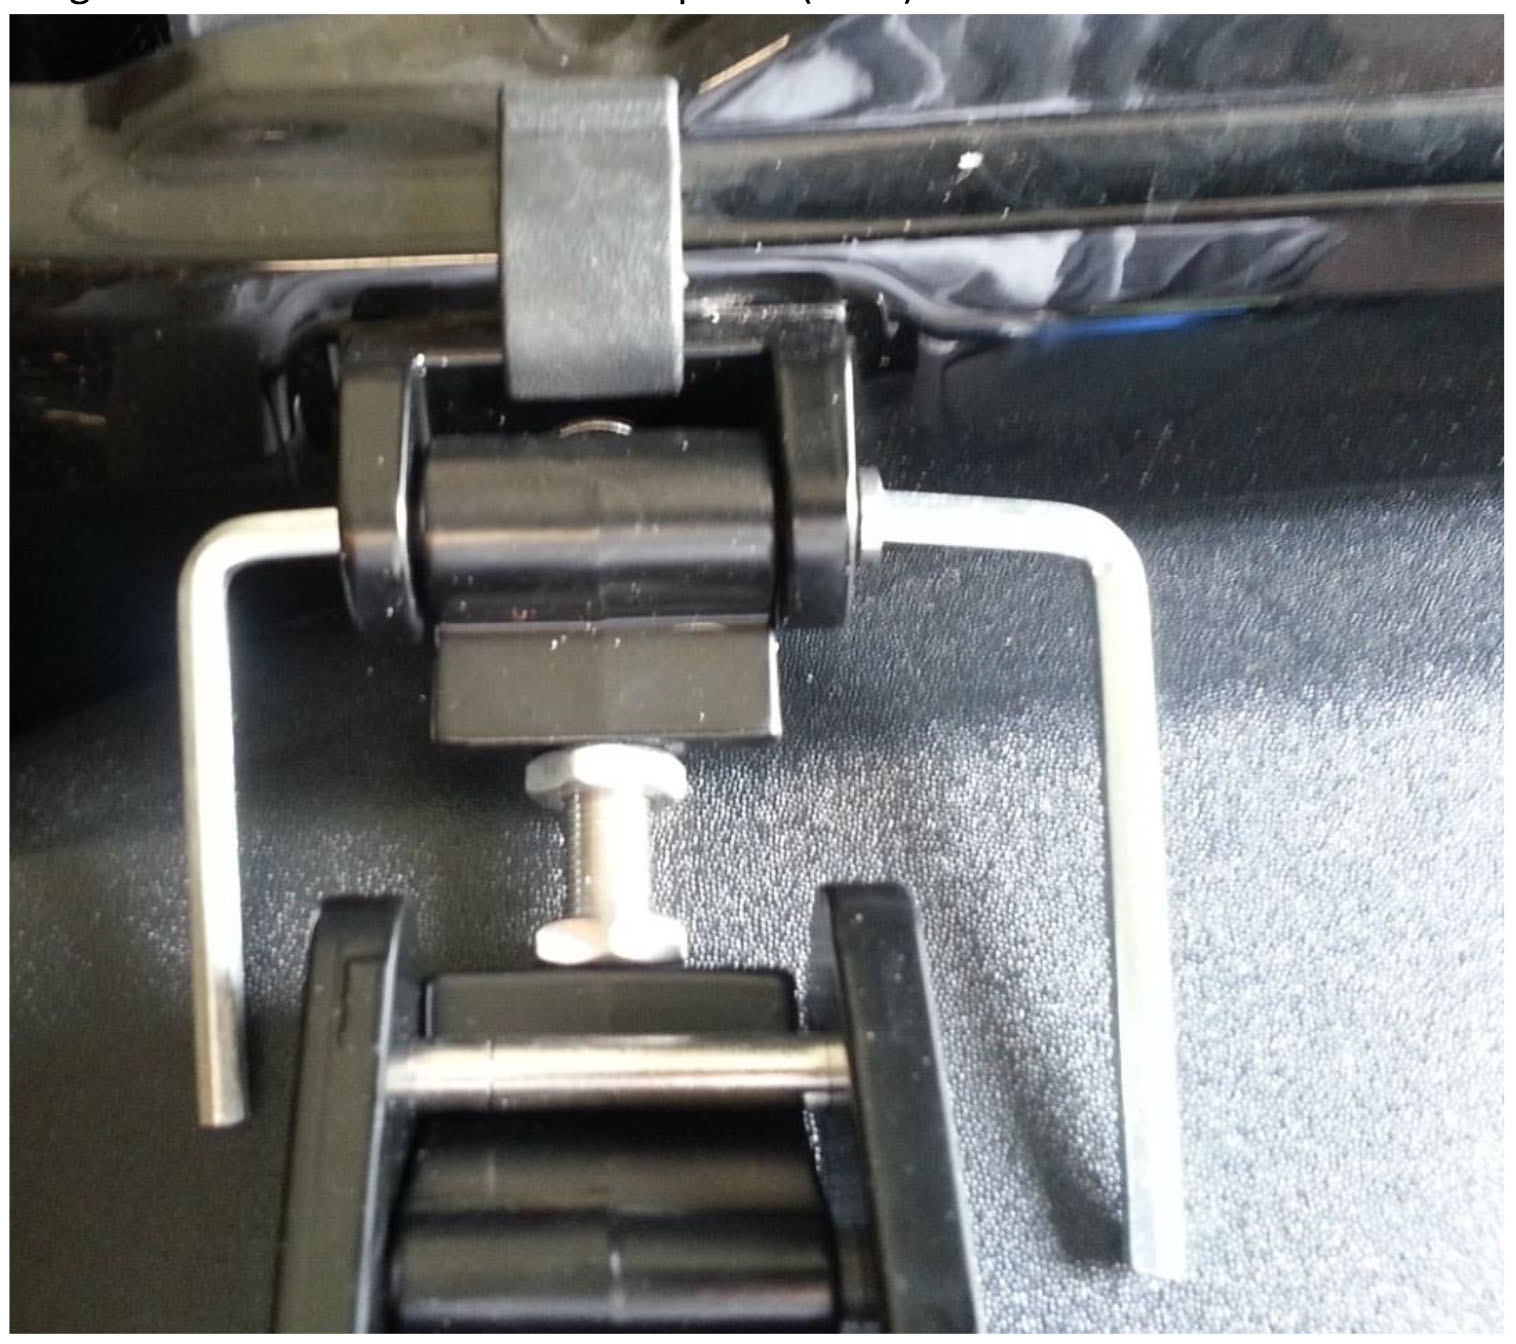
(Pic 6 C)
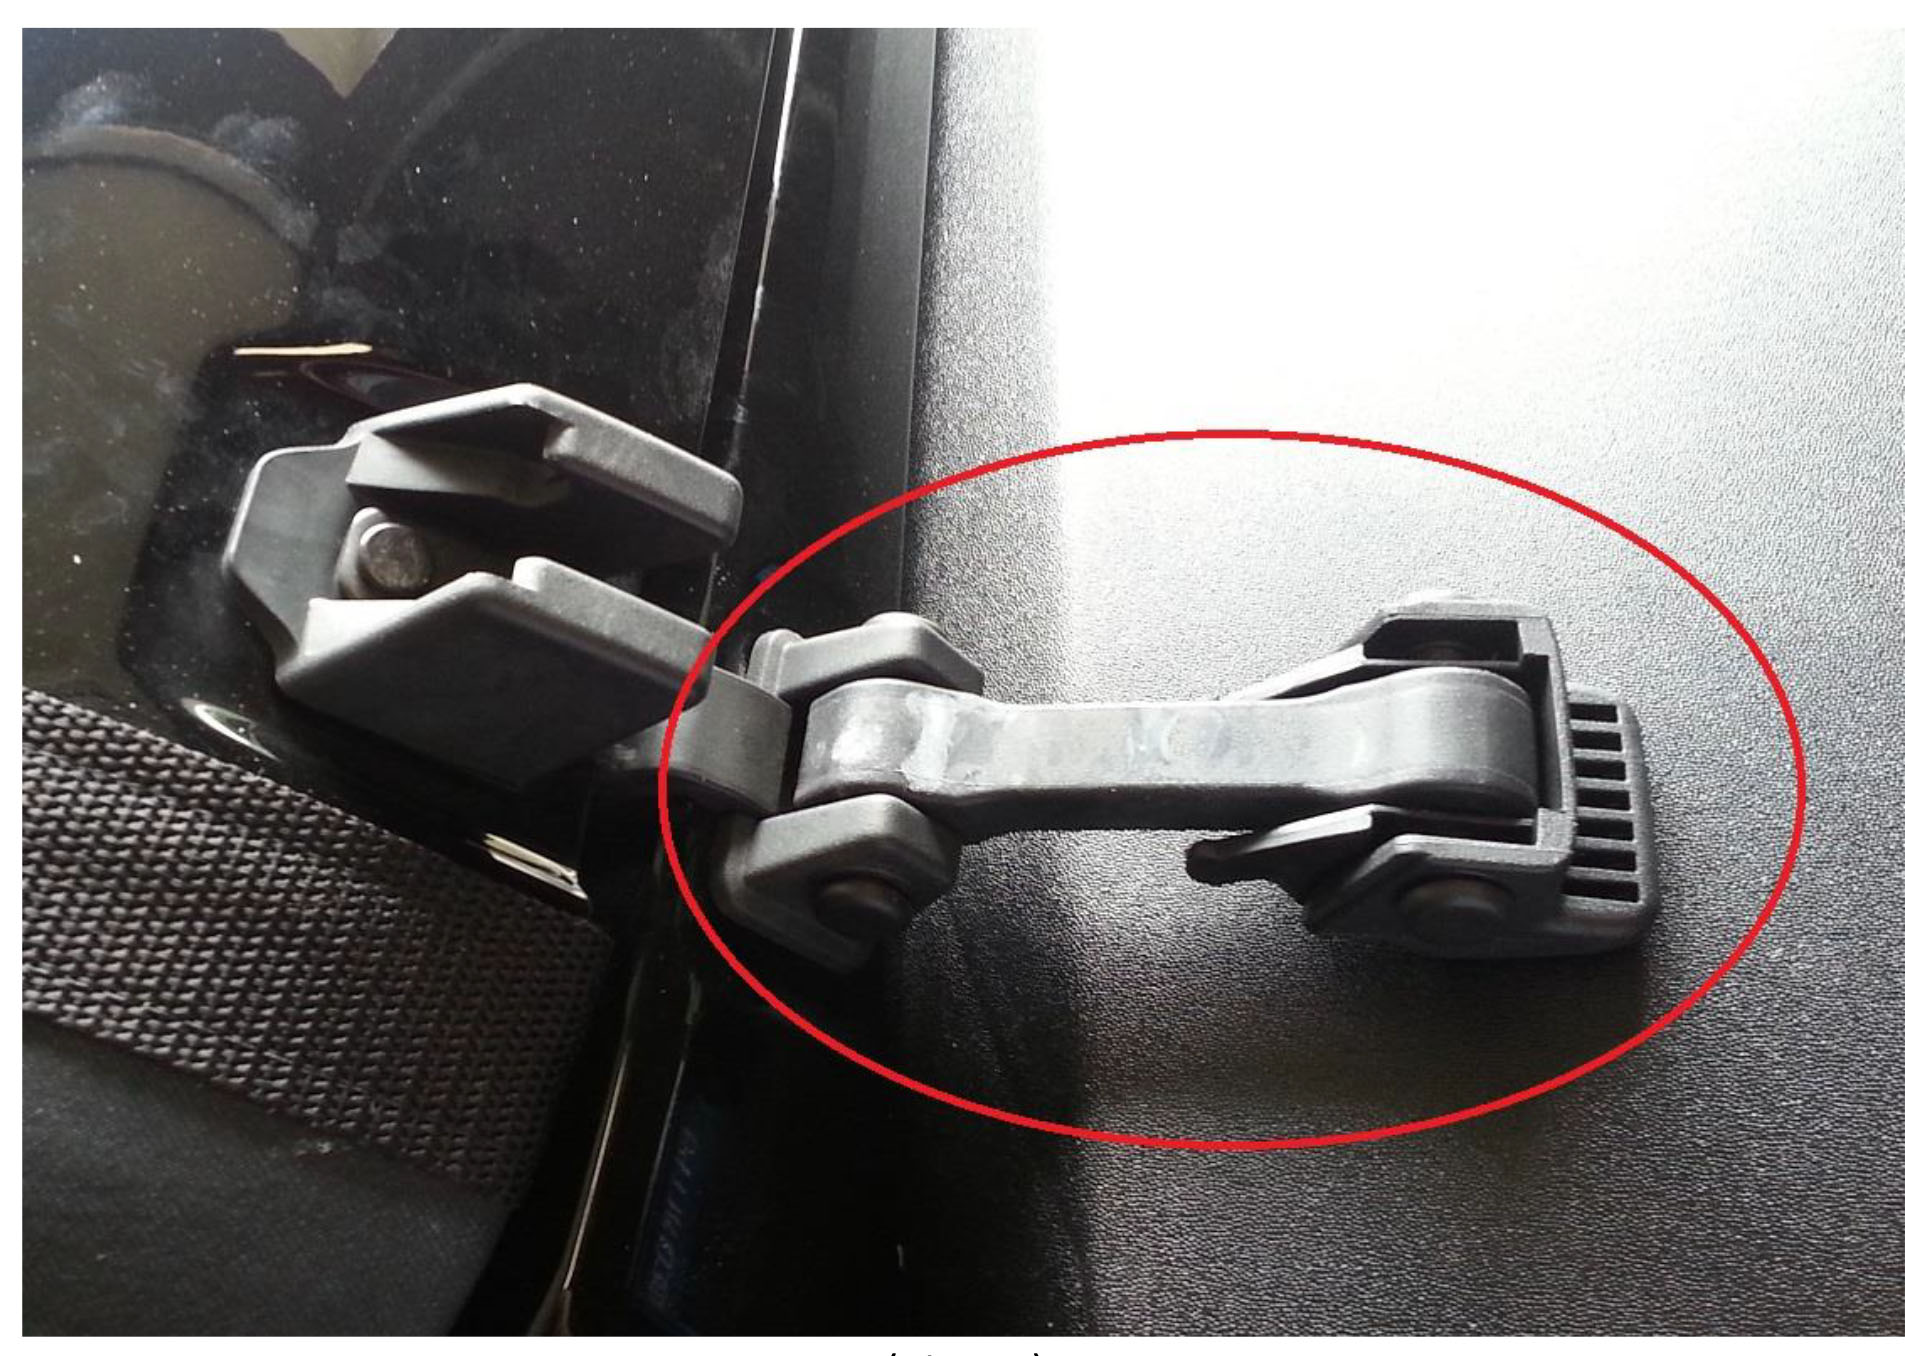
6. Place lower latch portion of the Rugged Ridge Aluminum Hood Catch Kit back into the base. Use the (2) 5 MM Allen wrenches to tighten the swivel bolts back into place. (Pic 7)
(Pic 7)
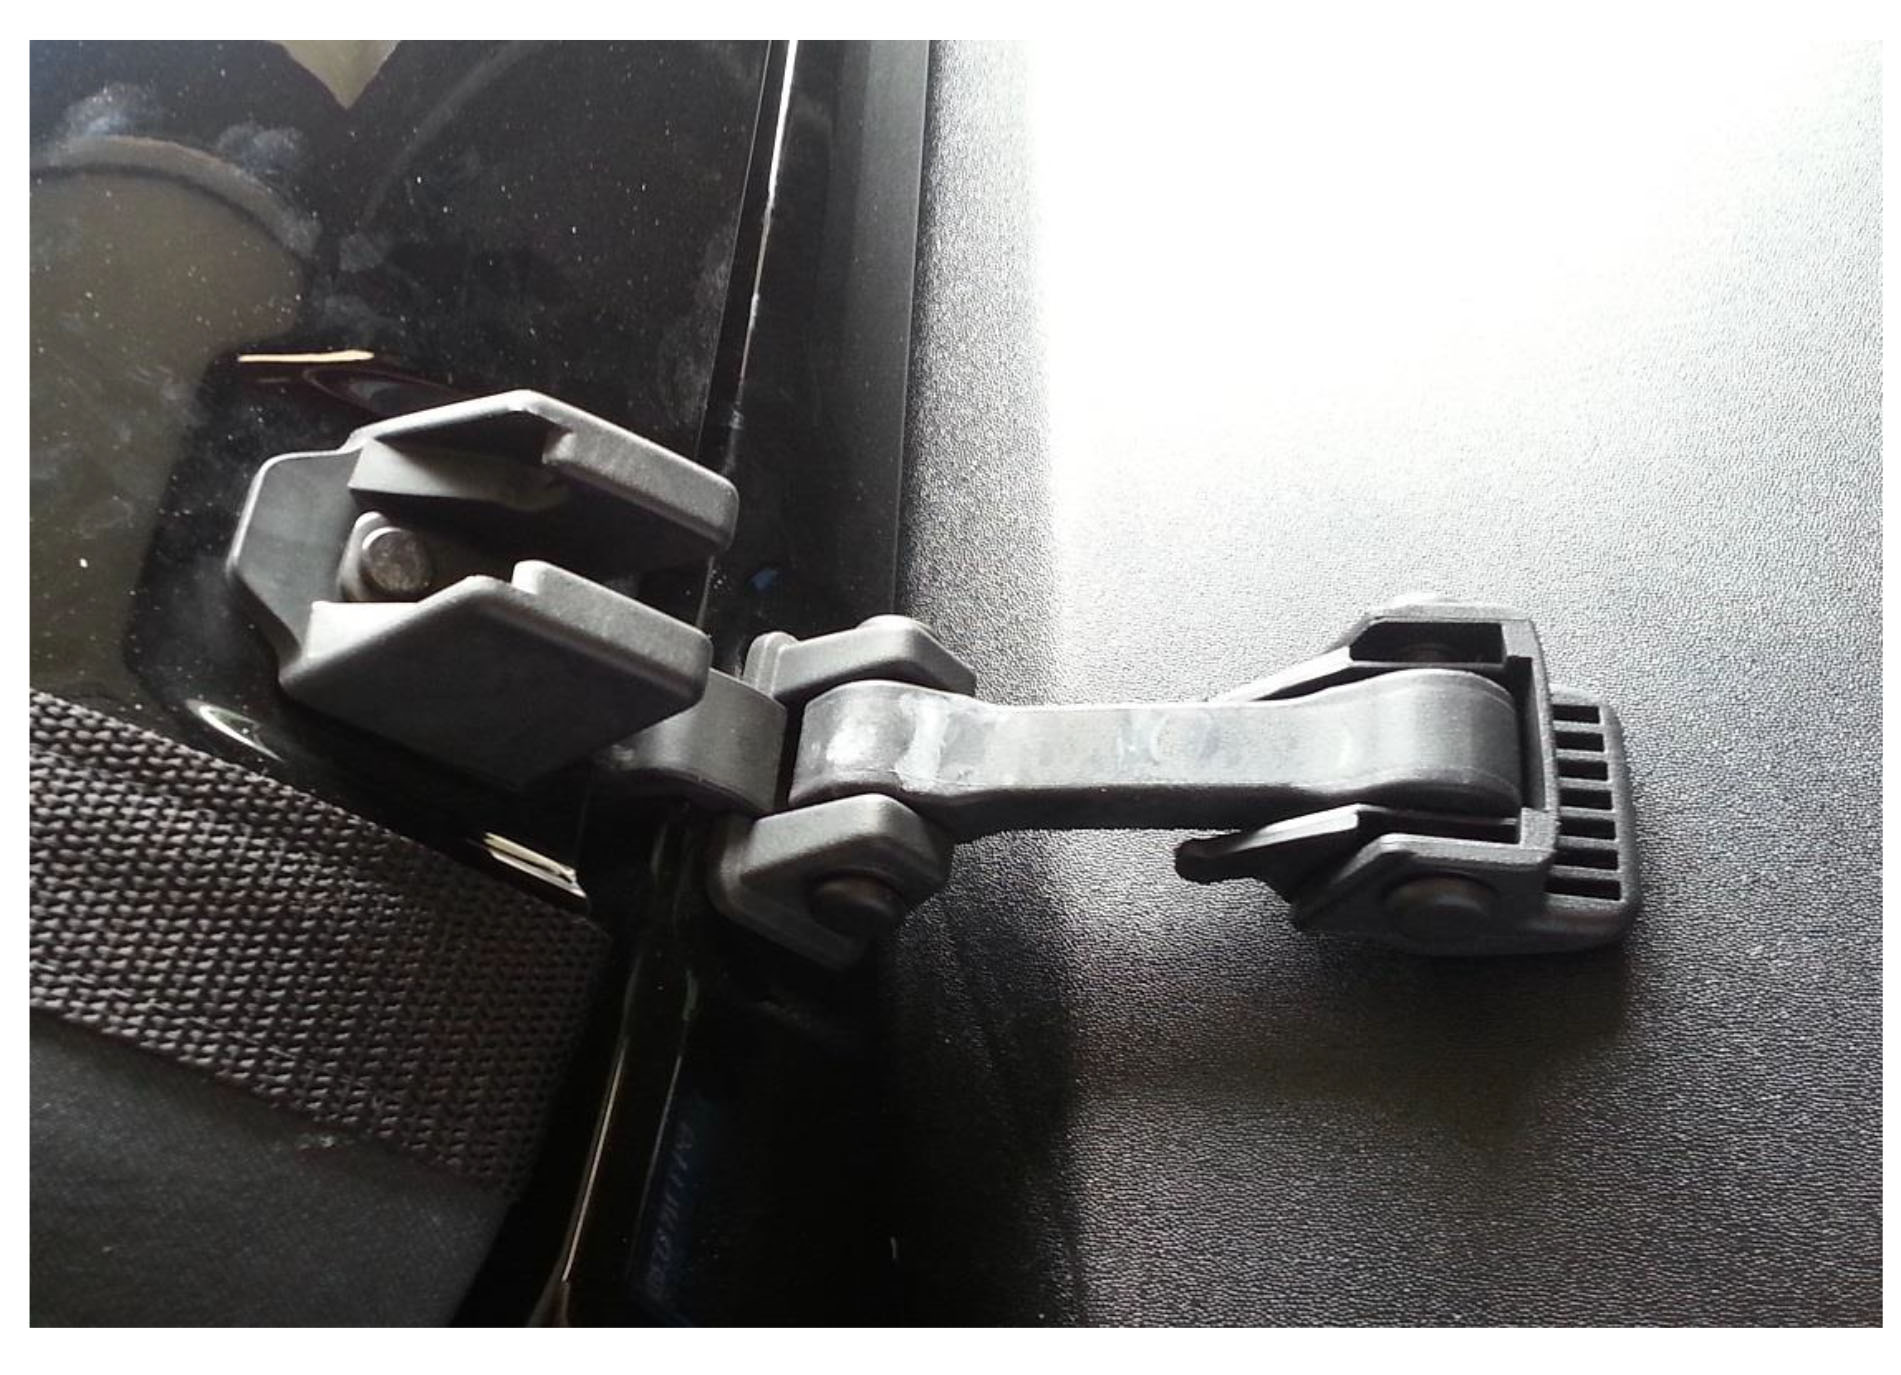
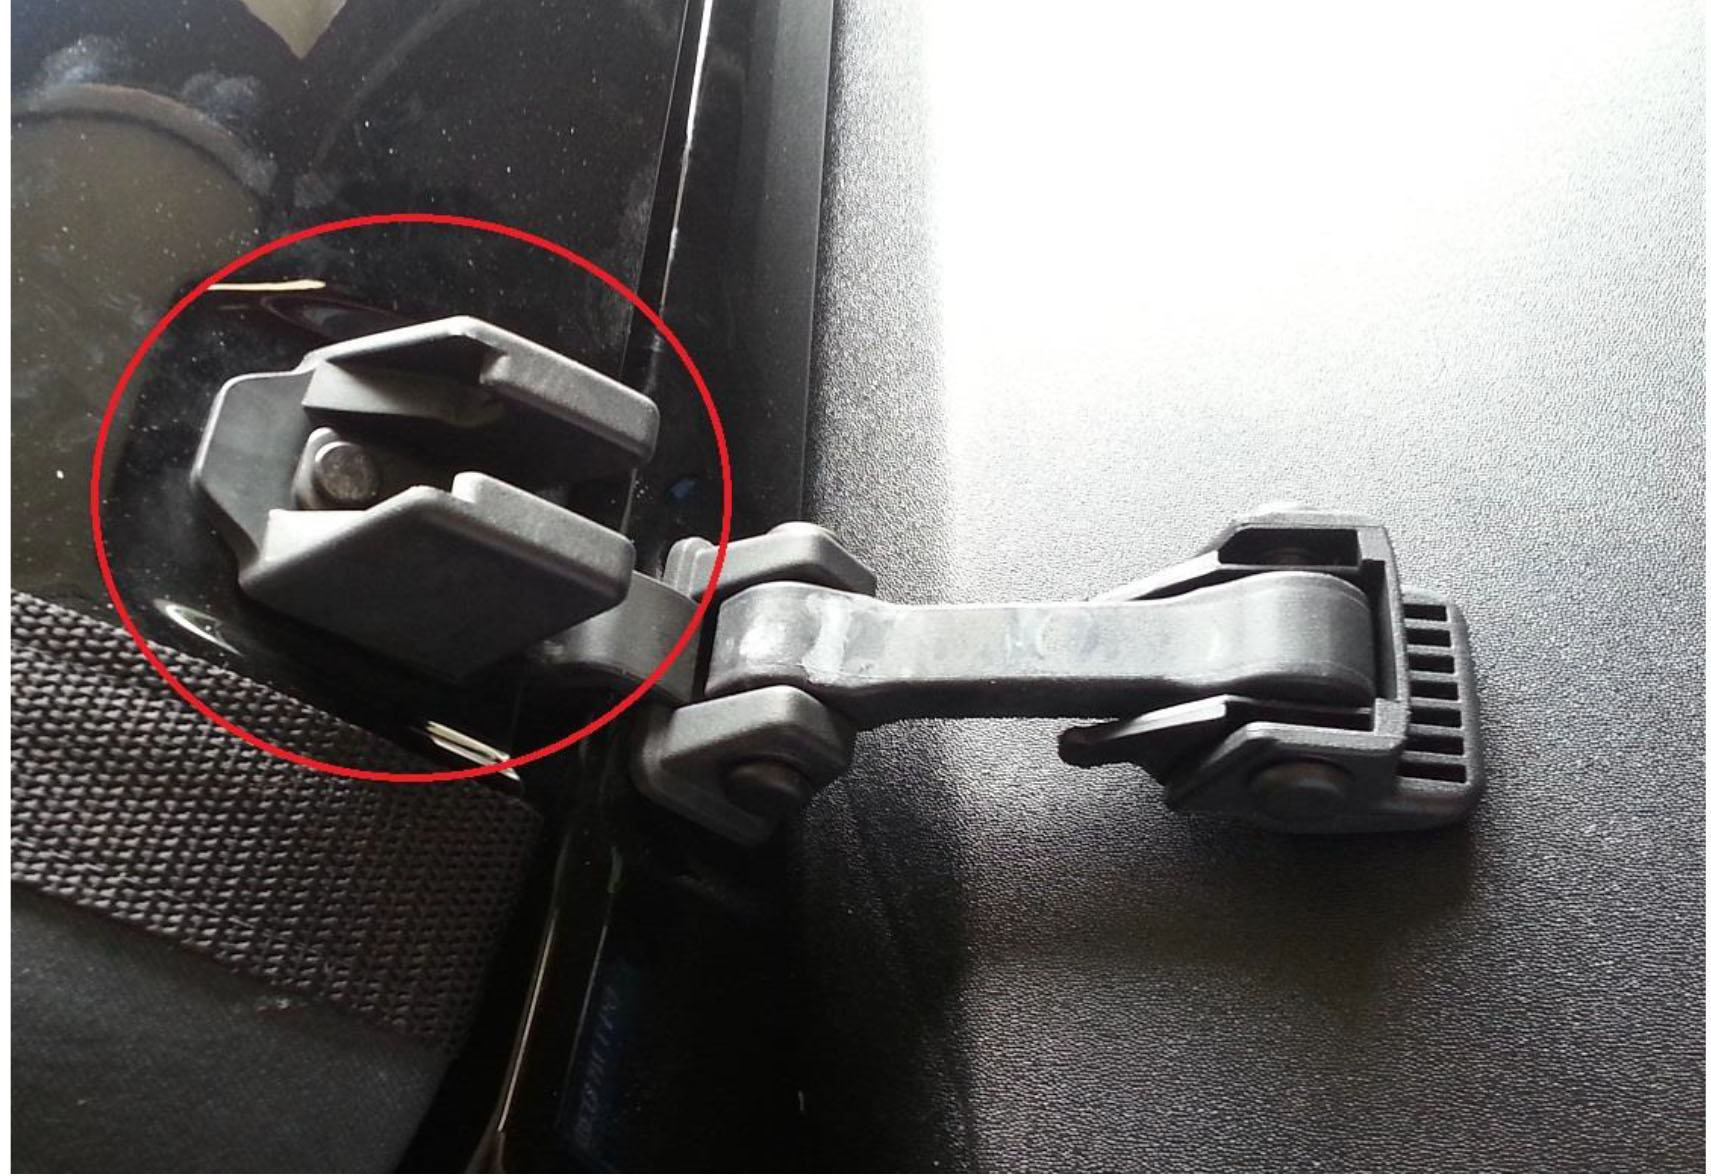
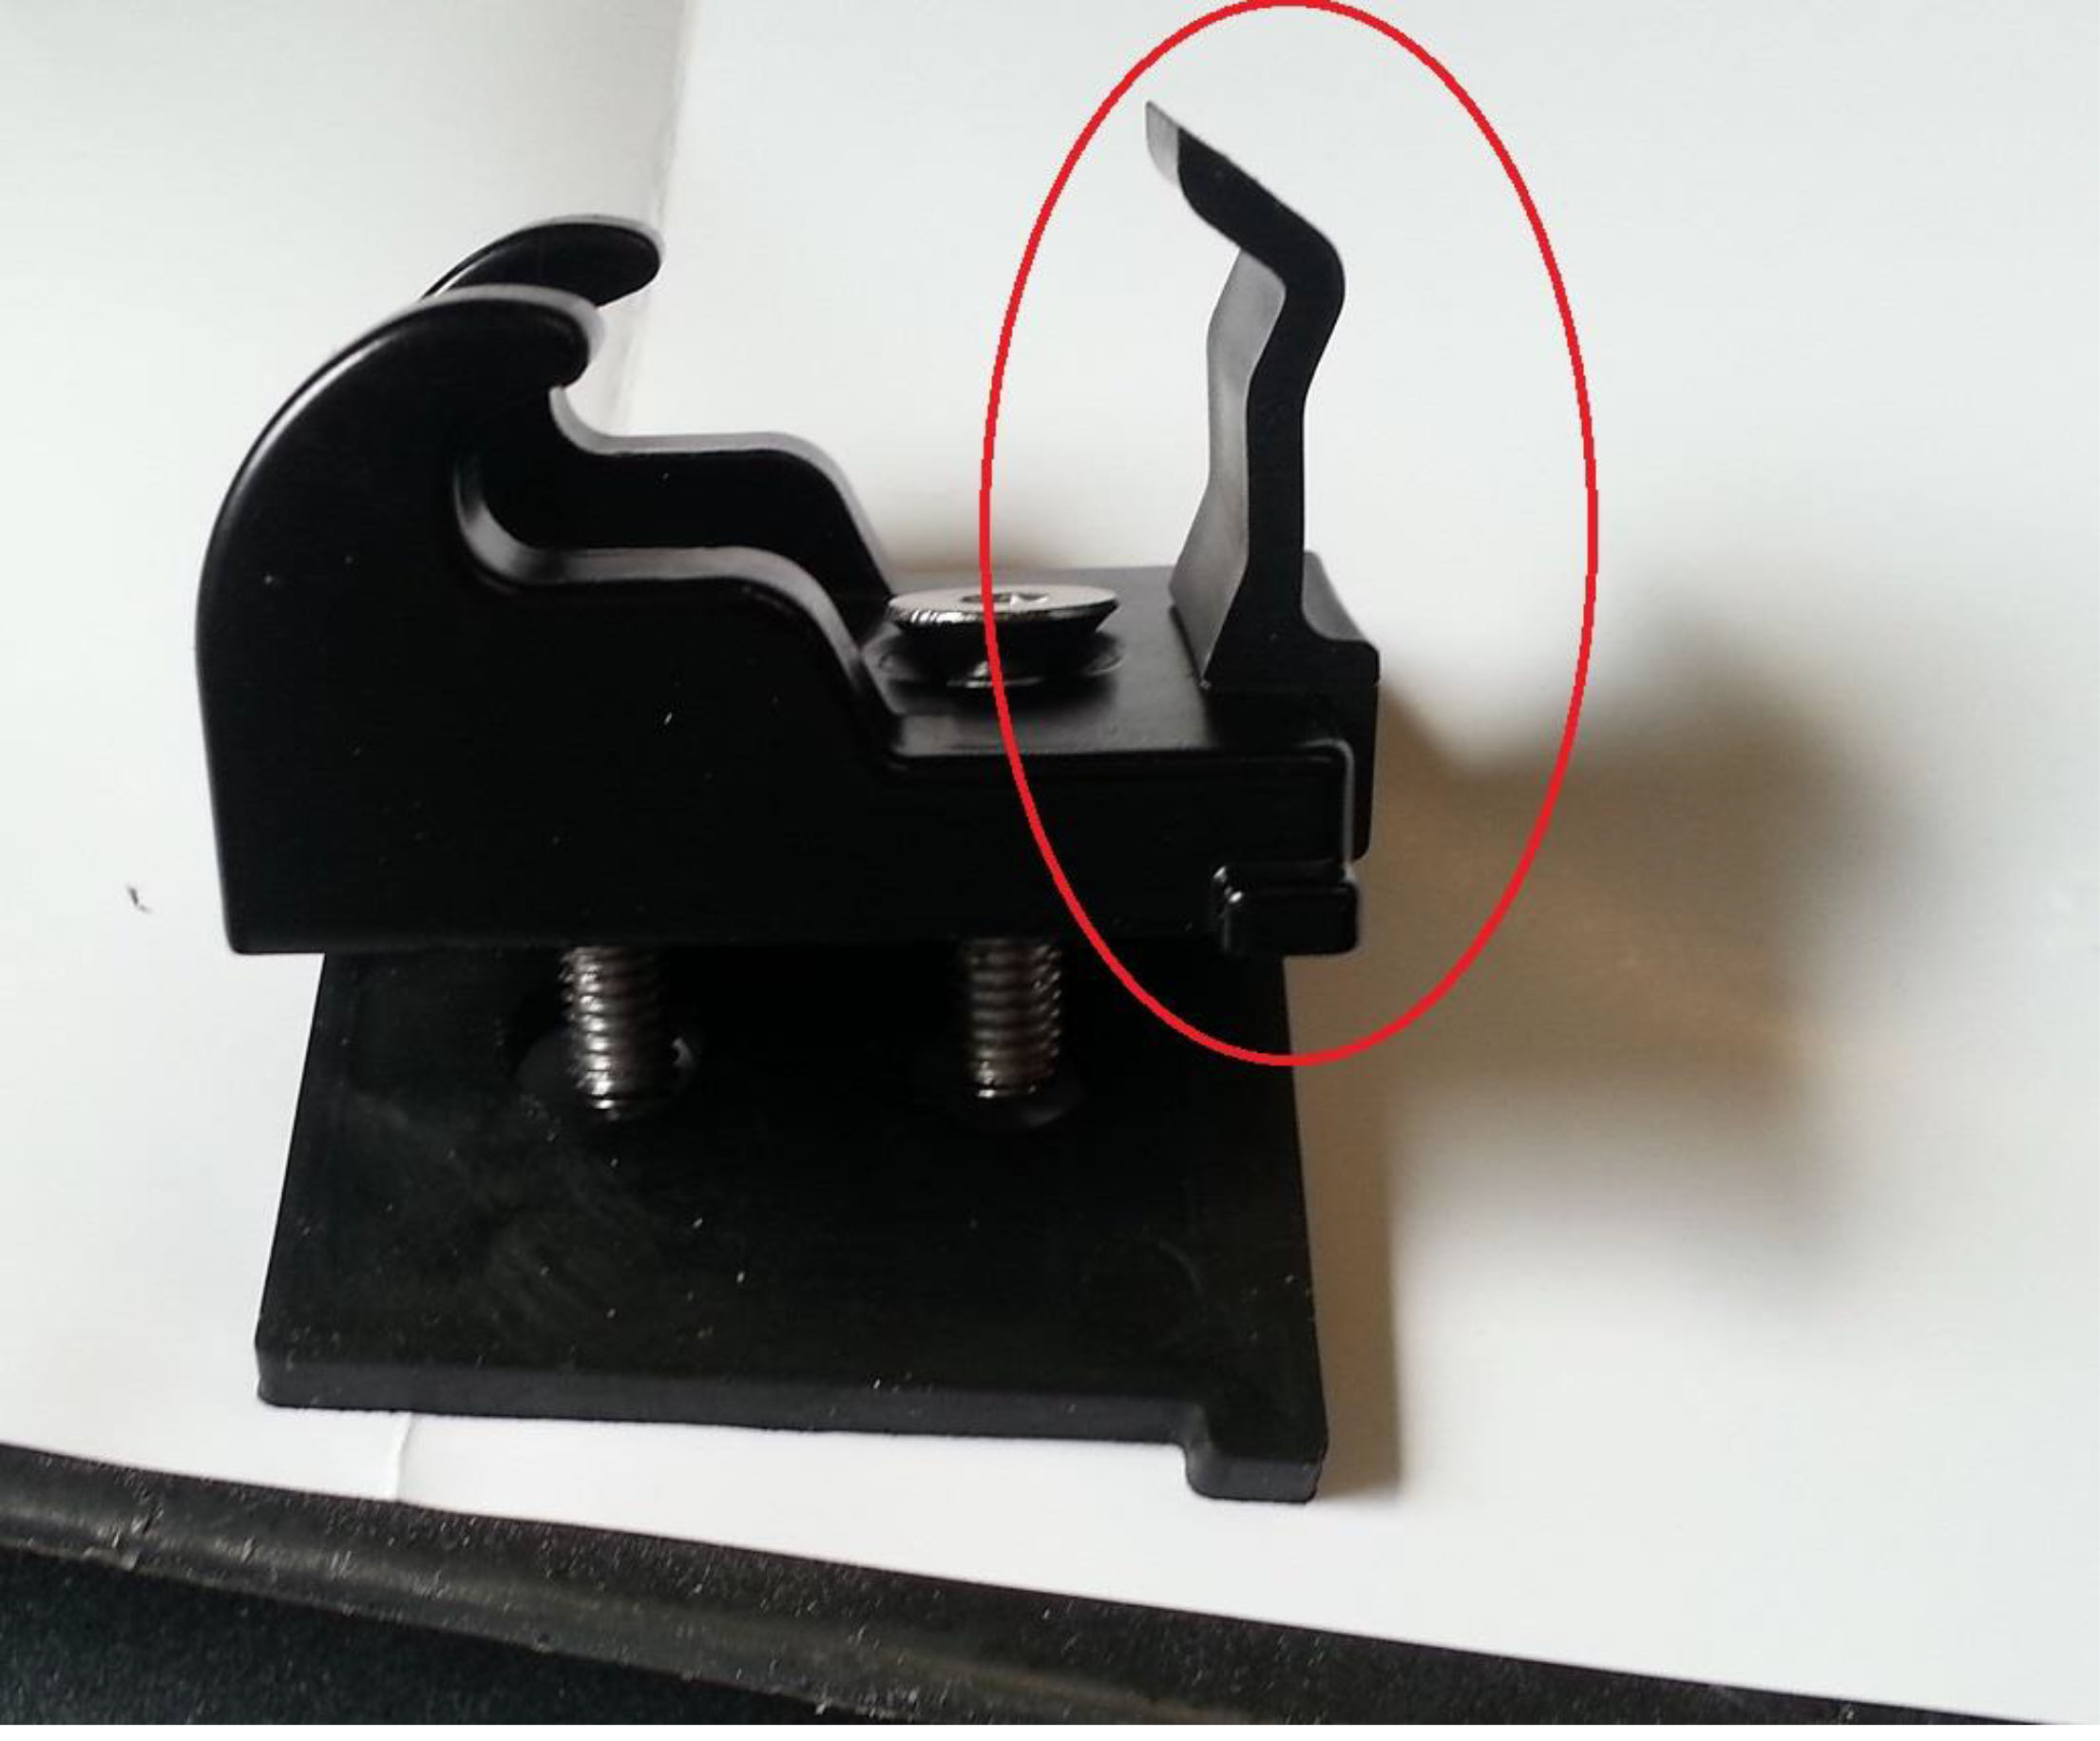
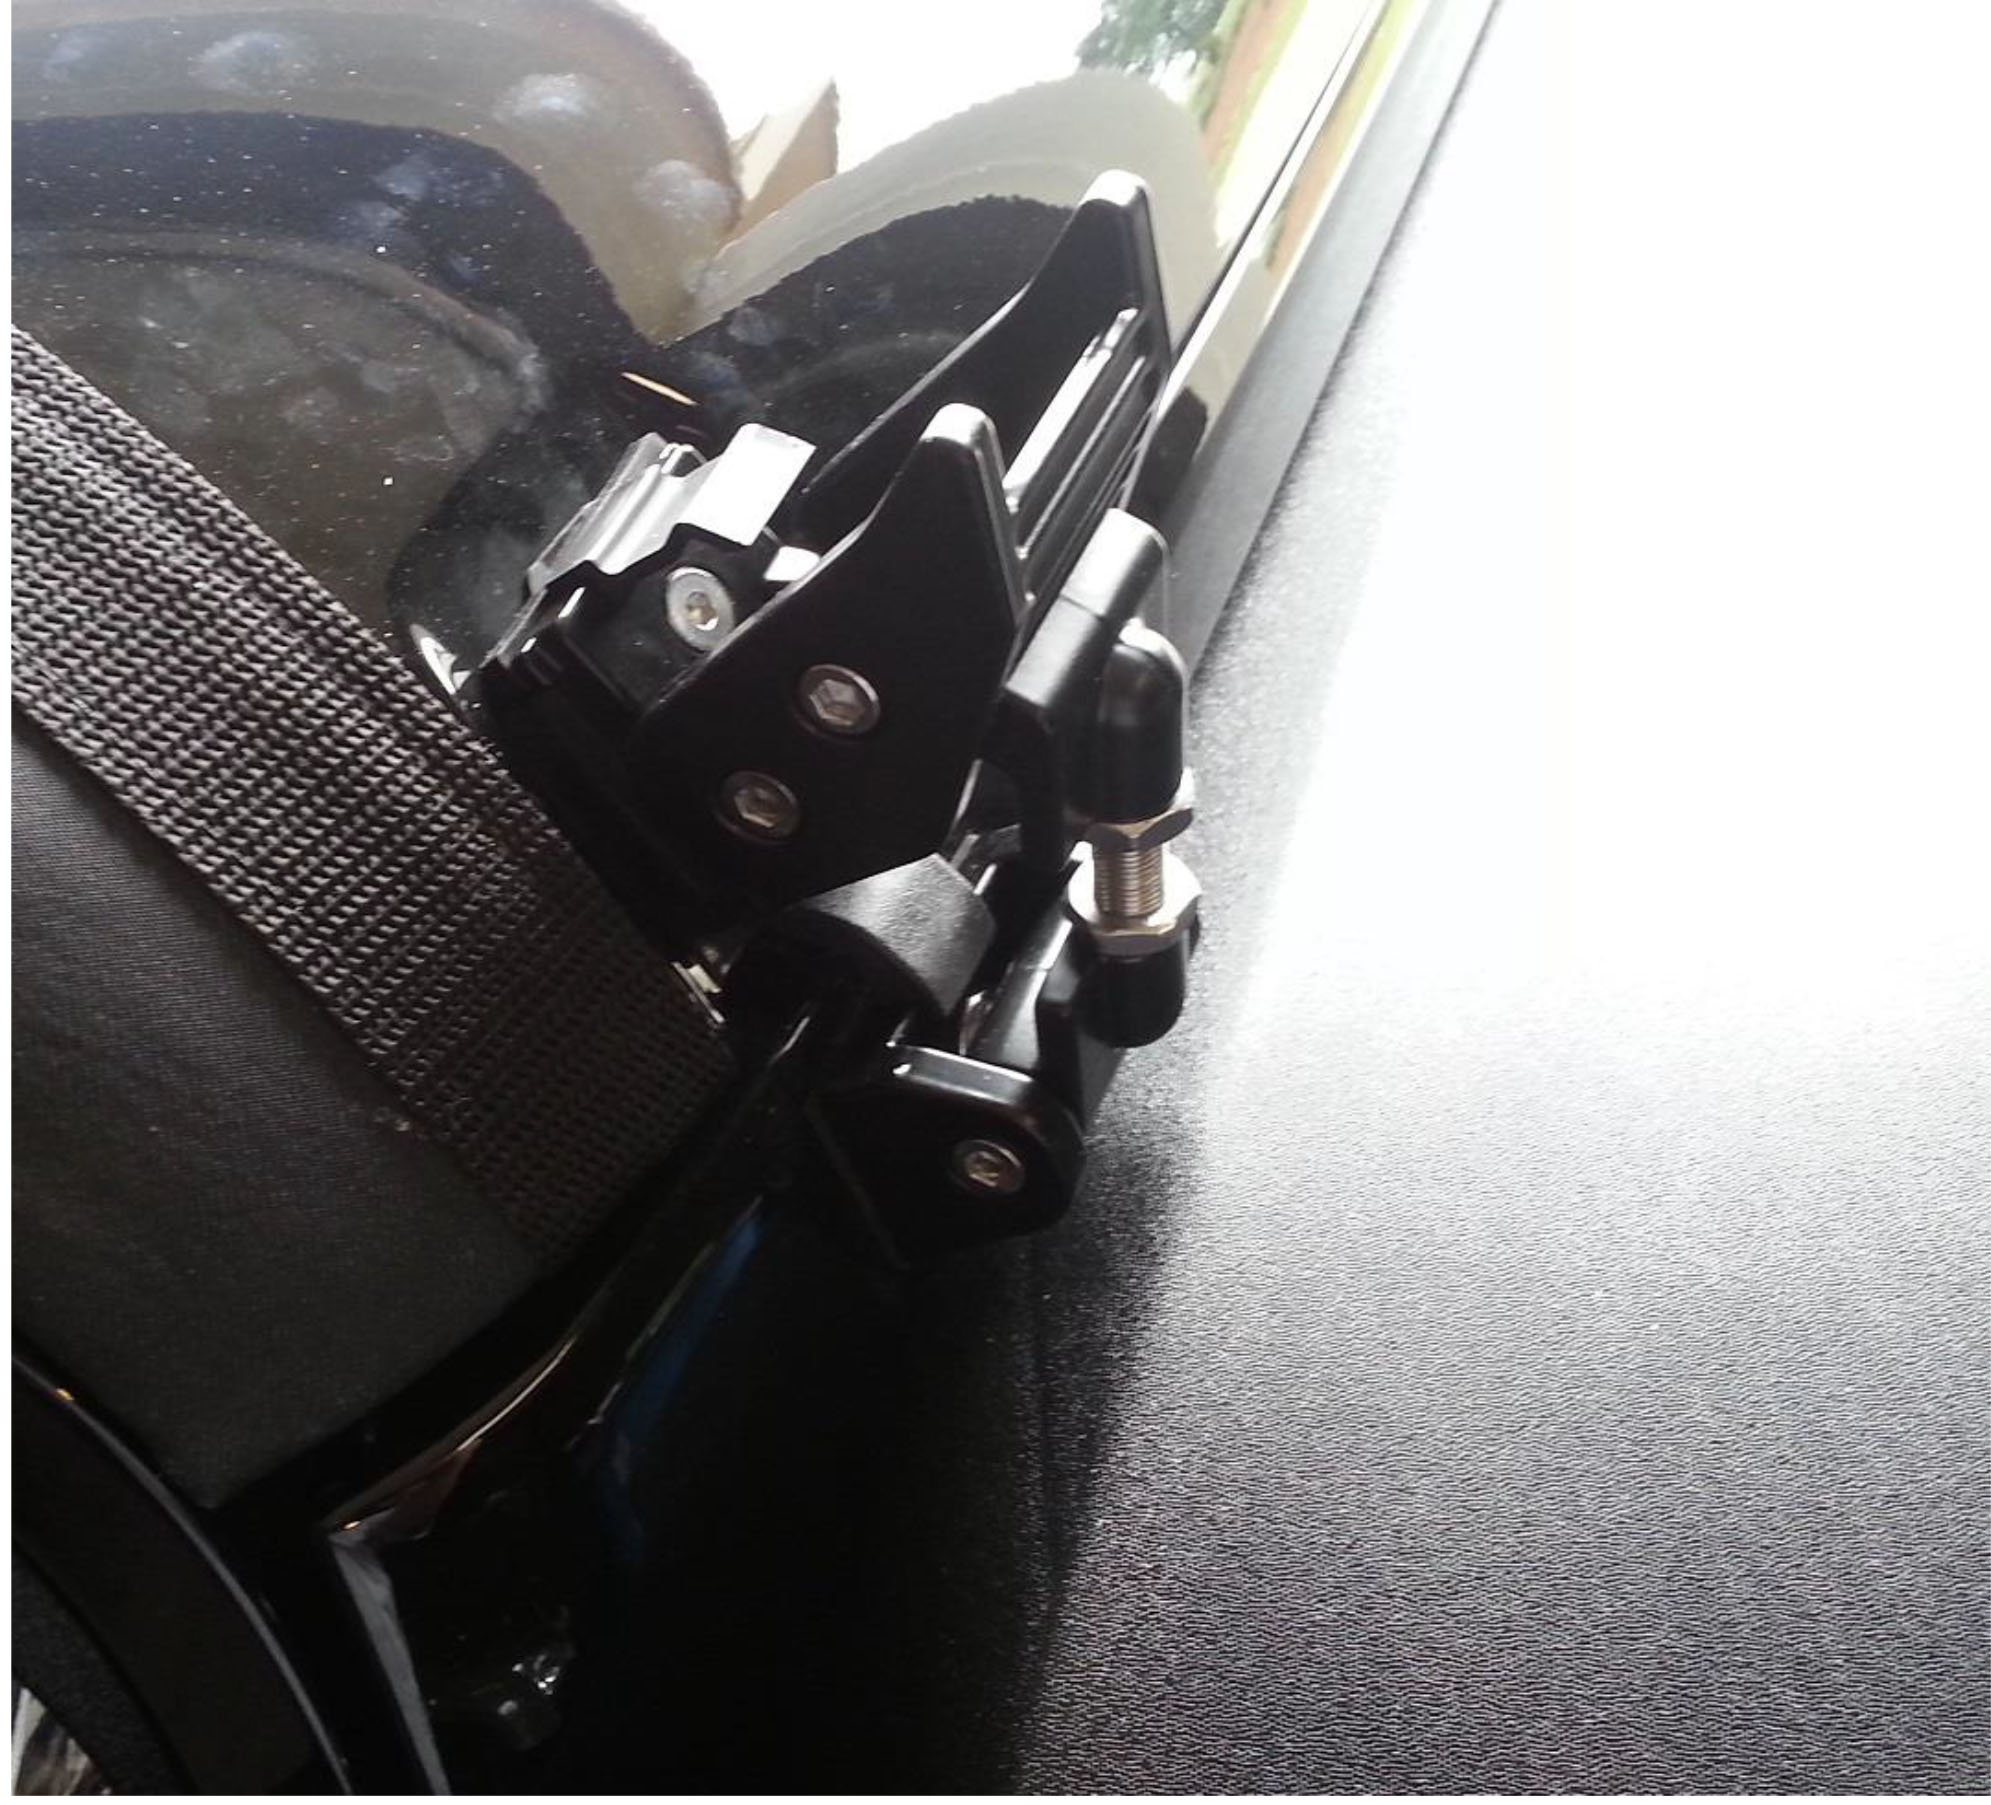
7. Once the latch assembly is attached it will need adjusting. Just loosen the nuts on the upper and lower portion of the threaded latch bolt. Then rotate the assembly to the left until the catch is extended. (Pic 8) Periodically test to determine if the latch will catch the hood latch. Once the latch is snug, tighten the nuts on the lower and upper portion to lock the assembly in place. It took about 6 turns for the latch to extend enough to catch and lock on the upper latch. (Pic 8 B) Be sure the bolt is threading out evenly from the upper and lower portion of the latch.
(Pic 8 A)
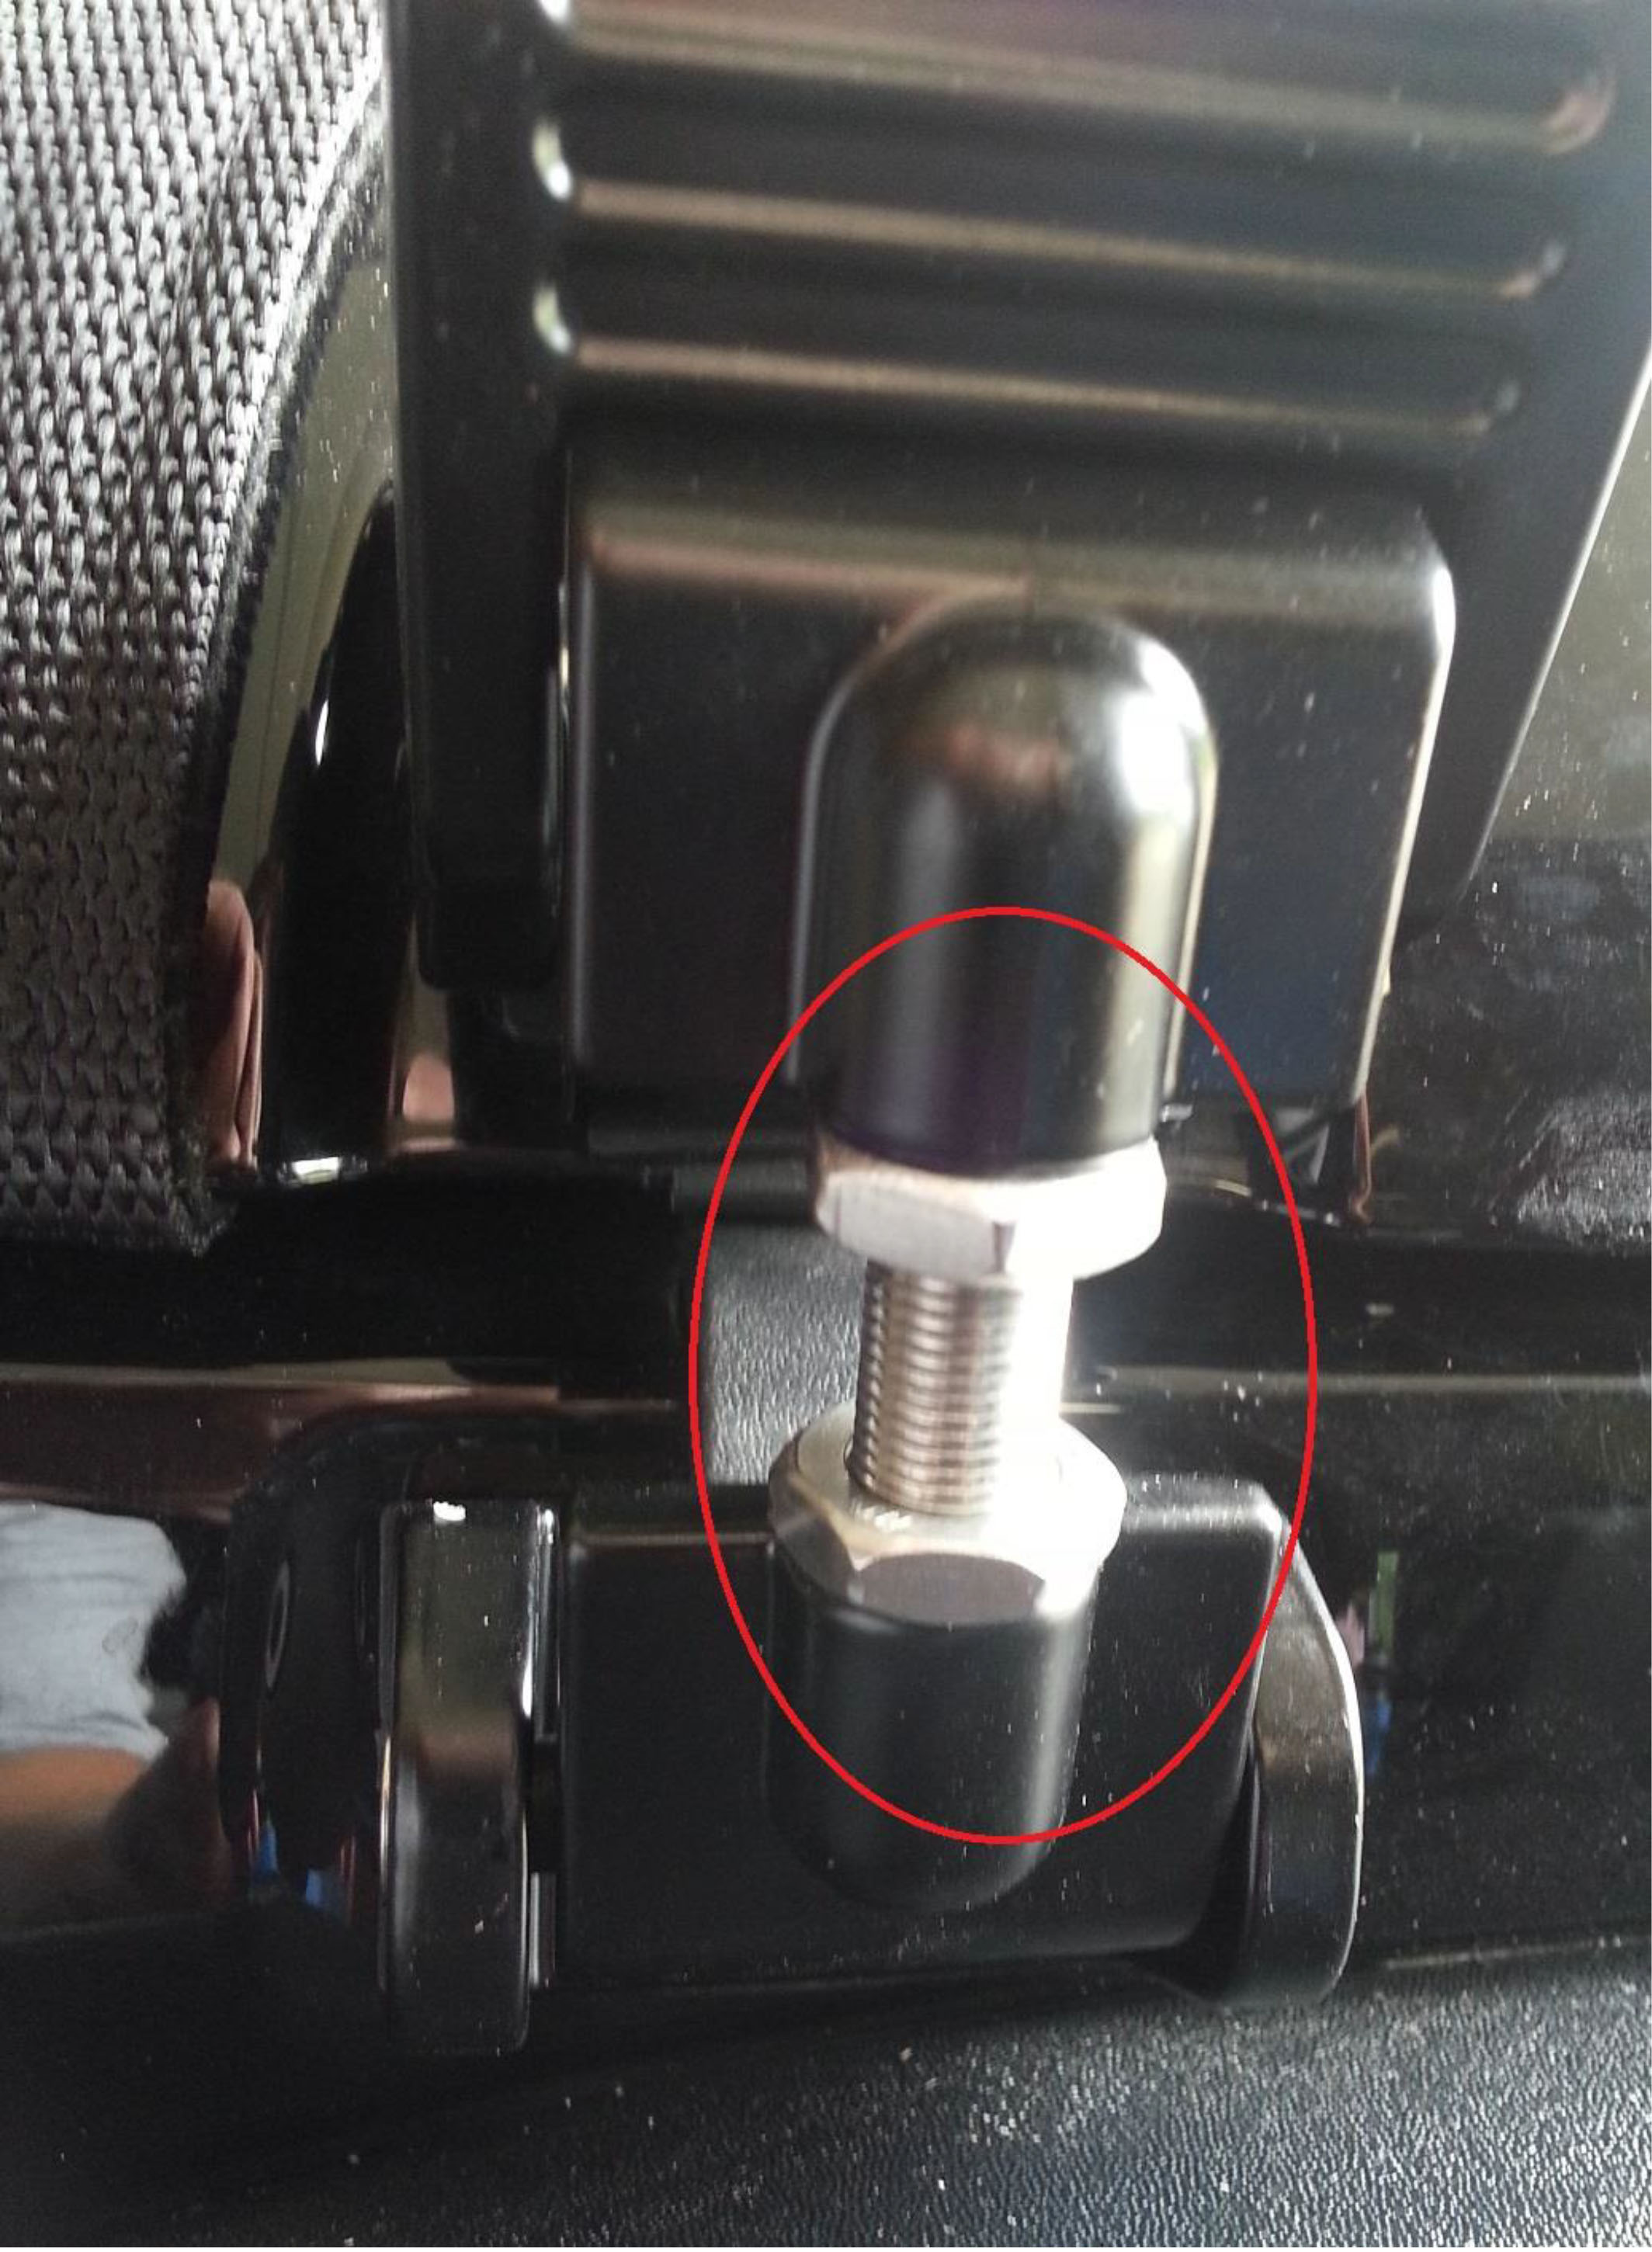
(Pic 8 B)
8. Repeat the steps above to do the other hood latch.
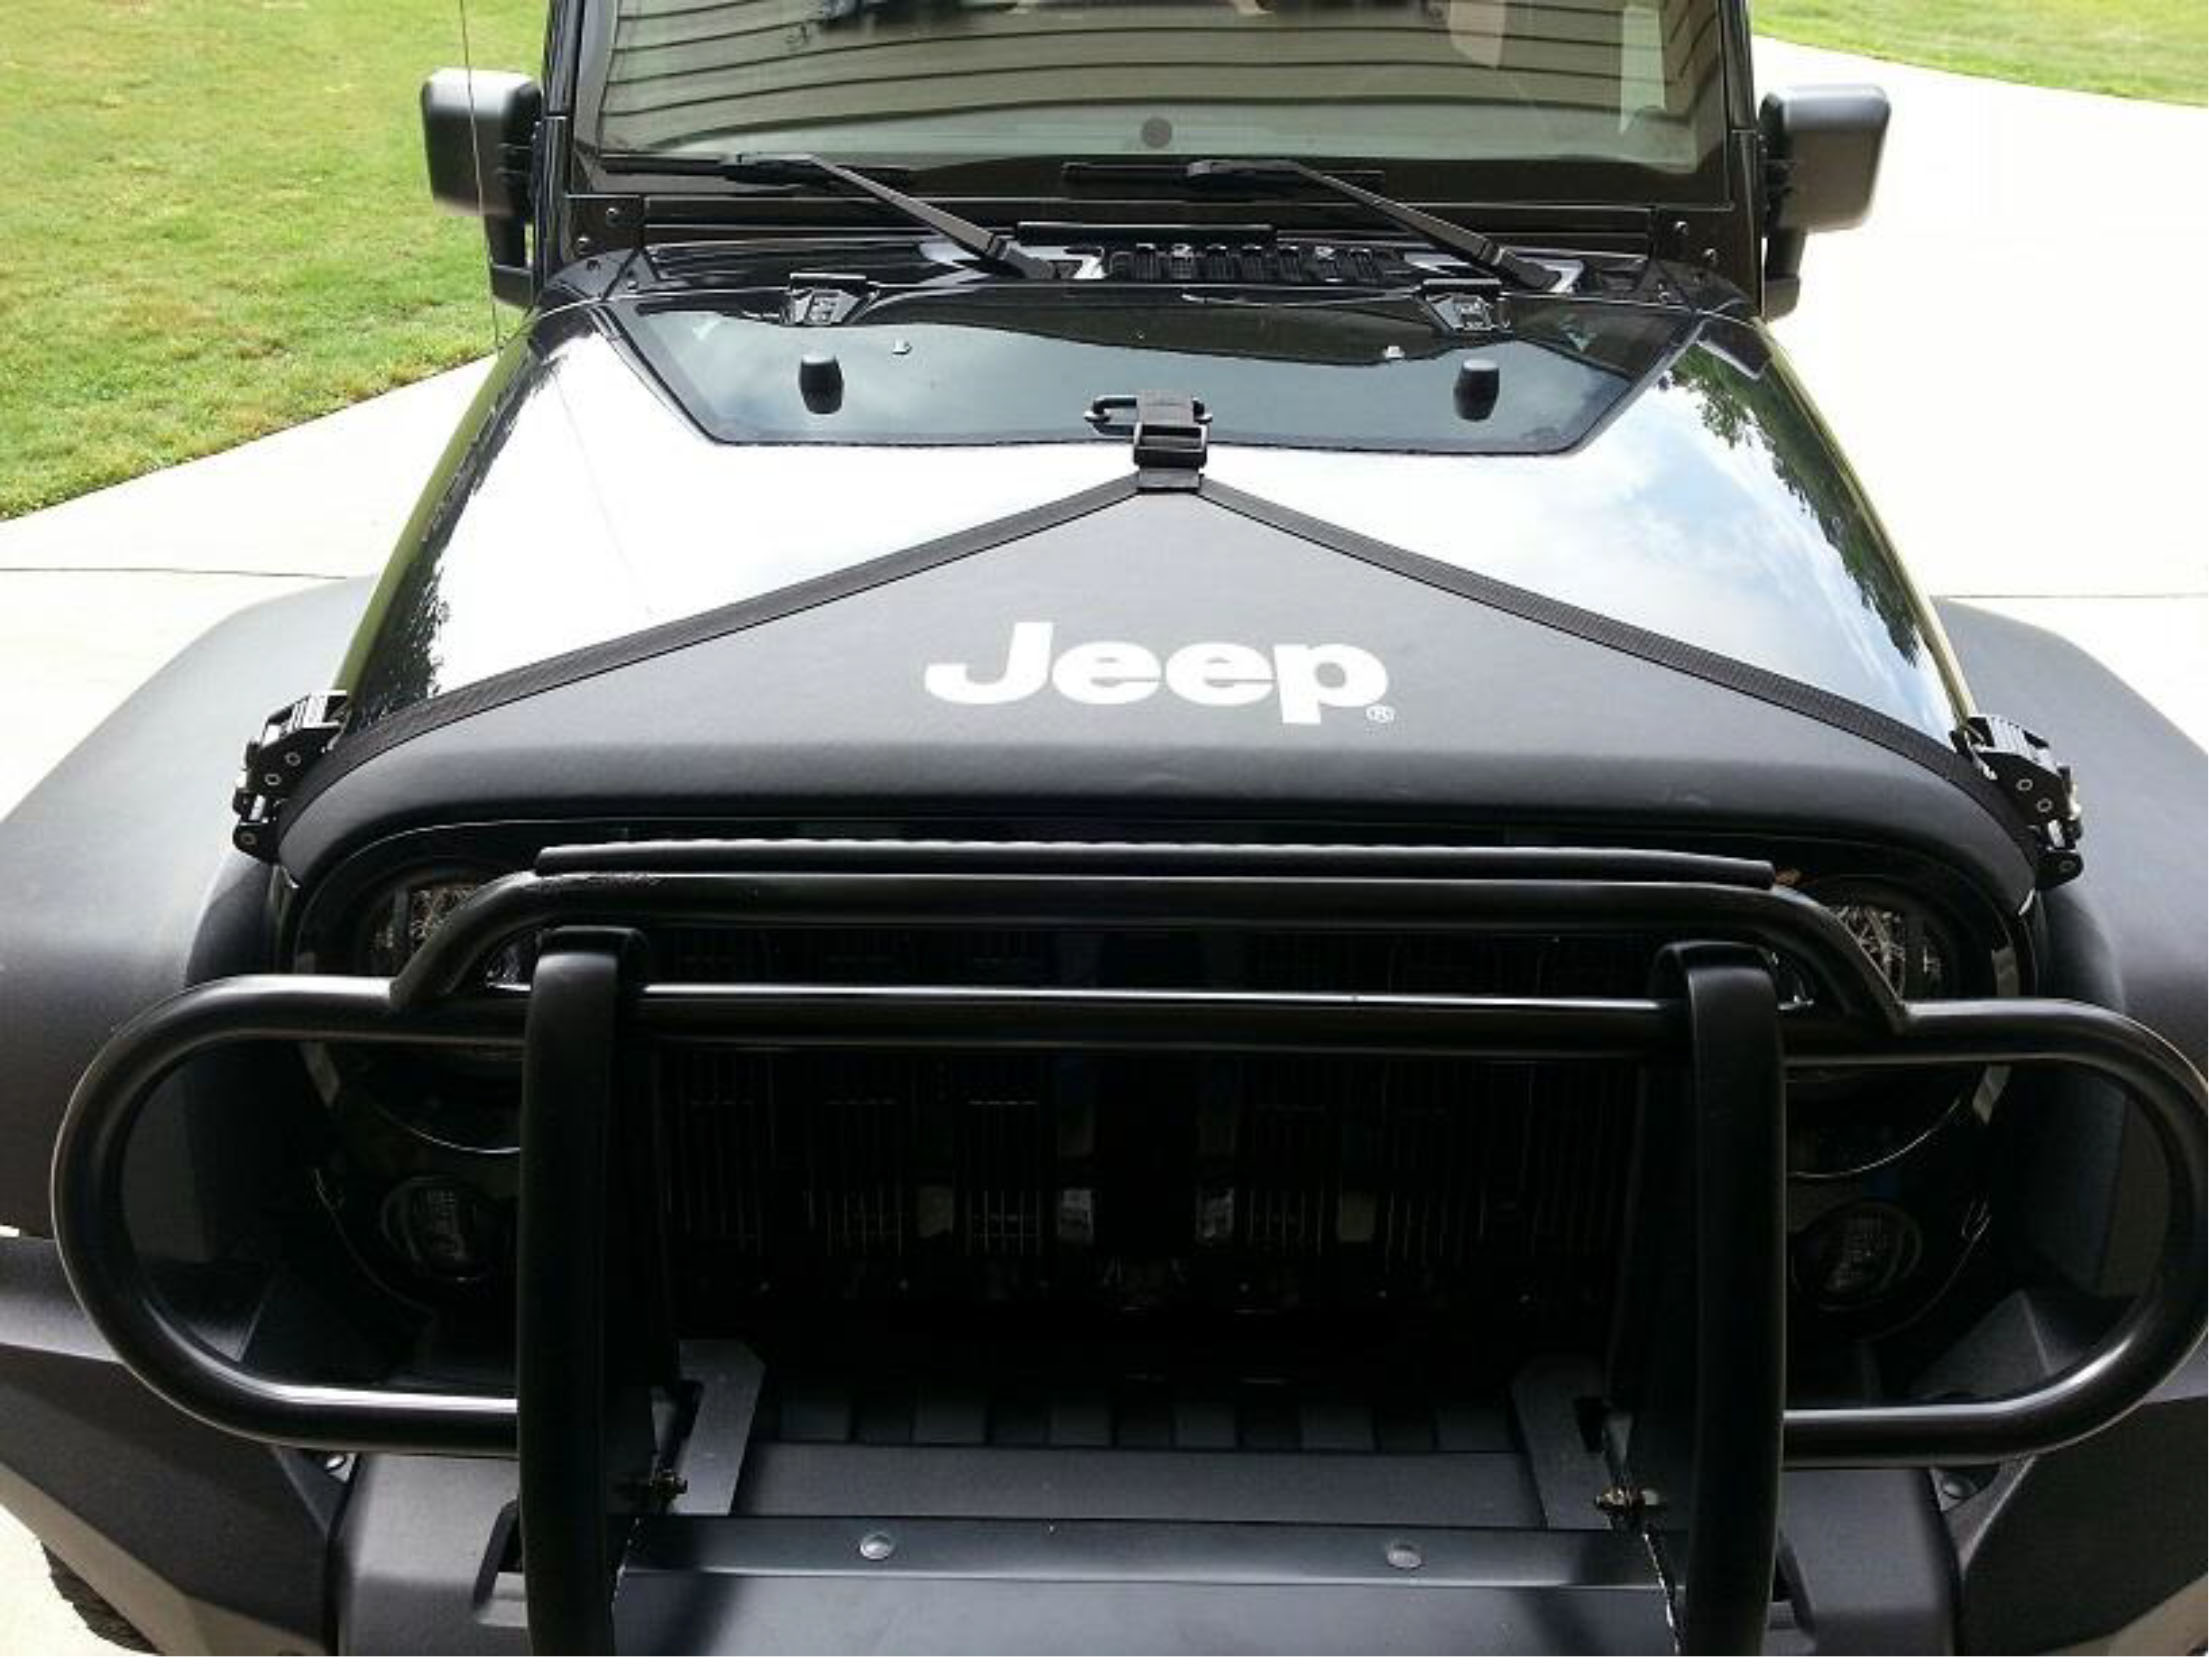
9. Clamp both latches down and check the fit. If hood is not secure follow step 7 until latch is secure.
Installation Instructions Written by ExtremeTerrain Customer Clint Powers 05/18/2015
