 FREE 1 to 3-Day Delivery on Orders $149+ Details

How to Install Rugged Ridge Spartacus HD Tire Carrier - Hinge on your Wrangler
Installation Time
30 minutes
Tools Required
- Ratchet
- ¾” socket
- 19 mm socket
- 13 mm socket
- 10 mm socket
- 19 mm Wrench
- 10 mm wrench
- 6mm Allen Wrench
- T50 torx bit- Jeep top removal kit has one
- T20 torx bit
- Phillips screwdriver
- Wire cutters
- Wire crimpers
- Electrical tape
- Wood shims
- Red thread lock
- Torque wrench
- Ratchet extension

Shop Parts in this Guide
This install can be done with 1 person but during some parts of the install it would be helpful to have an extra person to help support some pieces. Red Thread locker should be used on all bolts on the tire carrier and the lug nuts for the tire should be torqued to 80 ft/lbs.
Installation Instructions:
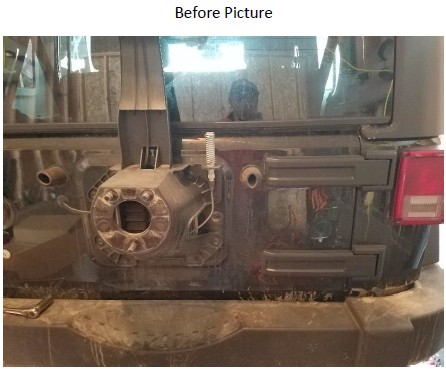
1. Using a ¾” socket remove the spare tire from the stock tire mount.
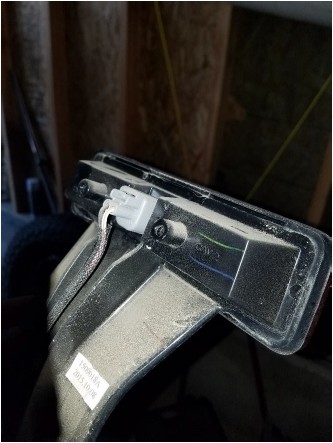
2. Open the tailgate and using a T-20 torx bit remove the 4 screws from the light mount.
3. Unclip the brake light from the Jeep.
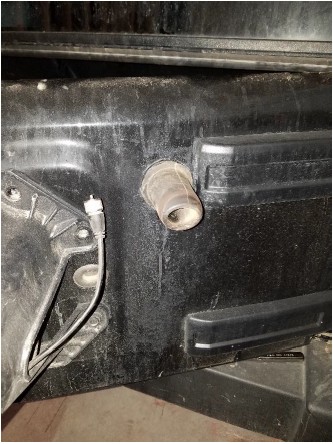
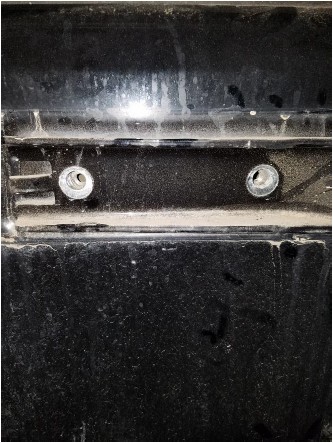
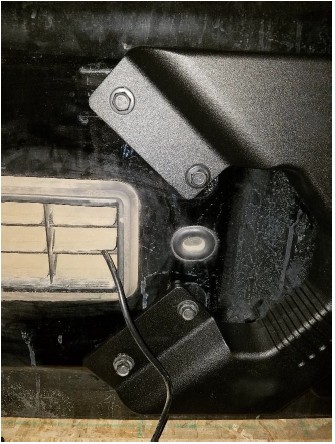
4. Remove the Rubber stopper on the right side of the tailgate by pulling on the stopper.
5. Using a 13mm socket remove the 8 bolts on the stock tire carrier.
6. Use wooden shims to support the tailgate by placing them between the bumper and the lower part of the tailgate. Lock the tailgate at this point in order to keep the tailgate closed
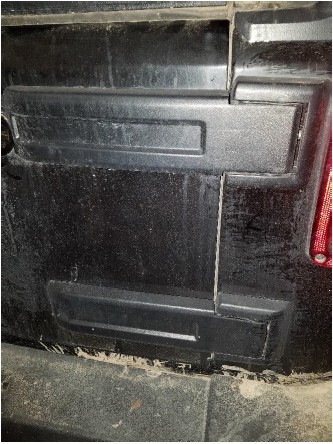
7. Remove the tailgate hinge covers by pulling them from the left side towards the driver’s side of the Jeep.
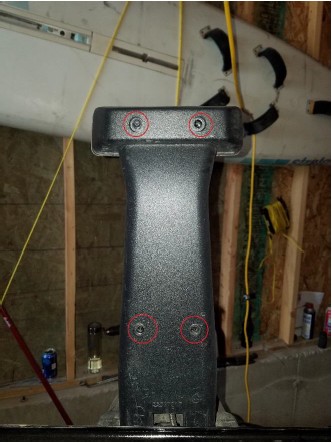
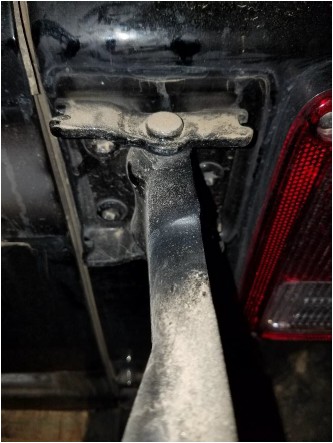
8. Using a 13mm socket remove the 4 bolts that connect the hinges to the tailgate of the Jeep.
9. Open the hinges and using a T50 torx bit remove the 3 bolts from each of the hinges. There is a T50 bit in the Jeep top removal kit that will fit into a 1/4” socket in order to be able to get more torque on the bolts to remove them. The use of a ratchet extension is helpful for removing these bolts.
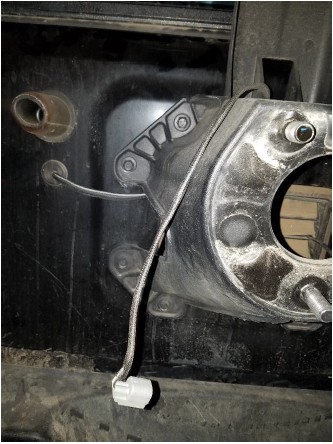
10. Wipe off any dirt or corrosion that is under where the hinges were. To add more protection to this area you can prime or paint the area under the hinges.
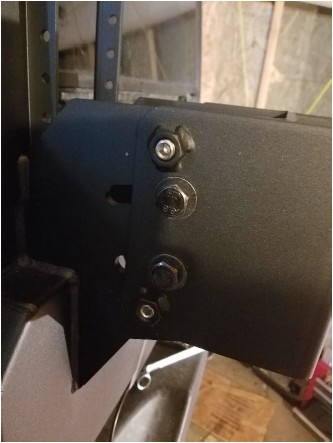
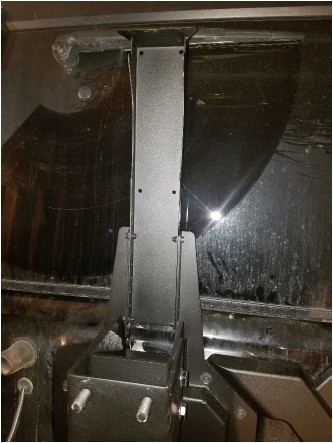
11. Place the new hinge assembly onto the Jeep and reinstall the T50 bolts that were on the stock hinges into the outside holes but do not completely tighten the bolts.
12. Open the hinge assembly and install the 4 T50 bolts on the other side of the hinge assembly again not tightening the bolts completely.
13. Using 4 of the 13mm bolts that came off of the stock tire carrier mount attach the left side of the hinge assembly to the 4 holes where the stock tire carrier was. This is to properly align the hinge assembly.
14. Using the T50 bit tighten the outside torx bolts on the hinge assembly.
15. Remove the 4 13mm bolts from the end of the hinge assembly that were installed in step 13.
16. Open the hinge assembly and tighten the 4 inner T50 bolts.
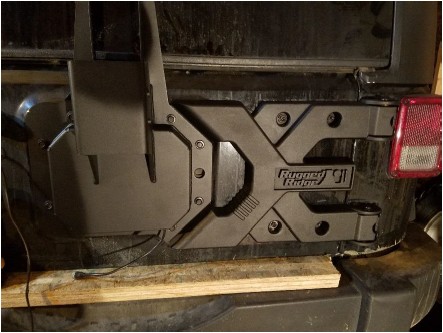
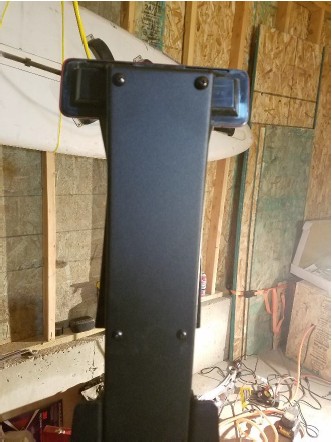
17. Using the supplied 13mm bolts and washers, install the new tire mount over the hinge assembly but do not completely tighten.
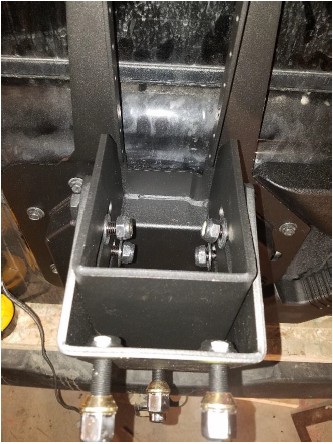
18. Using the 4 supplied 13mm bolts and washers, install them into the hinge assembly where the stock hinges were.
19. Tighten and torque all of the bolts on the tire carrier and hinge assembly.
20. Using the supplied 19 mm bolts, washers and lock nuts install the new lug plate to the tire carrier but do not tighten completely. Note: the 2 lug side of the lug plate goes on top.
21. Using a 6mm allen wrench and the supplied set screws install them into the nuts that are welded onto the left side of the lug bracket. This will hold the bracket in place while test fitting the tire onto the mount. Note: on an 11.5” wide tire on stock rims the lug bracket had to come out approximately 1.5” from the tire carrier.
22. Test fit the tire onto the lug bracket to make sure it fits on the carrier without rubbing on anything, but also making sure that the tire is not sticking out too far. It is best for the tire to be as close as possible in order to reduce the torque that the tire carrier feels. Make adjustments to the lug plate by loosening the lug plates and moving the bracket.
23. With the tire on the bracket test fit the brake light extension. Find where the brake light bracket is not rubbing on the top of the tire. Note: for a 34” tire the lowest setting is about a ½” above the top of the tire.
24. Remove the tire from the tire carrier.
25. Using a 19mm socket and wrench tighten the 4 bolts for the lug plate making sure that the lug plate is level with the tire carrier. Remove the set screws
26. Using a 10mm socket and wrench install the brake light mount to the correct height using the supplied 10mm bolts, nuts and washers.
27. Mock up the brake light wire to see if it will reach the brake light when it is installed. If it is not long enough use the supplied wire and butt crimps to splice more wire into the line.
28. Plug the wire into the brake light and install the brake light onto the mounting bracket using the 4 supplied phillips screws. The longest of the 4 screws goes on the top of the light.
29. Mount the spare tire to the carrier using either the stock or supplied lug nuts.
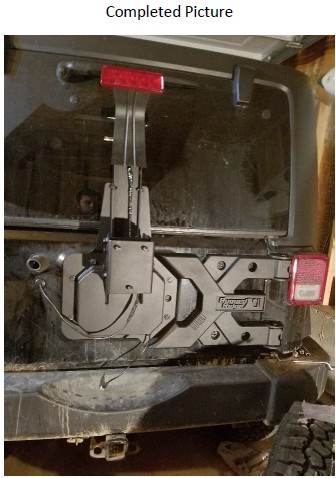
Installation Instructions Written by Extreme Terrain Customer Matt Jackson 11/12/2016

