 FREE 1 to 3-Day Delivery on Orders $149+ Details

How to Install a Rough Country Modular Front Winch Plate Bumper on your 07-18 Jeep Wrangler JK; 2018 Jeep Wrangler JL
Installation Time
1 days
Tools Required
- Deep Well Sockets: 3/4", 18mm, 10mm
- Socket Wrench
- 8mm or 5/16” allen head socket
- Phillips Screwdriver
- T25 Star Bit
- 3/16” Drill Bit
- Drill
- Wire Stripper/cutter
- Electrical Tape
- Plastic Electrical Tubing (Optional)
- 20” of 16 gauge electrical wire
- Sawzall or Grinder with metal cutoff wheel
- Black spray paint (Optional)
- Wire Brush or sandpaper (Optional)

Shop Parts in this Guide
Step 1: With a philips screwdriver, remove the 2 plastic screws on top of the front bumper cover. With a little elbow grease you can remove the bumper cover by sliding it out the side.
Step 2: Next remove the 4 plastic screws holding the skid plate to the bottom of the bumper using a philips screwdriver. Then remove the skid plate.
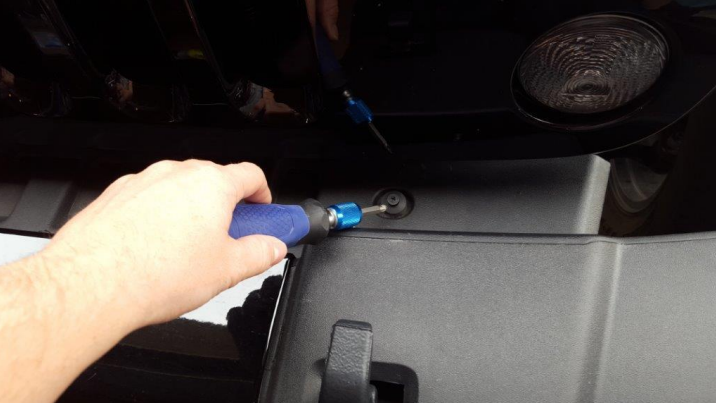
Step 3: With a deep well 18mm socket remove the 4 bolts holding the bumper to the frame horn on both the passenger side and the driver side. 2 of the bolts are on the outside of the frame horn.
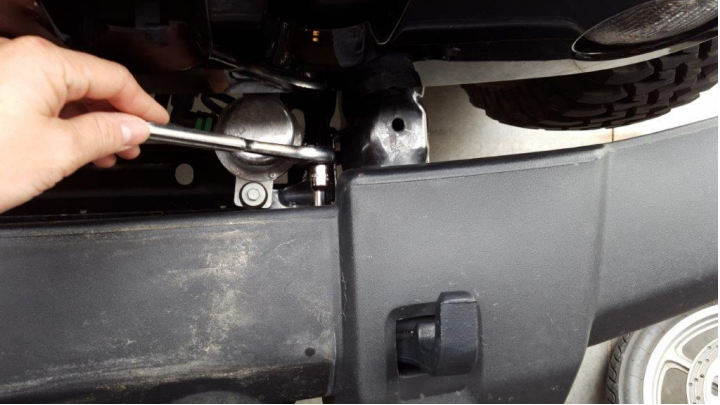
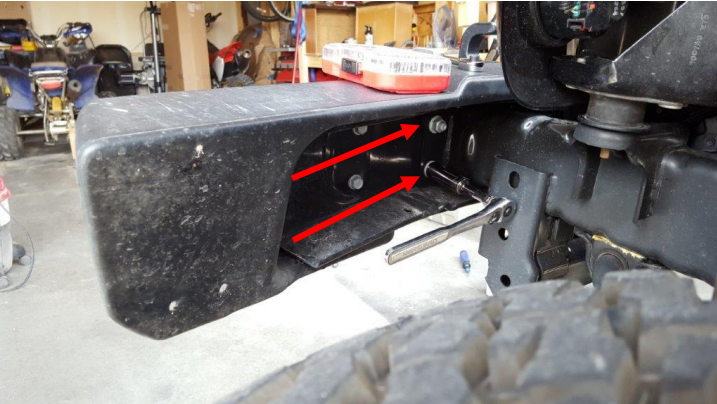
Step 4: The other 2 are on the inside of the frame horn.
Step 5: Find the plug behind both fog lights and disconnect them.
Step 6: Remove the plastic retainers that attach the fog light wires to the bumper.
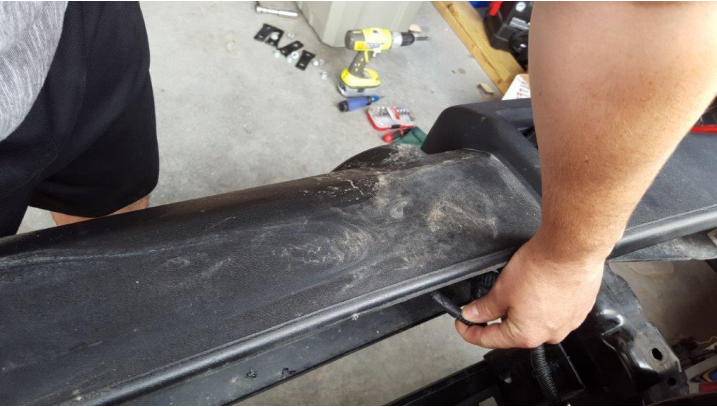
Step 7: Remove the front bumper by lifting it with the stock tow hooks and pulling.
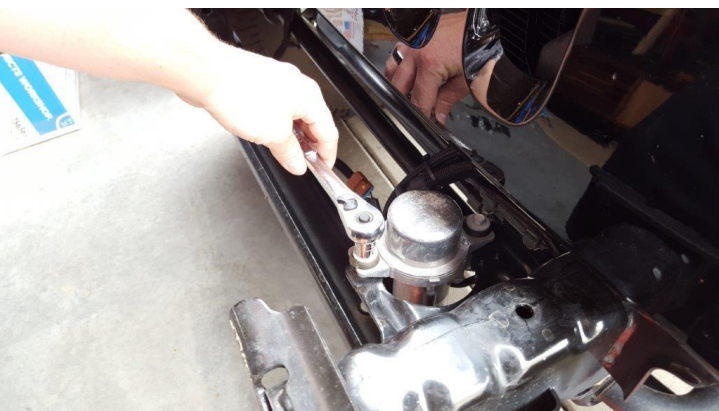
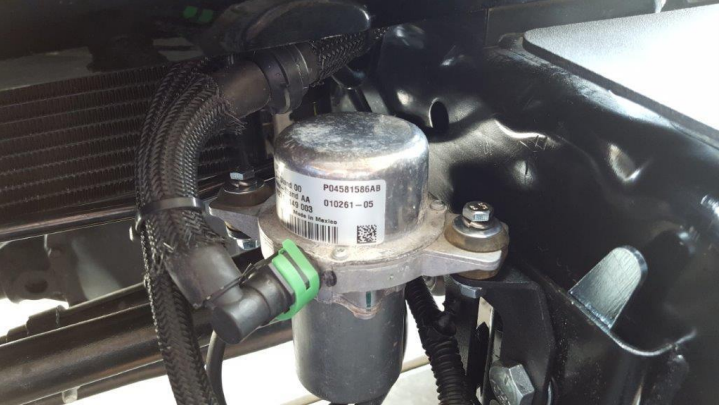
Step 8: Steps 8-15 are only required for 2012-2017 models. For these steps you will require the canister relocation bracket (sold separately). Remove the canister from the frame using a 10mm socket.
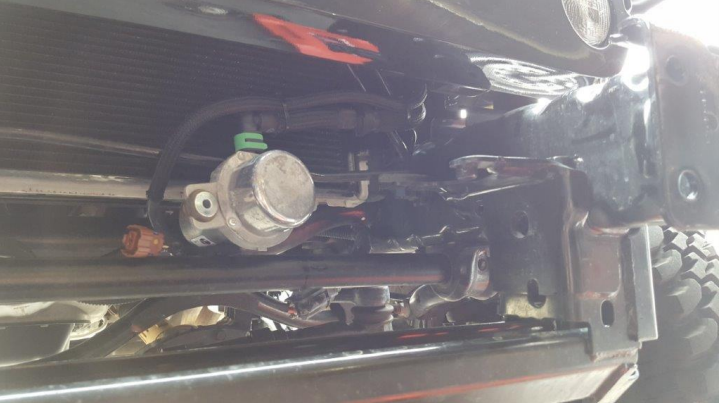
Step 9: You do not need to disconnect the canister. Gently push it out of the way (as shown below) without damaging the connections so you can remove the stock bracket.
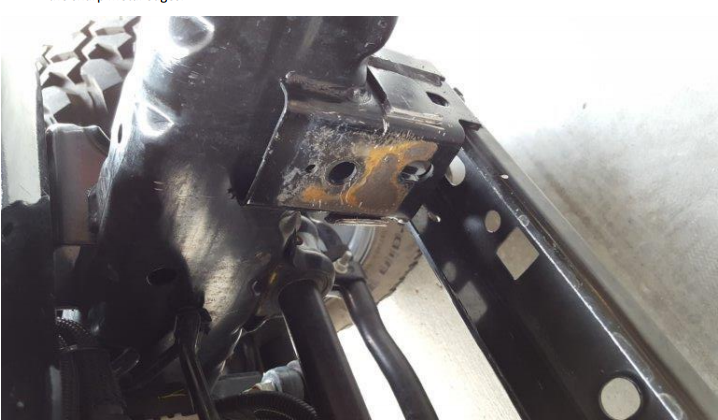
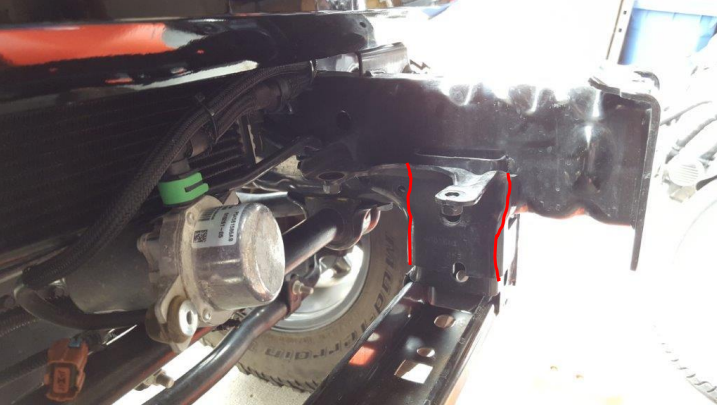
Step 10: Using a grinder or sawzall cut along the lines shown. Be careful not to cut too deep, you are only trying to remove the outer bracket without damaging the frame. Once you cut through the majority of the way through the bracket you can use a screwdriver or pry bar to finish removing it without cutting into the frame.
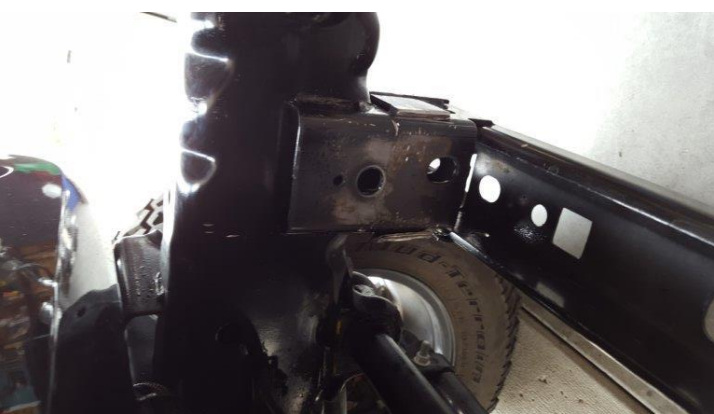
Step 11: Once you have removed the bracket it should look about like this. I recommend using the grinder to smooth out the sharp metal edges.

Step 12: Use a wire brush or sandpaper to remove any rust that was under the bracket.
Step 13: Then use black spray paint to cover the bare metal. This will help prevent more rust in the future.
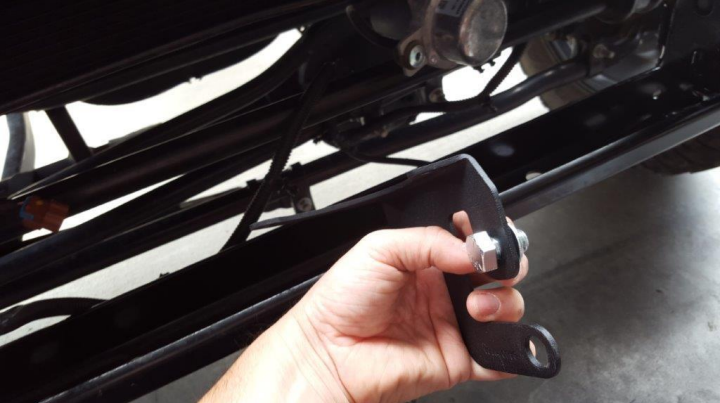
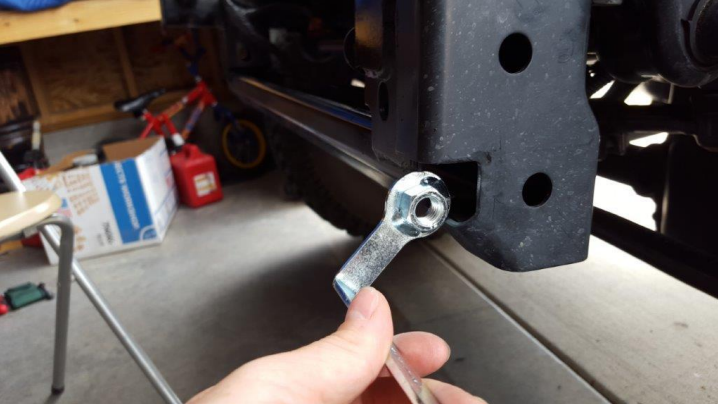
Step 14: Place the ½” x ¾” bolt into the bracket then place the washer on the bolt so that it will be between the bracket and the frame.
Step 15: Using the flat flag nut place it inside the frame and hand tighten the bolt.
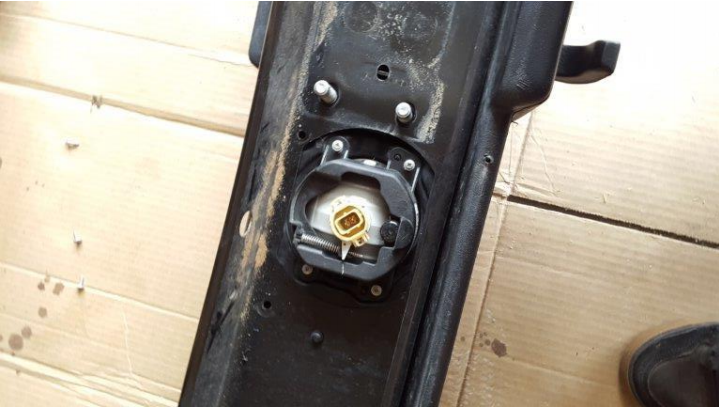
Step 16: Remove the stock fog lights from the stock bumper using a Philips screwdriver.
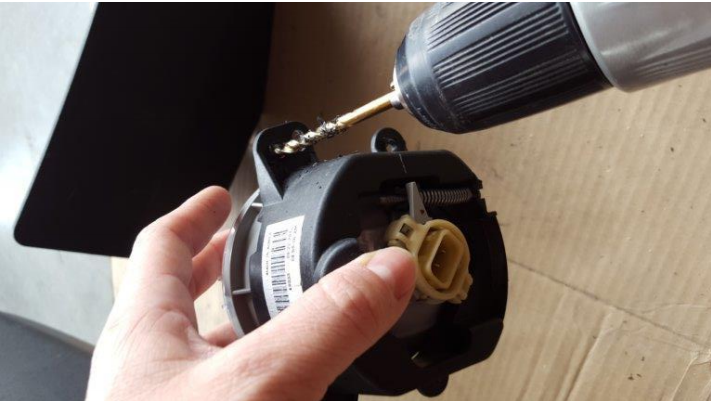
Step 17: I had to drill out the holes to make them a little larger so they would fit in the new bumper. Use the 3/16” drill bit and drill out the holes.
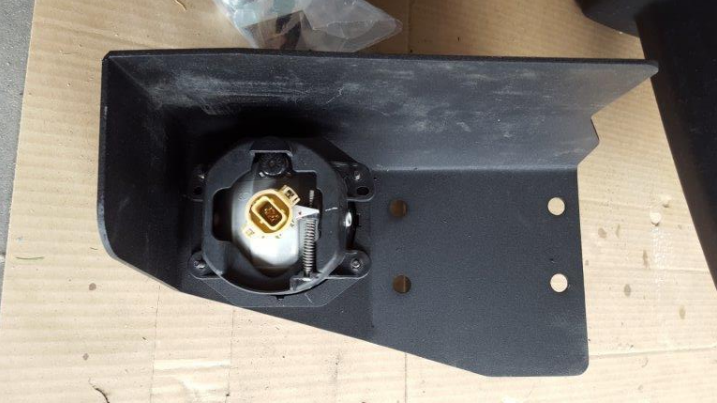
Step 18: Place the stock fog lights in the end caps. Make sure the adjustment screw is facing the bottom as shown.
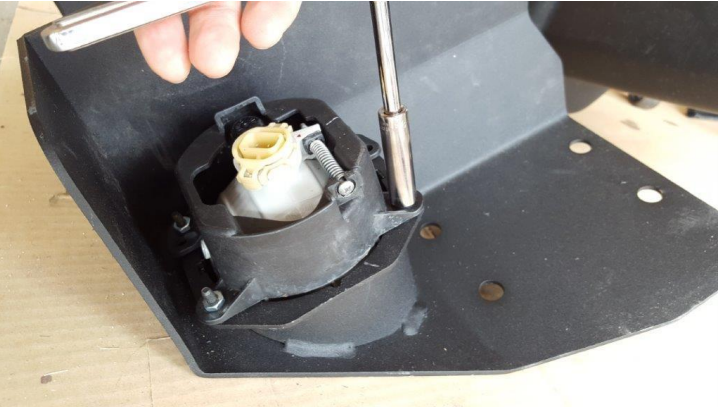
Step 19: Using the supplied nuts and a 10mm deep well socket tighten the 4 nuts on both fog lights. Be careful not to overtighten or you could break the bracket.

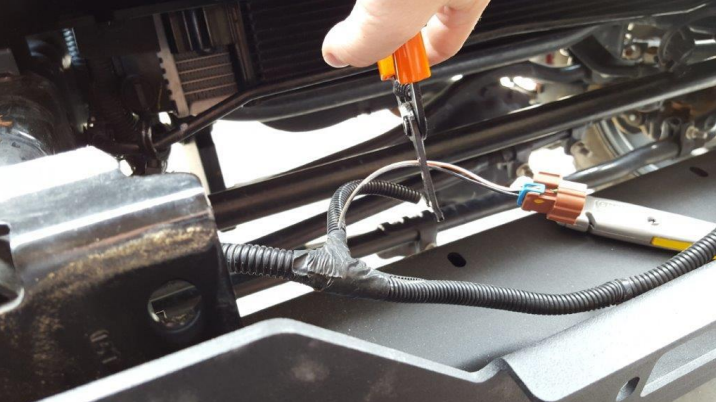
Step 20: Unfortunately the stock fog light wires are not long enough to reach both fog lights once the bumper is installed. You will need to splice in roughly 10-12” of wire to each fog light connector. Start by stripping the tape and plastic tubing from the wire. Then cut the wires as shown.
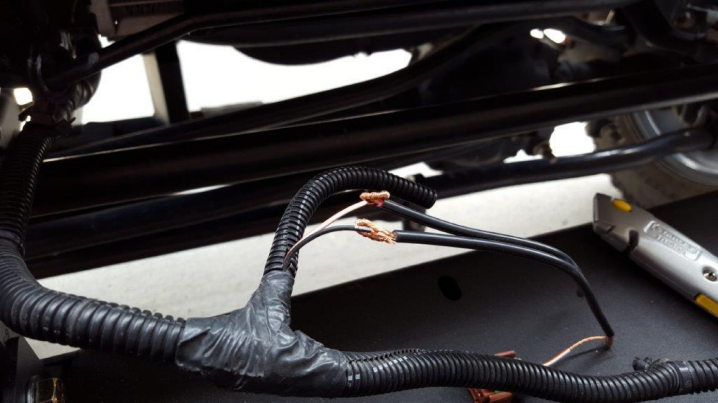
Step 21: Using your 10-12” piece of wire, strip an inch off both ends of each wire. Also strip an inch from each side of the wires you cut.
Step 22: Twist the wires together as shown. You could also use actual wire splicers, but this method works just fine.
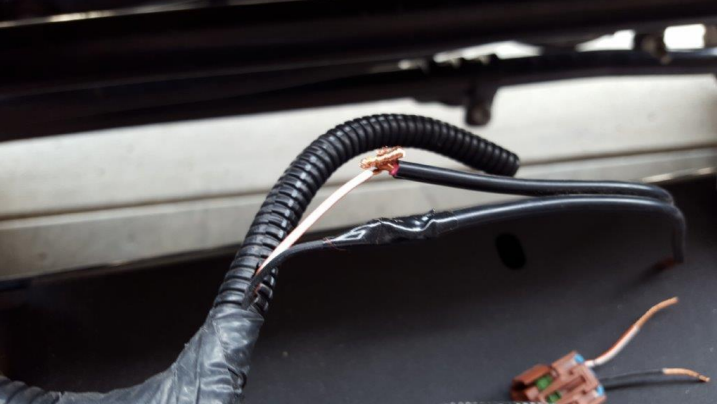
Step 23: Tape each wire individually, then tape them together. Make sure the tape overlaps at least an inch on either side of the splice.
Step 24: Then connect the wiring harness that was cut off (shown above on the bottom right) twist and tape the wires in the same fashion. Make sure the wires still match up to the correct color wires.

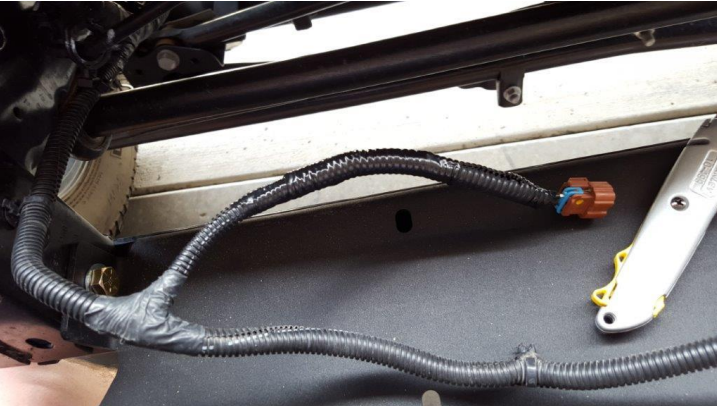
Step 25: Once you finish connecting and taping the wires, cover them with plastic tubing, tape it all up, and it will look about like this. Most people wouldn’t even be able to tell its’ not stock wiring.
Step 26: Repeat steps 20-25 for the other fog light wire.
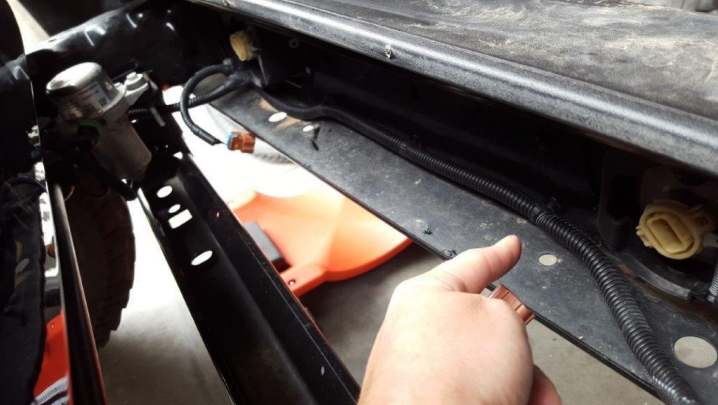
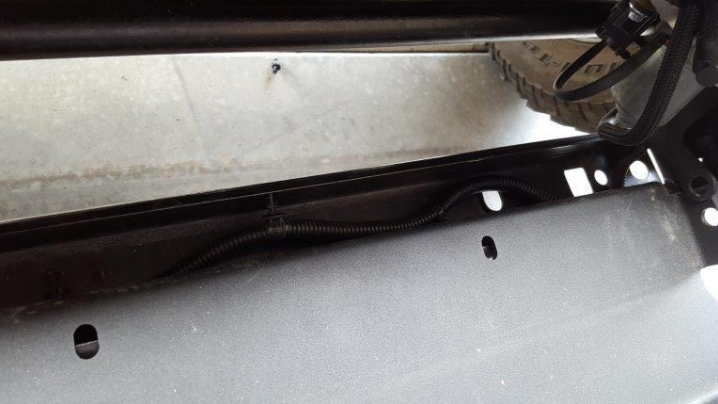
Step 27: Before installing the winch plate you will want to run the fog light wires through the frame and out the small holes on the side as shown in the next 2 pictures.
Step 28: Also before installing the winch plate, you will want to bolt the winch to the winch plate. Do so by using 4 bolts through the bolt holes in the winch plate. You can also install a roller fairlead/hawse lead at this time. Unfortunately I don’t have a winch yet so I had to install mine without it for now.
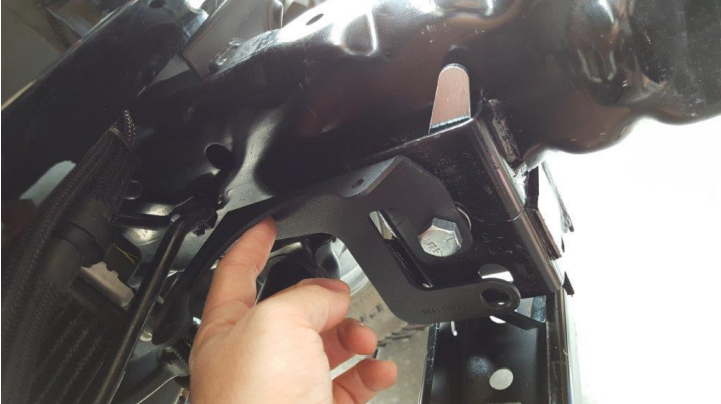
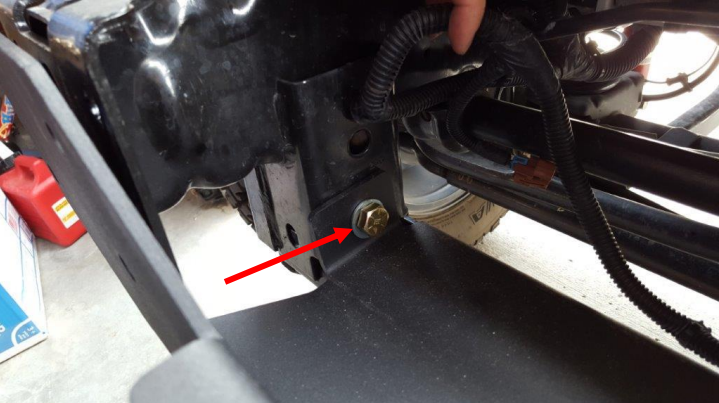
Step 29: Now you are ready to install the winch plate. I highly recommend having someone hold the winch/winch plate in place while you insert the bolts. Slide the winch plate in between the frame rails as shown in the next 2 pics. Insert the two ½”x1 ½” bolts and washers shown. If you used the canister relocation bracket, make sure the winch plate is between the bracket and the frame as shown below.

Step 30: I also recommend installing 1 bolt on each side of the front of the winch plate to hold it in place while you tighten the previously placed bolts and flag nuts that will be placed next.
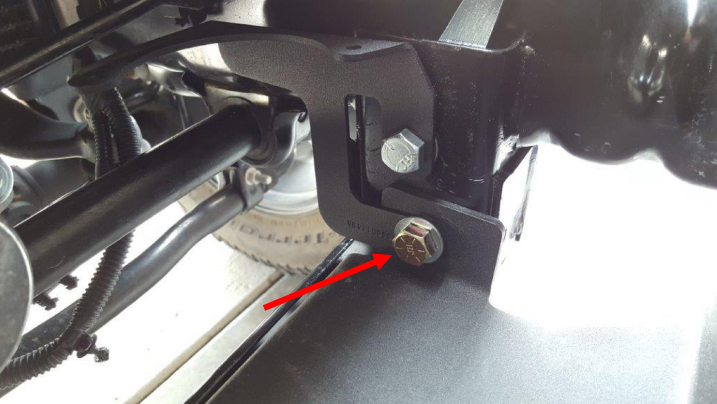
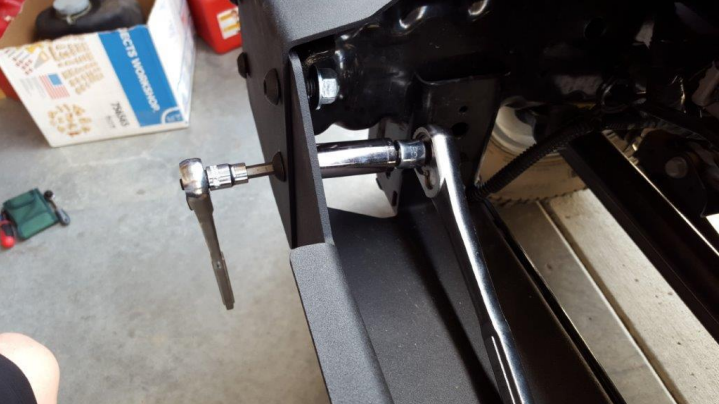
Step 31: Insert the supplied flag nut as shown in each side of the frame.
Step 32: Align the flag nut installed above with the bolt installed in step 29. Tighten the bolt using a ¾” socket. Do not fully tighten until you have installed the end caps and front bolts.
Step 33: Using the supplied bolts, install the canister onto the new relocation bracket. I recommend using washers also (Not supplied).
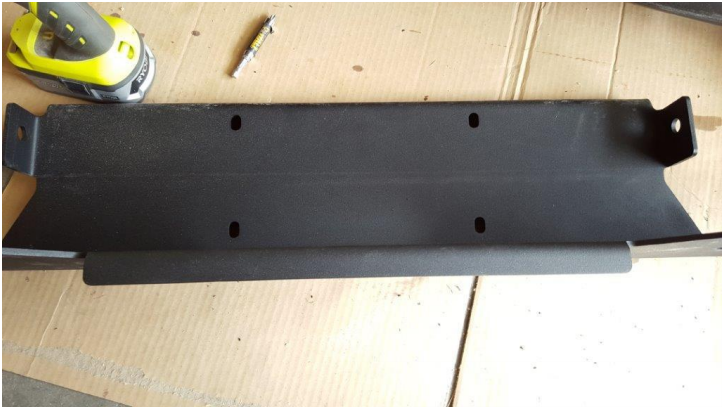
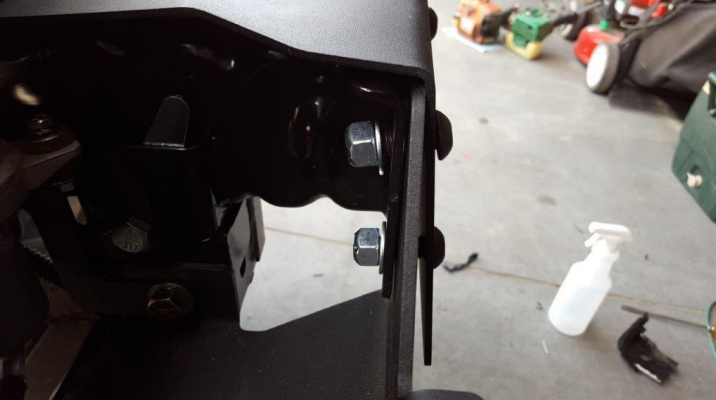
Step 34: Next align the end caps, install the 4 allen bolts and 4 lock nuts on each end cap. Hand tighten all 8 bolts.
Step 35: Rough country says the allen bolts are 8mm, but I found that 5/16” allen bit worked better. You can use either. Using the allen bit and ¾” deep well socket, fully tighten all 8 bolts on the front of the bumper.
Step 36: Finally make sure to fully tighten the bolts from step 32.
