 FREE 1 to 3-Day Delivery on Orders $149+ Details

How to Install Rough Country Front Quick Disconnects, 2.5 In.-6 In. Lift on your 2007-2013 Wrangler
Tools Required
- 16mm Socket / Wrench
- 18mm Socket / Wrench
- 19mm Socket / Wrench
- 21mm Wrench
- 1/2" Socket
- Small Phillips Screwdriver
- 17/64" Drill Bit
- Drill Motor
- Center punch

Shop Parts in this Guide
Kit Includes:
Dr Frame Bracket
Pass Frame Bracket
5/16” x 1” Self Tap Bolt (4)
Link Body (2)
Link End (2)
Mounting Pins (2)
1/2” Nut (2)
1/2” Flat Washer (2)
12mm Jam Nut (2)
12mm Lock Nut
Hitch Pin (2)
INSTALLATION INSTRUCTIONS
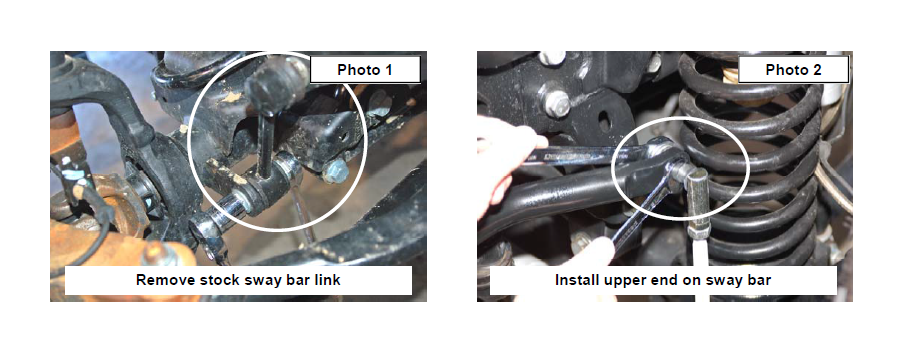
1. Remove the stock sway bar links from the axle and the sway bar using a 21mm wrench on the sway bar and a 18mm socket / wrench on the axle. See Photo 1. The stock hardware will not be reused.
2. Assemble the supplied jam nut and end link on the sway bar link body. Adjust the sway bar to approx 11” for a 2.5- 6” kit measuring end to end. Tighten the end and jam nut using a 18mm wrench.
3. Install the new sway bar link on the factory sway bar as shown in Photo 2 with the supplied 12mm Flange lock nut using a 16mm & 18mm wrench.
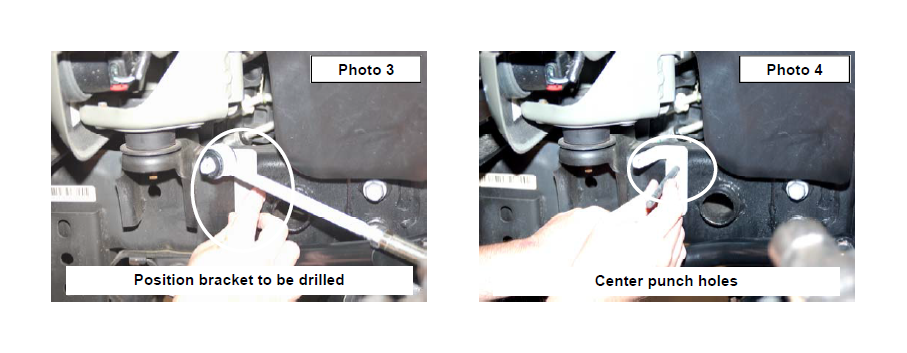
3. Install the new sway bar link on the sway bar bracket and swing up the assembly to the frame rail. See Photo 3. Remove the sway bar link from the bracket while holding the bracket in place.
4. Mark the holes to be drilled and remove the bracket from the frame. See Photo 4.
5. Drill the two holes per side using a 17/64” drill bit. See Photo 5. Be sure to only drill through the outside of the frame rail.
6. Install the frame bracket with the supplied 5/16” self tapping bolts (2 per bracket) using a 1/2” wrench as shown in Photo 6.

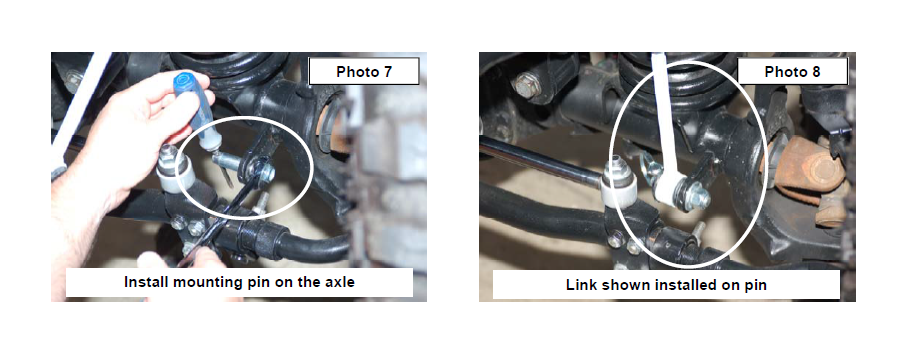
7. Install the supplied mounting pin as shown in Photo 7 and tighten using 19mm socket / wrench.
8. Swing the new sway bar link down and secure on the mounting pin using the supplied quick disconnect pin. See Photo 8.
1. Check all fasteners for proper torque. Check to ensure there is adequate clearance between all rotating, mobile, fixed and heated members.
2. All components must be retightened after 500 miles, and every three thousand miles after installation.

