 FREE 1 to 3-Day Delivery on Orders $149+ Details

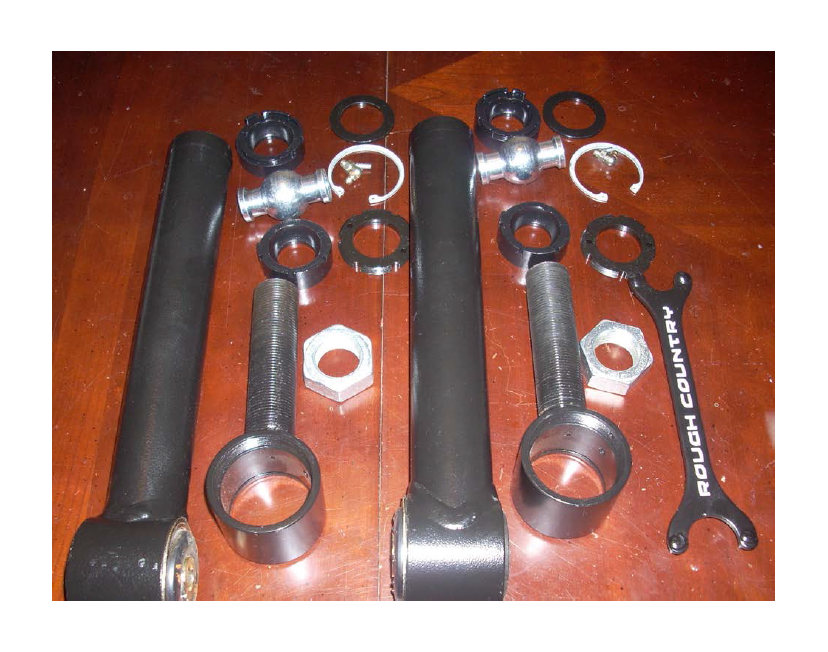
How to install a Rough Country Front or Rear Lower Adjustable Control Arms on your Jeep Wrangler
Installation Time
3 hours
Tools Required
- Floor Jack
- Jack Stands
- High Quality Automotive Grease and Grease Gun
- Snap Ring Pliers
- 3/32” Allen Wrench
- 3/8” Wrench
- Lug Wrench or 19mm Deep Socket
- 21mm Deep Socket
- 21mm Wrench
- Ratchet
- Torque Wrench
- Rubber Mallet
- Tape measure
- Large Adjustable Wrench

Shop Parts in this Guide
Installation Instructions:
1. Using snap ring pliers, insert one c-clip into groove in each flex joint housing end. Install flat washer behind each c-clip.
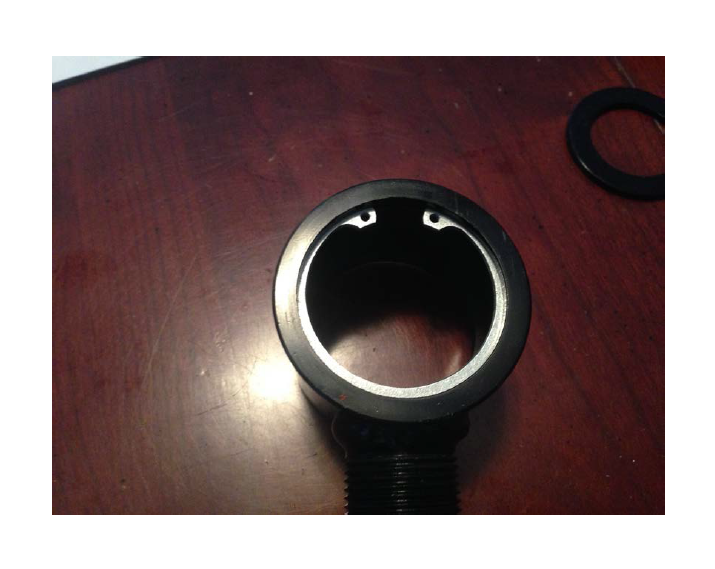
2. Insert one bushing half into flex joint housing. The flat side of the bushing should rest against the flat washer. Apply a small amount of grease to inside of each bushing half and onto center ball. Insert bushing center ball into bushing half. Insert second bushing half into housing. It is important that the two busing halves fit together properly, as demonstrated in the next photo.
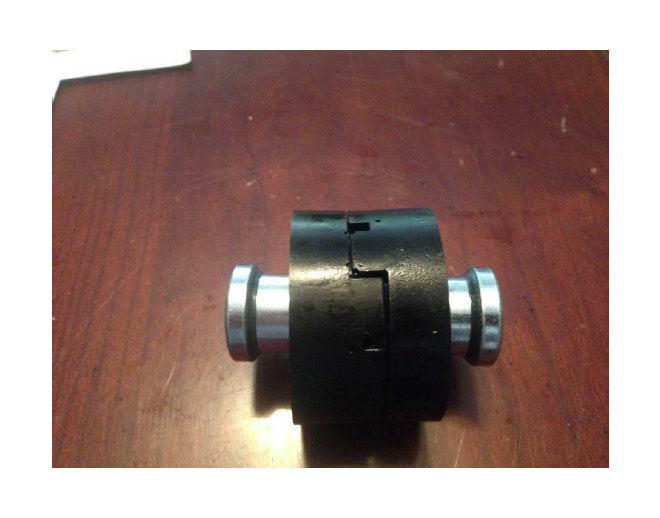
3. Install threaded ring and tighten using supplied spanner wrench. It may be helpful to apply a small amount of grease onto threads before installation. Once tightened, ensure that one of the grooves in the threaded ring is aligned with the set-screw hole.

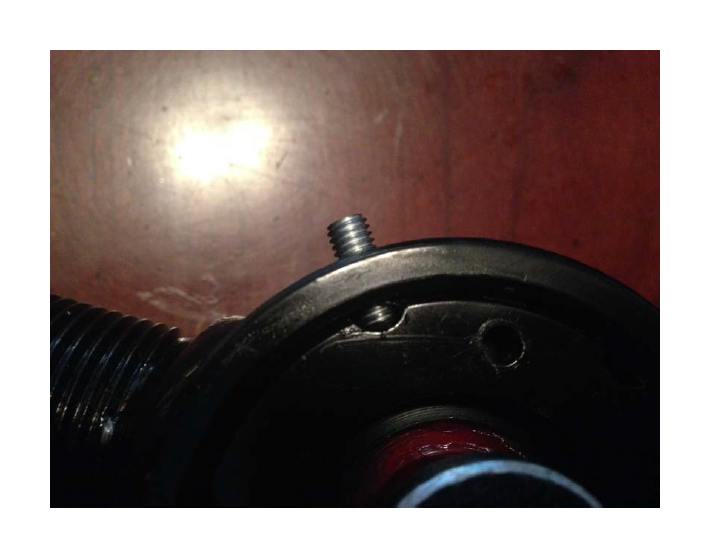
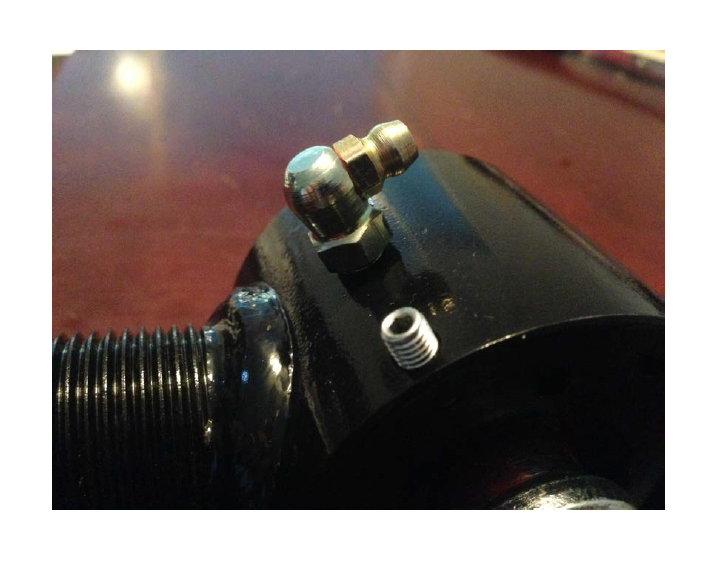
4. Insert set-screw into outer hole on housing end as shown in next photo. Tighten with 3/32” allen wrench. This locks the threaded ring into place, ensuring that it does not come loose over time.
5. Install grease fitting into flex joint housing. Tighten using 3/8” wrench.
6. Thread jam nut onto flex joint housing and thread flex joint into control arm. Do not tighten jam nut at this point.
7. Using floor jack, raise one side of vehicle and place jack stands under the frame and front axle for support. Removal of the wheel and tire is not required, but it will allow for easier access to control arm bolts. If you intend to remove the wheel and tire, do so now using a lug wrench or deep 19mm socket.
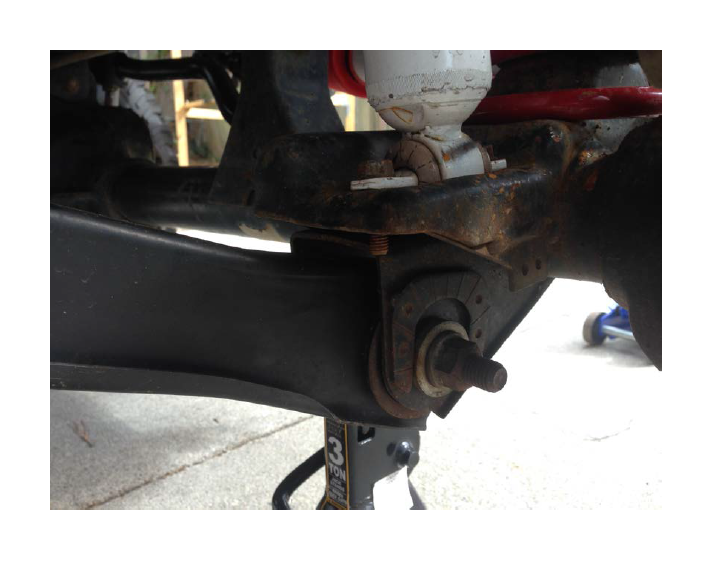
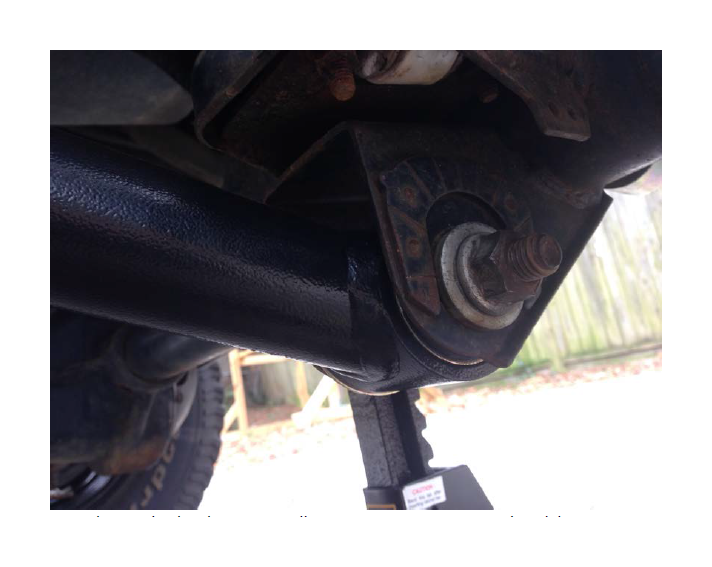
8. Using a 21mm socket and 21mm wrench, loosen and remove bolts and nuts from stock control arm. Retain hardware, as it will be used with new control arm. If your vehicle is equipped with adjustable cam bolts, mark their position prior to removal. Remove stock control arm. It may be necessary to tap lightly with a rubber mallet to remove the stock arm. It is important that only one control arm be removed at a time. Removing both lower control arms will allow the axle to shift, making installation of the new arms much more difficult.
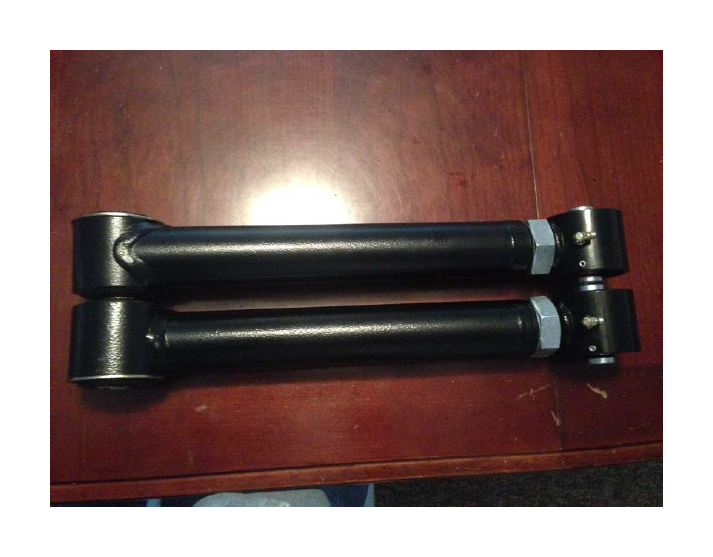
9. Using a tape measure, measure the length of the stock control arm. This measurement should be taken from the center of each eyelet in the control arm as shown in the picture below.
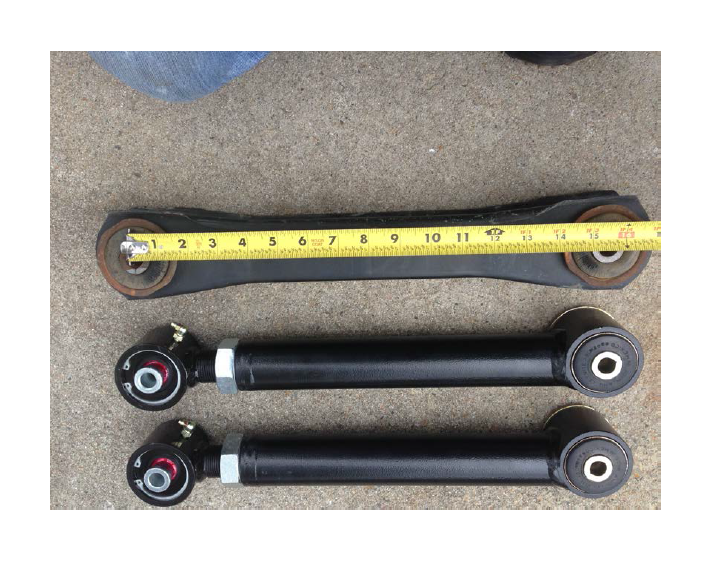
10. Adjust new control arms to desired length by threading the flex joint into the arm. The length of the arm will vary, depending on your vehicle’s suspension components, but the stock length is a good starting point. Once desired length is achieved, tighten jam nut using a large adjustable wrench. Ensure that the arm is straight when tightening, by holding the arm on a level surface while turning jam nut.
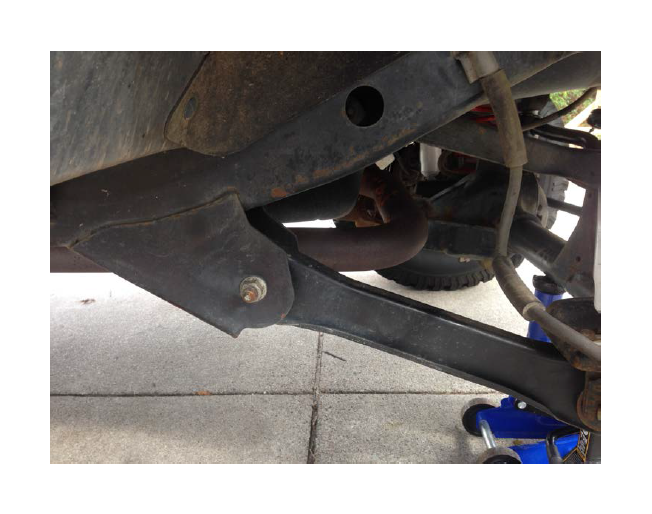
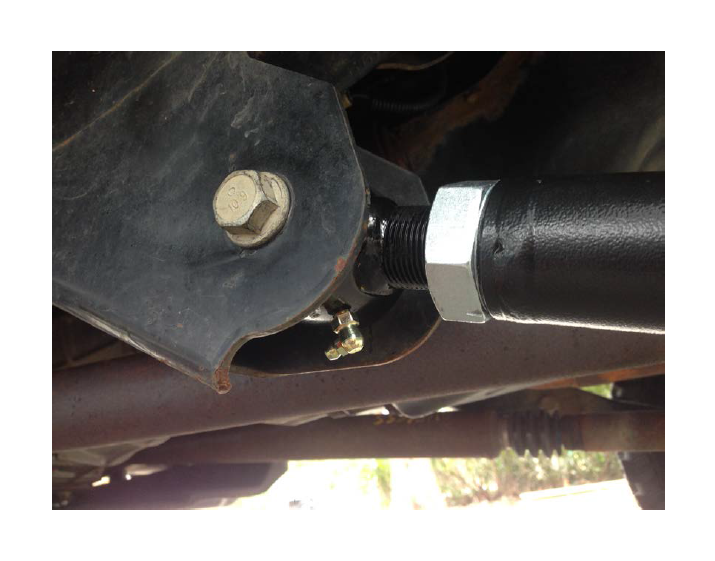
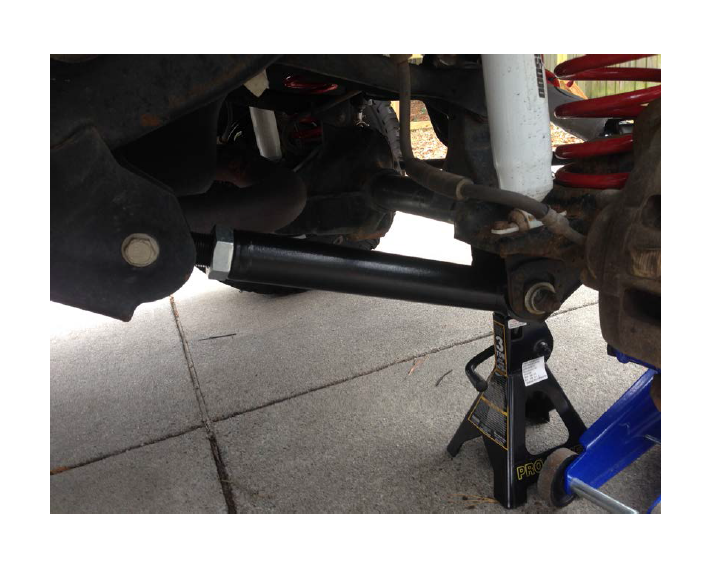
11. Install new adjustable control arm using factory hardware. The flex joint end should be installed first on the frame side mount. Ensure that grease fitting is facing down so that you can access it without removing arm.
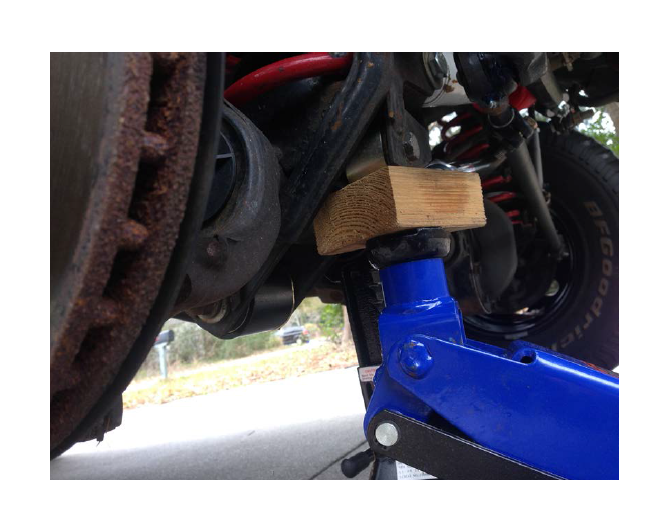
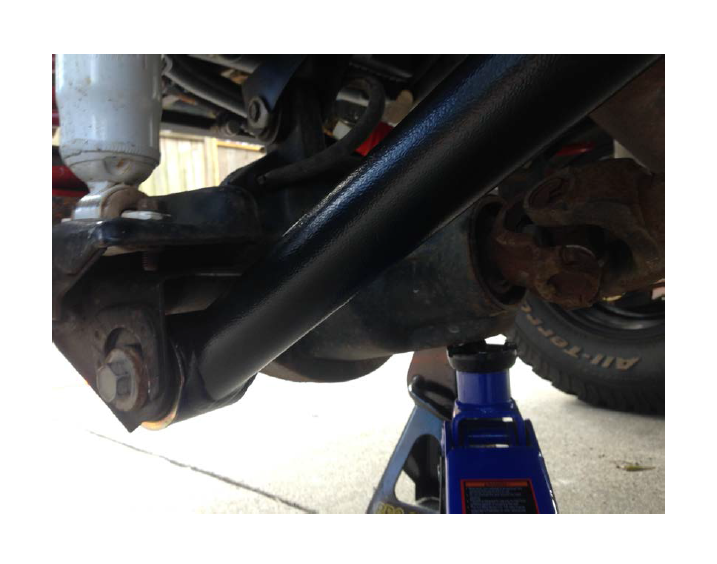
12. Install axle side of control arm using original hardware. It is likely that the hole in the mount will no longer align with the new control arm due to shifting of the axle. This can be easily remedied by using your floor jack to lightly jack the axle pinion or the coil spring mount/track bar mount, depending on which direction the holes need to shift. This is shown below. Ensure that your washers or adjustable cam bolts sit flush within the horseshoe shaped guide on the axle mount. Adjustable cam bolts should be placed in the same position they were in prior to removal. Do not tighten hardware at this point.

13. If you removed your wheel and tire, re-install it now. Using a torque wrench and deep 19mm socket, torque lug nuts to 100 ft/lbs.
14. Remove jack stands and jack, allowing the vehicle to rest at normal ride height.
15. Move on to the opposite side of the vehicle, beginning again at step #7.
16. Once both new adjustable control arms have been installed and the jeep is resting at normal ride height, use a torque wrench with a 21mm deep socket and a 21mm wrench to tighten hardware to factory specifications. On a Jeep TJ, the frame side mounting bolts should be tightened to 135 ft/lbs and the axle side mounts should be tightened to 85 ft/lbs.
17. Using a large adjustable wrench, ensure that the jam nuts have not come loose during install.
18. Using a grease gun, apply grease to both flex joints using the grease fittings that are installed.
19. Tighten lug nuts after 50 miles and check torque on all other hardware after 500 miles. Joints should be greased periodically to ensure proper function and to minimize noise. A professional alignment should also be performed after altering suspension or steering.
