FREE 1 to 3-Day Delivery on Orders $149+ Details

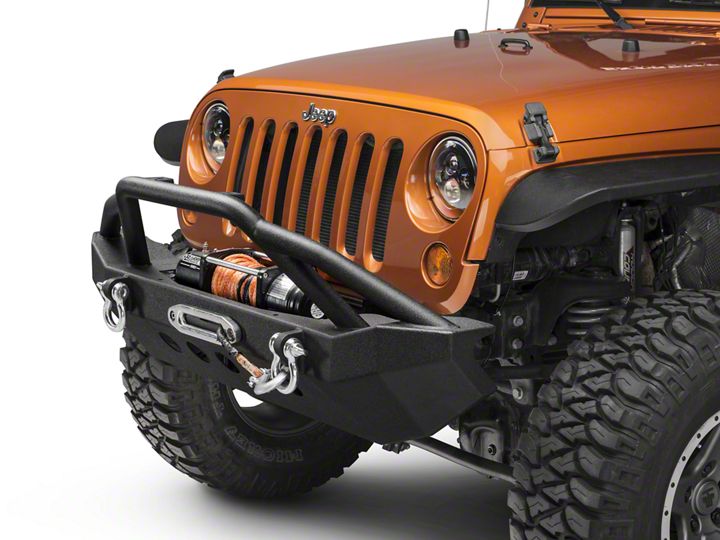
How to Install RedRock 4x4 Approach Front Bumper on your 07-18 Jeep Wrangler JK; 2018 Jeep Wrangler JL
Installation Time
2 hours
Tools Required
- 18mm Socket
- 15mm Socket
- Socket Wrench
- Wrench
- Pliers
Shop Parts in this Guide
1. Take out and unwrap all necessary parts for the bumper. This includes the bumper, eight 15mm nuts, eight lock washers, and eight washers.

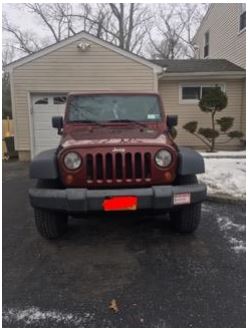
2. Here is a before photo of my Jeep with the factory bumper on.
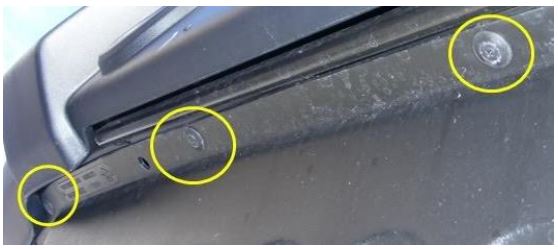
3. Remove splash shield from underneath the factory front bumper by removing the four plastic screw clips that are located underneath the splash shield and the two that are located inside the splash shield.
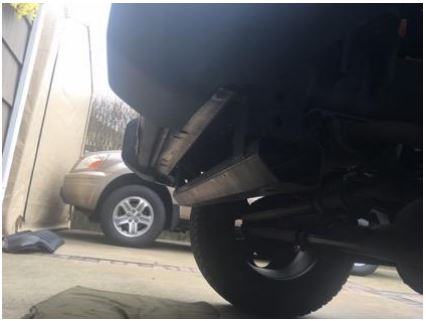
4. This is what it will look like when the splash shield is removed.
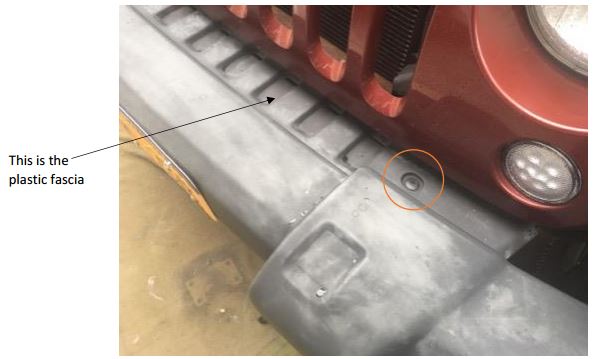
5. For my installation, I decided to leave the small plastic fascia between the grille and the bumper because I will not be installing a winch right away onto the new bumper. If you are planning on doing that when you install the new bumper, then remove the two small plastic screw clips that attach the fascia to the Jeep.
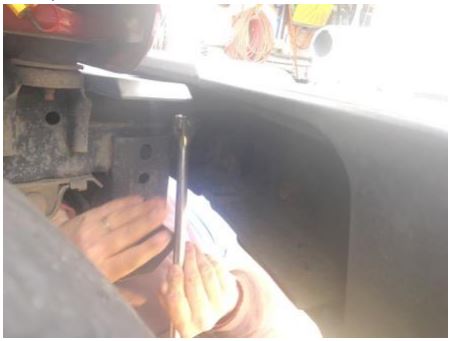
6. Begin to remove the eight factory nuts from the front bumper using the 18mm socket and socket wrench. NOTE: When the last nut is taken off the front bumper, it will fall right off. Therefore, have someone hold the bumper in place when you take the last nut off.
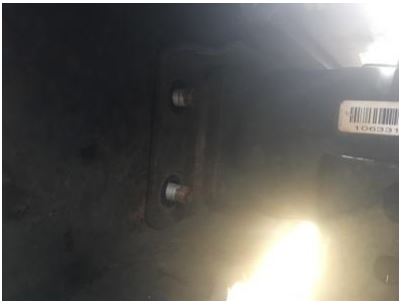
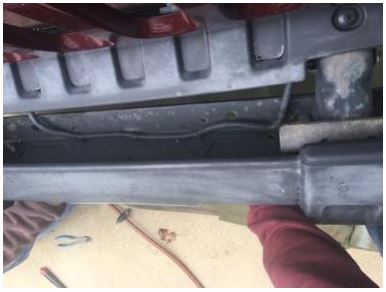
7. This is a photo illustrating the 15mm nuts removed from the chassis, prior to the removal of the bumper.
8. When I began to take the front bumper of the chassis, I noticed that there was wiring attached to the bumper, so the clips holding this wiring to the front bumper must be pulled out with pliers.
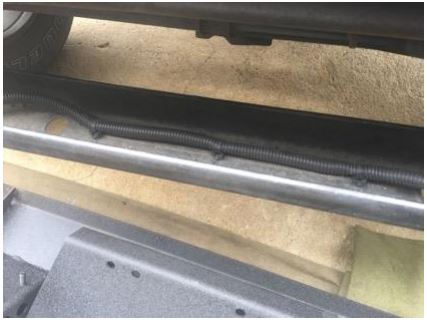
9. The wiring needs a new home, so it can be attached to the metal area marked in orange.
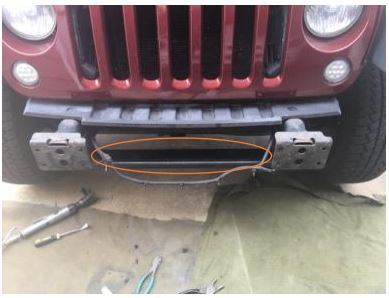
10. I drilled holes into this metal are to stick the clips into. NOTE: You do not need to drill these holes. You can tape them into this area, which would be sufficient.
11. The bumper can then be placed onto the chassis. Put the washer onto the screw, that is attached to the bumper, then put the lock washer on, and finally the 18mm nut.
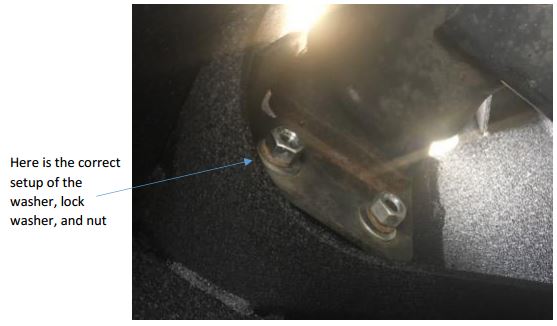
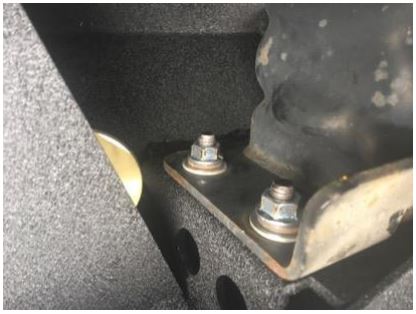
12. Tighten the nut with the 18mm socket and socket wrench. This is a picture of how mine looked like when the nuts were tightened fully.
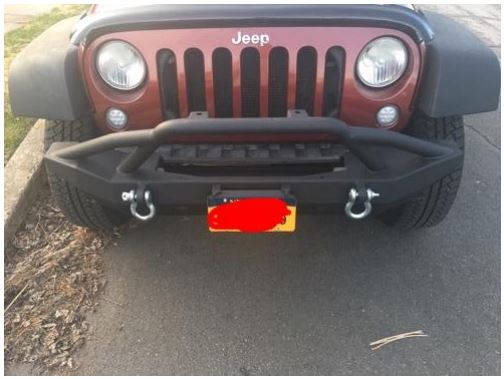
13. This is what the fully installed bumper will look like before the D-Rings are put on. NOTE: I have placed a license plate carrier on the bumper already, this will not be included with the bumper.

14. Finally, install the D-Rings. You have completed the installation of the front bumper.
Installation Instructions Written by ExtremeTerrain Customer Thomas Sandoval 04/09/2017
Final Result