 FREE 1 to 3-Day Delivery on Orders $149+ Details

How to Install RedLine Tuning Hood QuickLIFT Elite System (07-18 Jeep Wrangler JK) on your Jeep Wrangler
Installation Time
60 minutes
Tools Required
- Power Drill
- 3/16”, 5/16” Drill Bits
- Permanent Marker
- Tape Measure
- Rivet Gun, capable of 3/16” Rivets
- 1⁄2” Socket
- Socket Wrench
Installation Instructions:
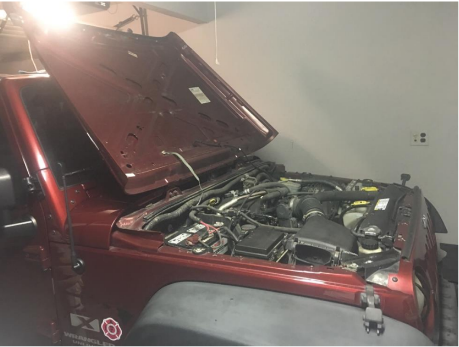
1. First open the hood
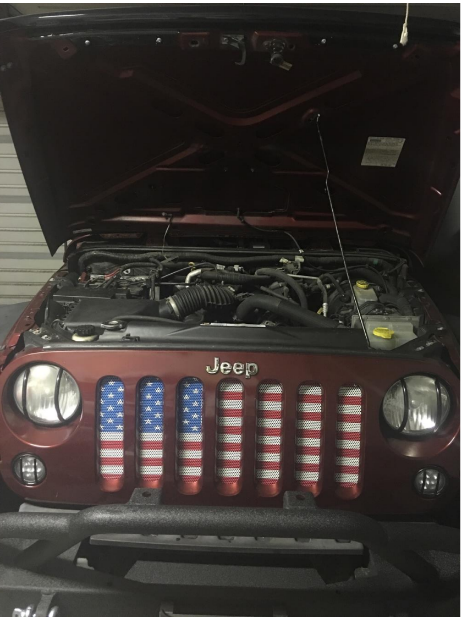
2. Push the hood all the way back until it rests upon the windshield. (I suggest putting towels in between the hood and windshield for protection)
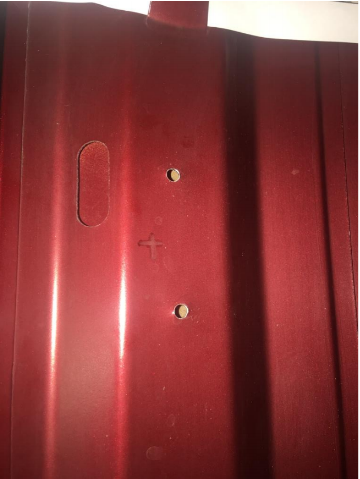
3. Measure from the lower edge of the hood 21” up and place a mark.
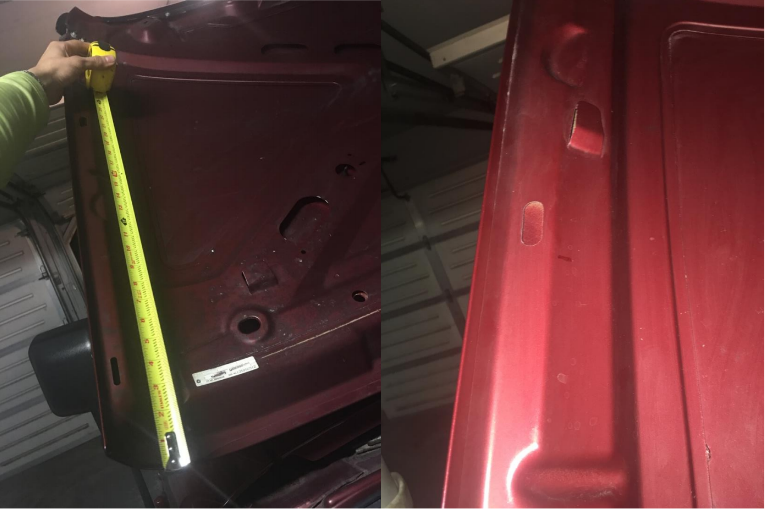
4. Measure 2” inward from the mark that was just made and make another mark. (The two marks will now make a cross)
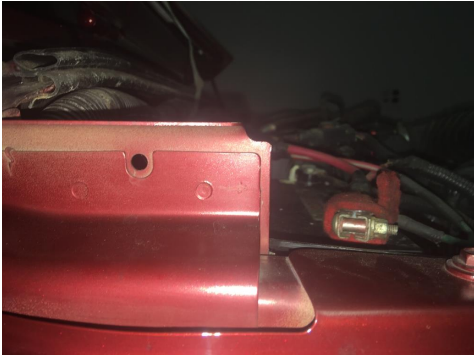
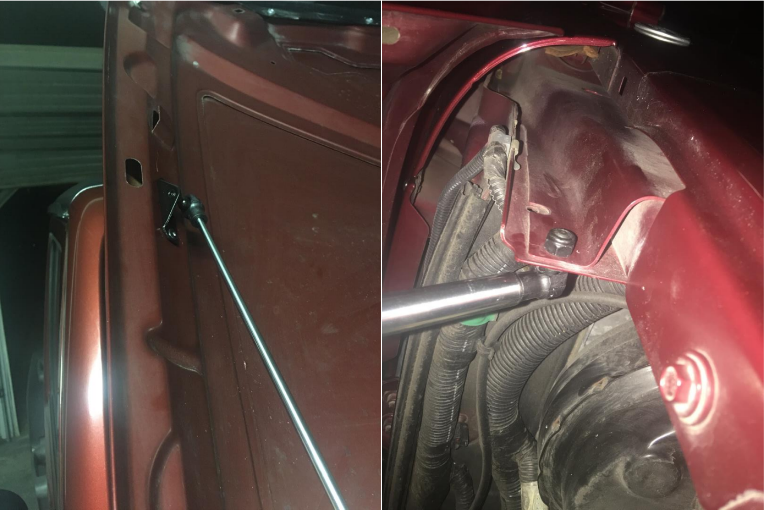
5. Align the center of the edge of the bracket with this cross, with the ball stud facing inward.
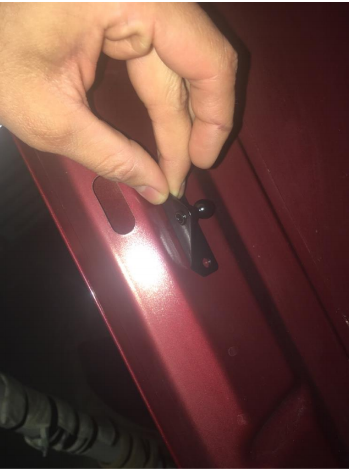
6. Place a mark in the center of the lower hole and upper hole using the marker. (Make sure the bracket is straight and flat against the hood’s frame.
7. Drill both holes with the 3/16” drill bit (test the rivet to make sure it will tightly fit through the bracket and hole).
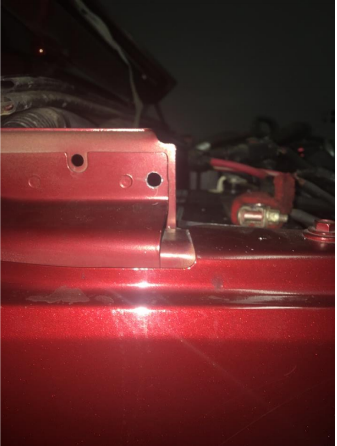
8. Put the bracket in position and insert the rivets into the bracket and hole with the long stem sticking outward.

9. Insert the 3/16” rivet head and slide the rivet gun into the long end of the rivet. Apply downward force on the rivet and bracket, firmly squeeze riveter handle multiple times until rivet gun pops and snaps off the rivet stem.
10. Repeat steps 3-11 for the opposite side of the hood.
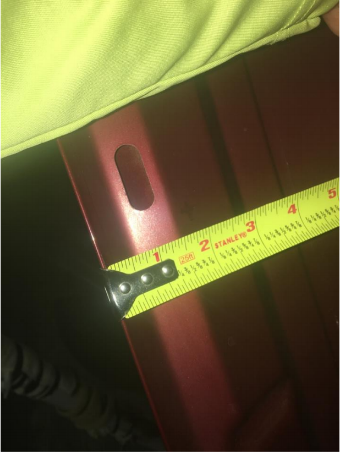
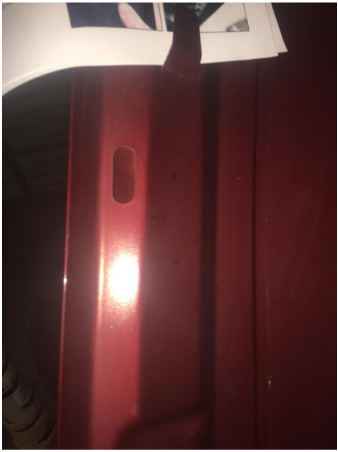
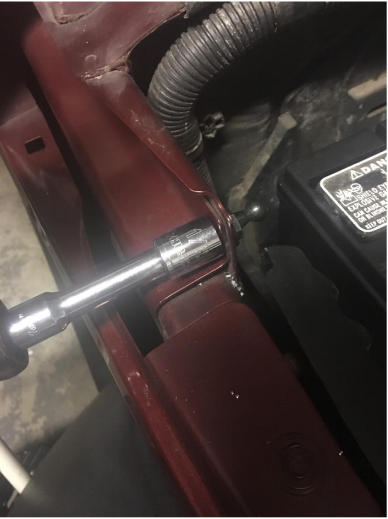
11. On the inner fender near the cowl, locate the metal lip. Mark the center, 1” down and 1⁄2” from edge with a marker.
12. Drill a 5/16” hole into this position.
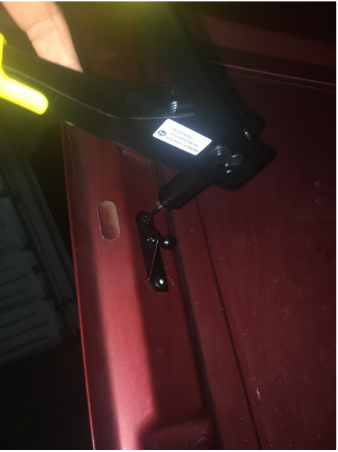
13. Place one washer onto the ball-stud and insert it into the hole facing inward. Put lock nut onto the shaft. Use 1⁄2” socket to tighten the lock nut.
14. Repeat steps 12-14 for the other side.
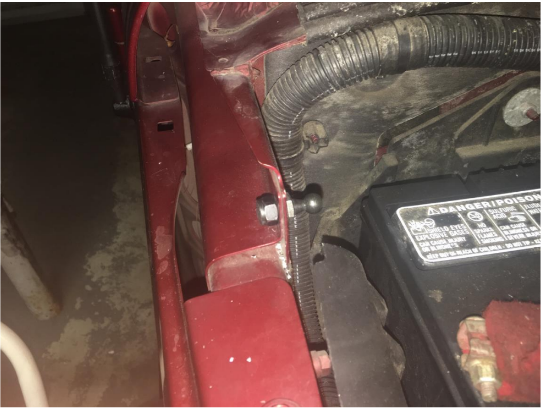
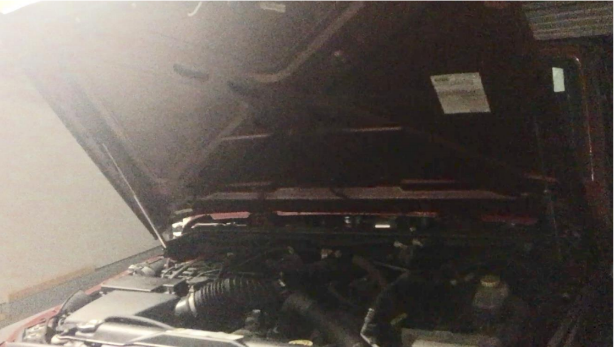
15. Snap gas springs onto the ball studs.
16. Finished!
Installation Instructions Written by ExtremeTerrain Customer Thomas Sandoval 05/05/2017

