 FREE 1 to 3-Day Delivery on Orders $149+ Details

How to Install RedRock 4x4 Hitch - Textured Black (07-17 Wrangler JK) on your Jeep Wrangler
Installation Time
2 hours
Tools Required
- 15mm Socket
- 18mm Socket
- 19mm Wrench
- Floor Jack (Optional)

Shop Parts in this Guide
Installation Instructions:
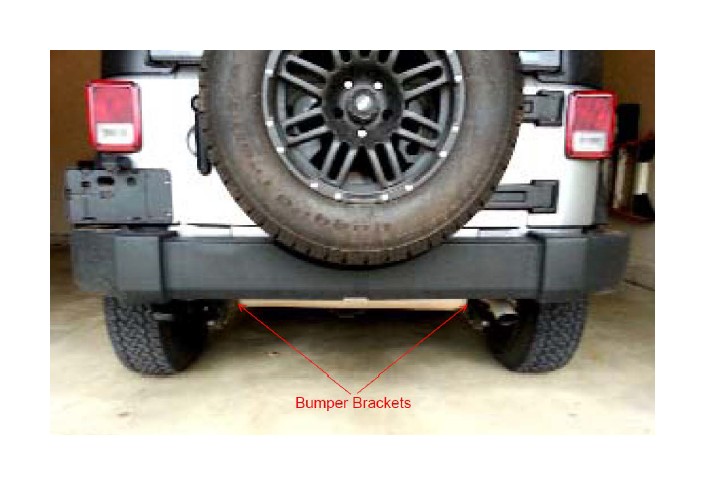
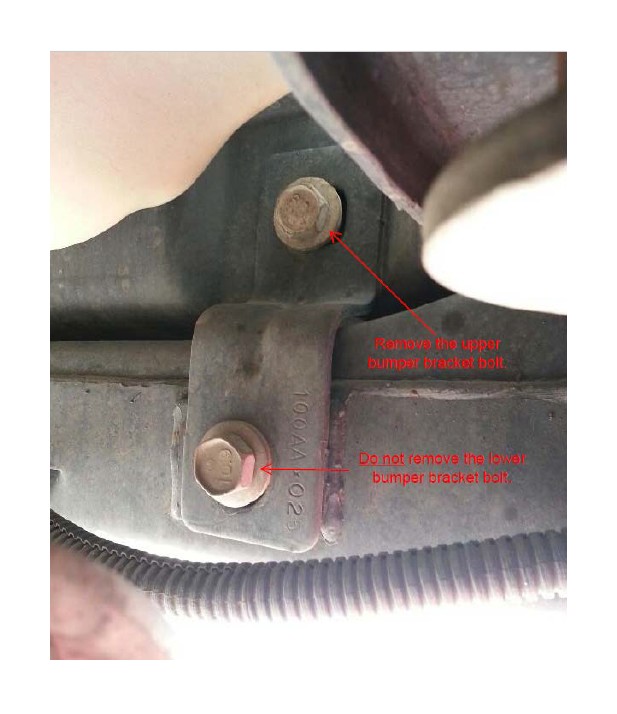
1. Remove the upper 15mm bolts connecting the bumper brackets to the rear frame crossmember on both the driver and passenger sides. The bolts are accessible from underneath the Jeep.

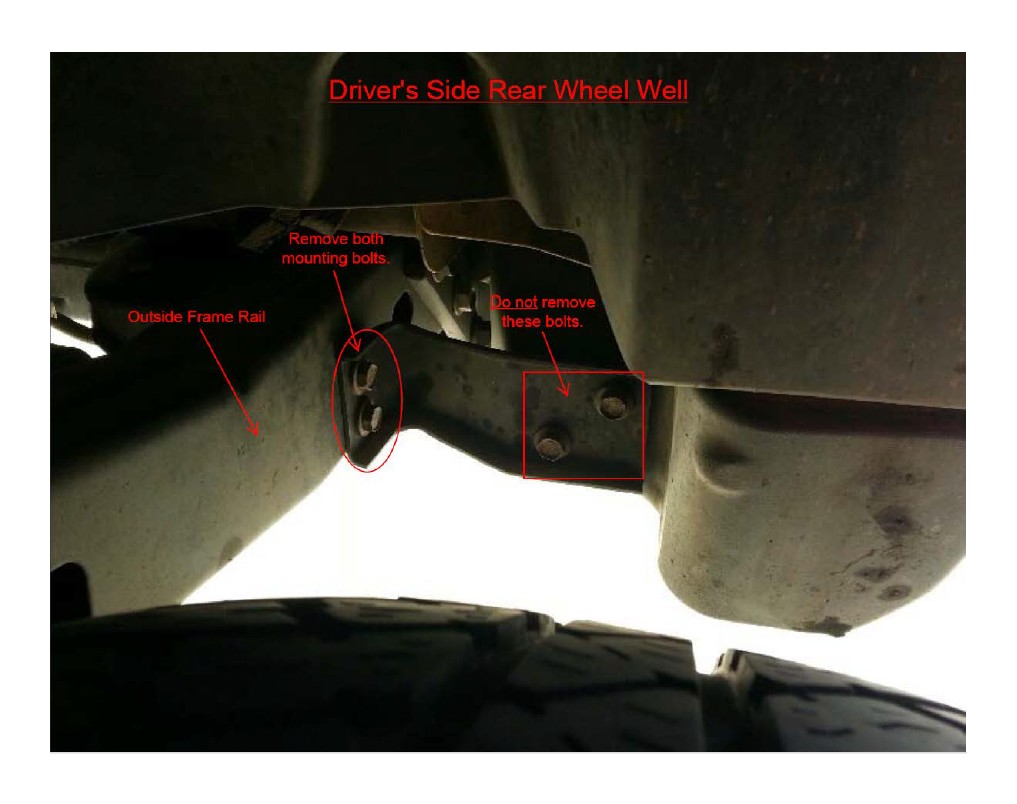
2. Remove the mounting bolts connecting the bumper to the outside frame rail on both the driver and passenger sides. There are 2- 15mm bolts on each side. The bolts are accessible from the rear wheel wells.
3. Remove the rear bumper and place it out of the way.
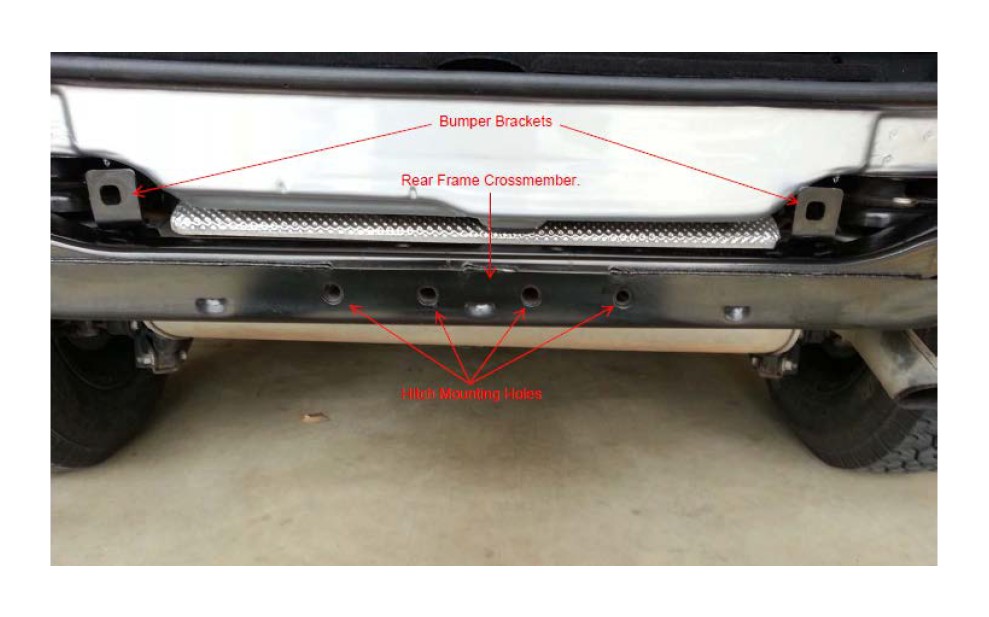
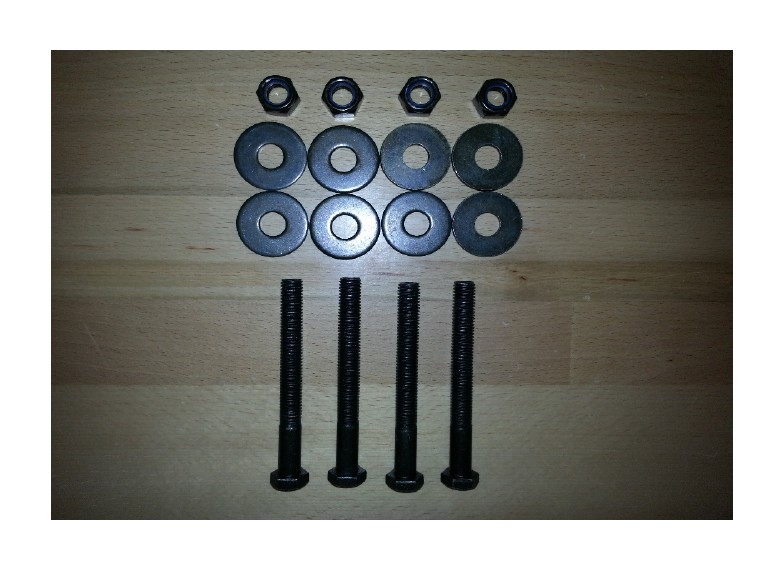
4. Locate the hitch mounting hardware. The hardware should consist of 4- bolts, 4- lock nuts, and 8- flat washers.
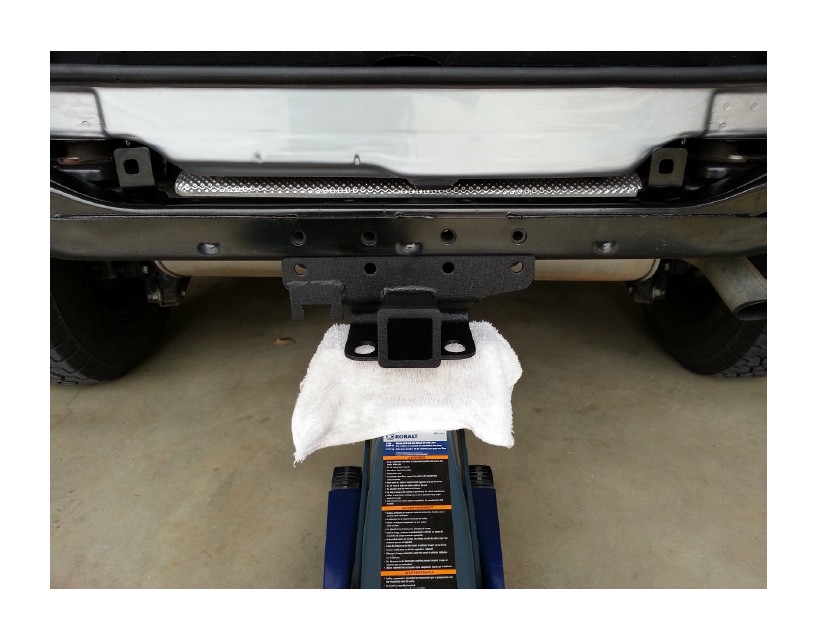
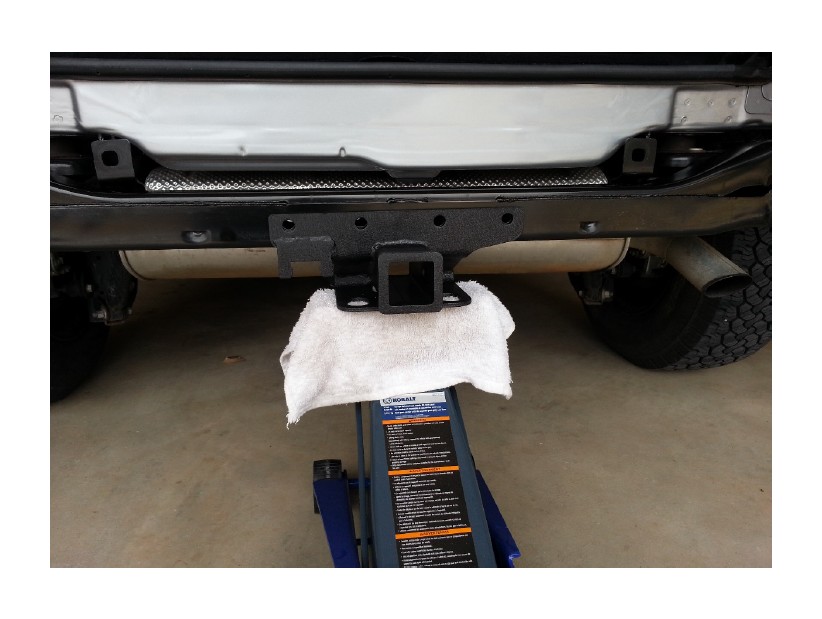
5. Position the hitch and prepare to mount it to the rear frame crossmember. If you have a floor jack available put the hitch on the jack and raise it into position. This will alleviate holding the hitch while inserting the mounting bolts. If you don’t have a floor jack, hold the hitch in place and insert the 2 outside bolts first to hold the hitch on the rear frame crossmember.
6. Use flat washers on the bolt head side and the nut side of each bolt. Each bolt will require 2 flat washers.
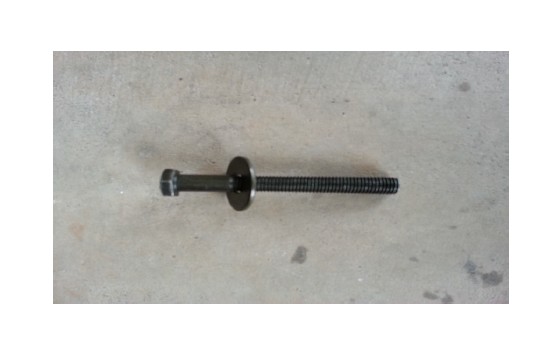
7. Insert the bolts through the hitch mounting holes and the rear frame crossmember. Place a flat washer on the nut side of the bolt between the rear frame crossmember and nut. Using an 18mm socket and 19mm wrench, secure the bolts using the 4 lock nuts.

8. Reinstall the rear bumper in the reverse order it was removed. Do not tighten the hardware until the bumper is properly positioned.
Installation Instructions written by ExtremeTerrain Customer Matt Wingard 1/17/2015
