 FREE 1 to 3-Day Delivery on Orders $149+ Details

How to Install ReadyLIFT Rear Adjustable Track Bar for 0-4 in. Lift (07-18 Jeep Wrangler JK) on your Jeep Wrangler
Installation Time
45 minutes
Tools Required
- Socket Wrench with 21mm Socket
- 6” Socket Extension
- Open Ended Wrench: 21mm
- Large Tongue-and-Grove Pliers
- Breaker Bar
- Wheel Chocks
- Torque Wrench

Shop Parts in this Guide
Installation Notes: Taking your Jeep® to get an alignment is not required but recommended once you’ve installed the new ReadyLIFT Rear Adjustable Track Bar.
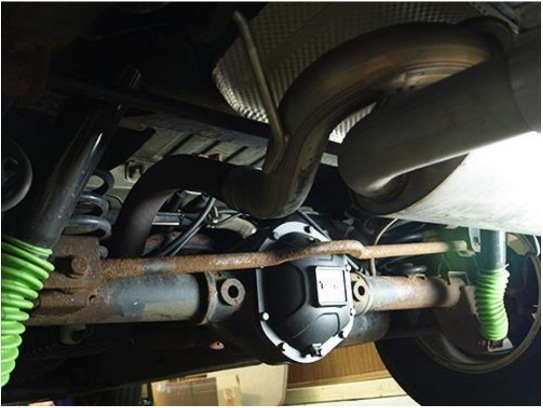
Before Install
Installation Instructions:
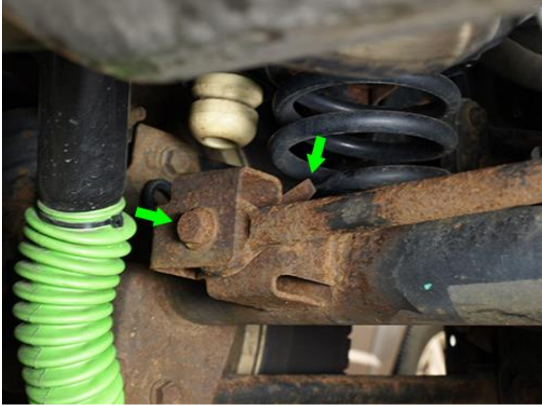
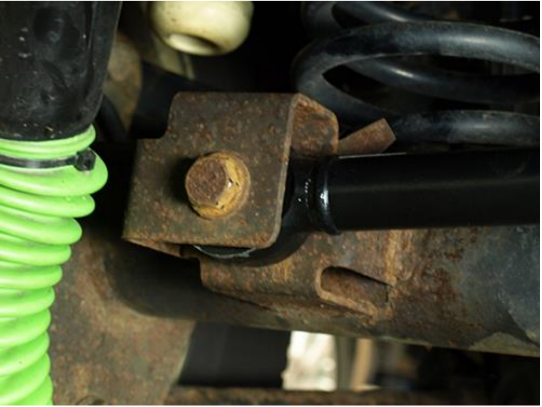
1. Place wheel chocks behind the rear tires and remove the factory rear track bar bolt attached to the axle bracket with a Socket Wrench and a 21mm socket. There is a flag nut on the back of the track bar bolt.
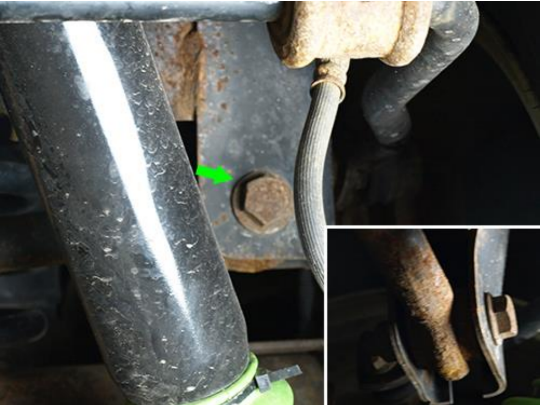
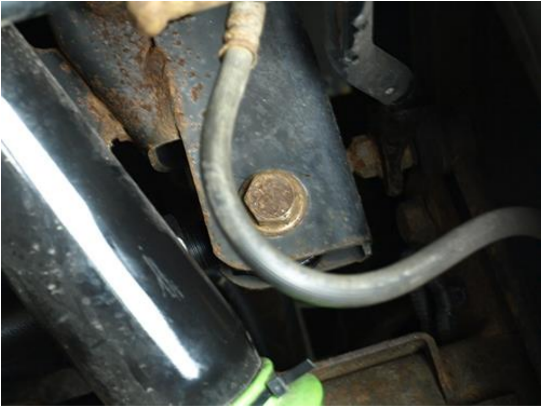
2. Remove the factory rear track bar bolt attached to the body bracket with a Socket Wrench with a 21mm socket and a 6” extension on the bolt head. Place a Open Ended 21mm wrench on the nut. You may need to use a breaker bar to break this bolt free. Slide the factory rear tracker bar down once it’s free.
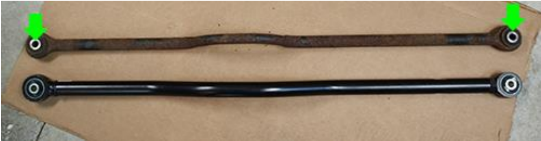
3. Lay the factory rear track bar above the ReadyLIFT Rear Adjustable Track Bar and measure from the metal bushing on the left to the metal bushing on the right. Transfer this measurement to the new Rear Adjustable Track Bar, and loosely tighten the jam nut.
4. Place the ReadyLIFT Rear Adjustable Track Bar into the body bracket and slide the factory 21mm bolt through to the other side and screw on the 21mm nut. Loosely tighten the nut.
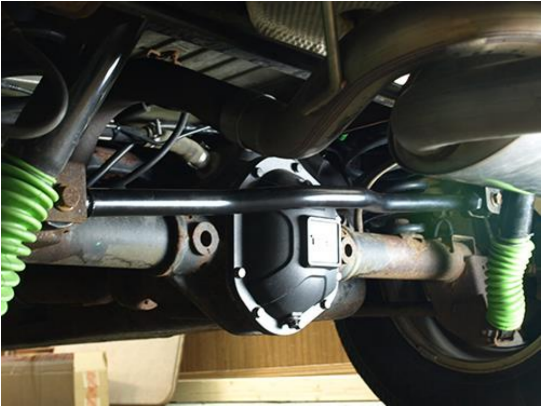
5. Place the opposite side of the ReadyLIFT Rear Adjustable Track Bar into the axle bracket and slide the 21mm factory bolt through and screw into the flag nut. You may need to push the rear driver side of the Jeep® outward to line the track bar bolt hole with the factory axle bracket hole. Torque the axle bolt and then the body bolt to 125-foot pounds. Tighten the jam nut using a Tongue-and-Grove Pliers.
After Install
Installation Instructions Written by ExtremeTerrain Customer Brian Voelzke 11/04/2018

