 FREE 1 to 3-Day Delivery on Orders $149+ Details

How to Install Raxiom 21.5 in. Double Row LED Light Bar - Flood/Spot Combo (87-18 Jeep Wrangler YJ, TJ & JK) on your Jeep Wrangler
Installation Time
60 minutes
Tools Required
- Box Cutter or Knife
- 14mm Socket
- Socket Wrench
- Crimp Tool or Pliers
- Electrical Tape
- Wire Connectors
- Wiring Harness
- Switch
Installation Instructions:
1. Carefully open the package using a box cutter or knife (Figure A) and ensure the light bar and necessary hardware are included and undamaged.
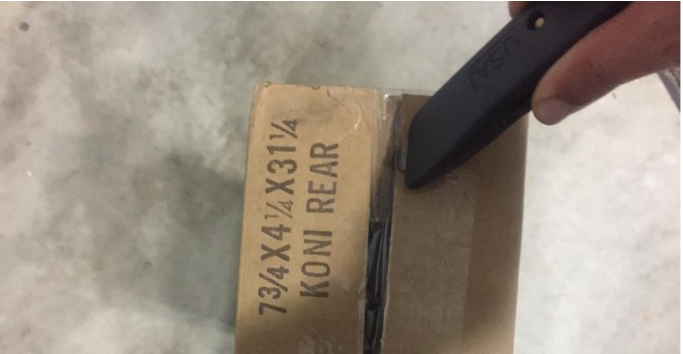
Figure A
2. Attach mounting arms to the sides of the light bar using the supplied bolts and washers, as well as the supplied Allen wrench (Figure B).
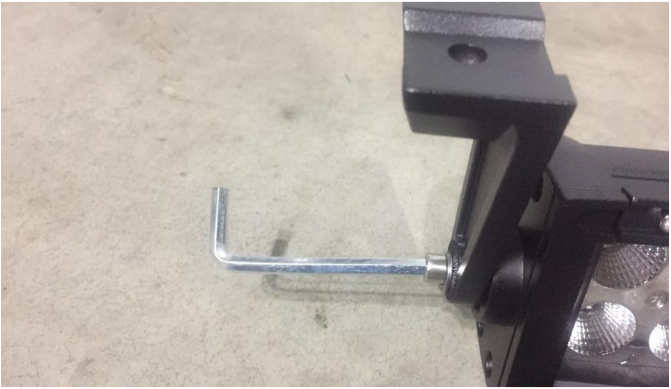
Figure B
3. Choose your mounting location. If choosing to mount directly to the body, drilling may be required. If mounting to a light mount, attach mounting arms using supplied bolts and washers and a 14mm socket wrench (Figure C).
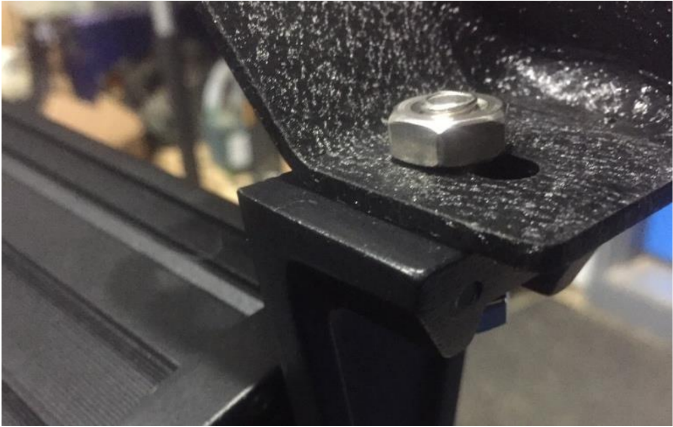
Figure C
4. Connect wires from the light bar to a wiring harness (not supplied) using wire connectors (not supplied) (Figure D) and electrical tape (not supplied). Note: Either purchase the wiring harness from the same supplier as the light bar for a quick connection or create a wiring harness using 16 gauge wires (three total: ground, relay, and light bar).
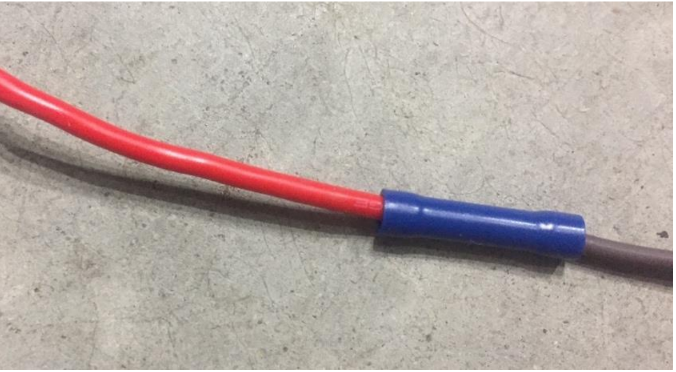
Figure D
5. Connect the relay wire from the wiring harness to the switch (not supplied) (Figure E).
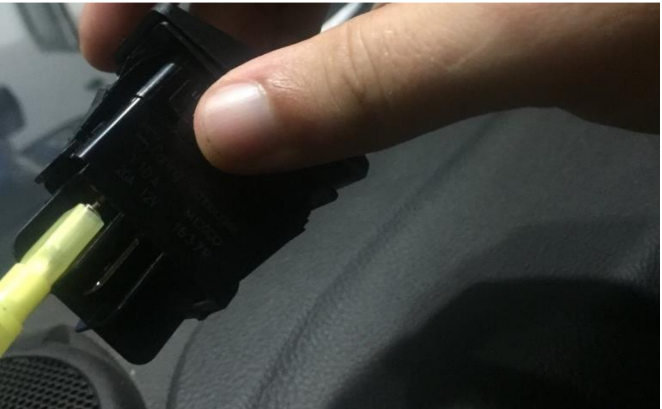
Figure E
6. Connect the light bar wire from the wiring harness to the switch (Figure F).
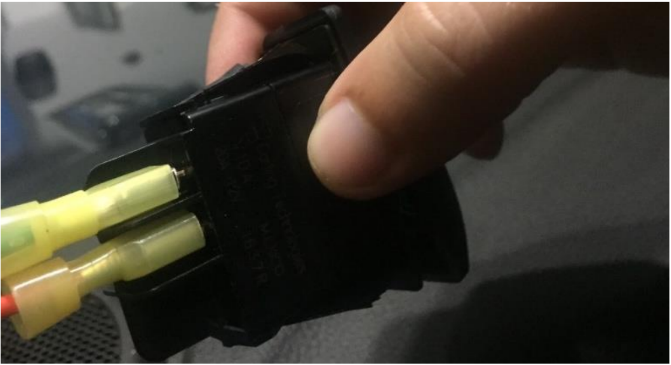
Figure F
7. Connect the ground to the switch and connect to the chassis of the vehicle (Figure G).
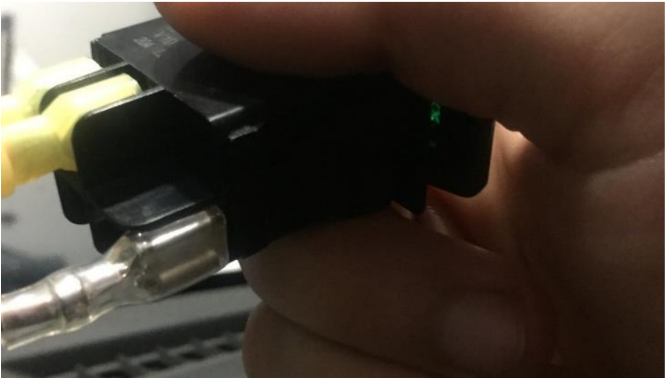
Figure G
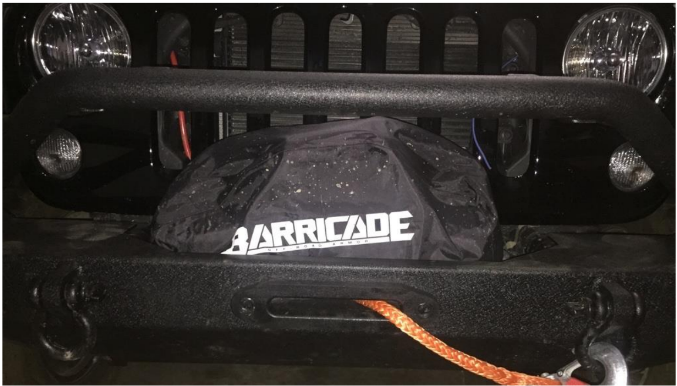
Before
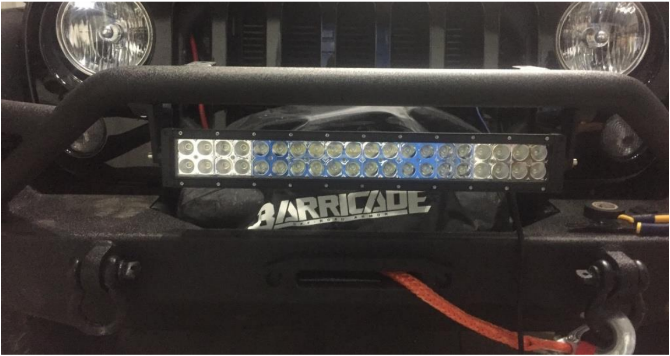
After
Installation Instructions Written by ExtremeTerrain Customer J. Sandlin 08/31/2017
