 FREE 1 to 3-Day Delivery on Orders $149+ Details

How to Install Off Camber Fabrications by MBRP Dual Windshield Pillar Light Kit (07-17 Wrangler JK) on your Jeep Wrangler
Installation Time
30 minutes
Tools Required
- 5mm Allen wrench
- T40 torx bit (found in your Jeep tool kit)
- Wrenches: (sizes depend on your light mounting hardware)
Installation Instructions:
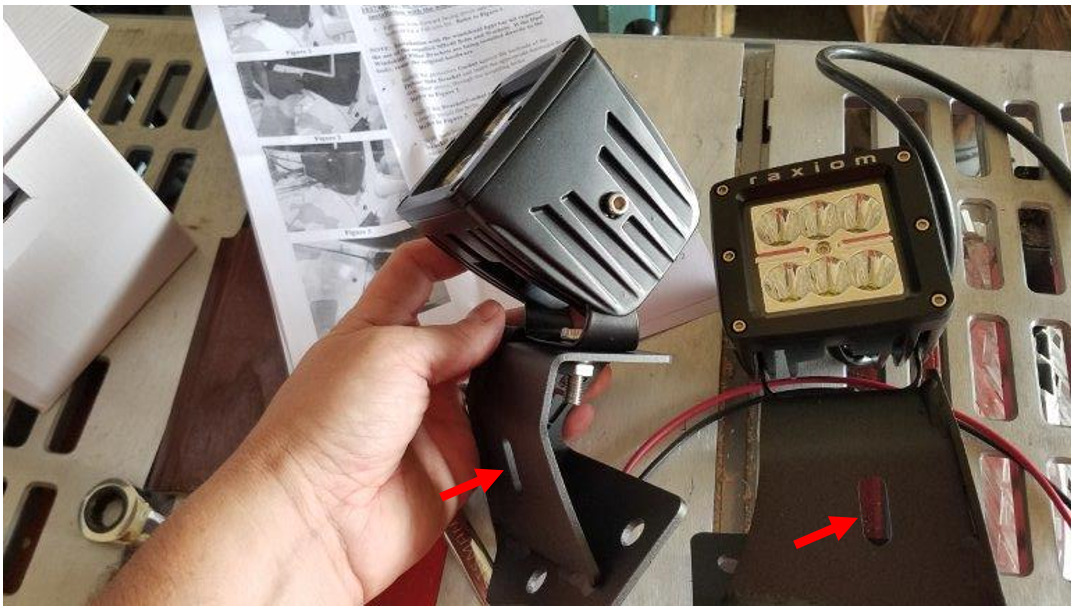
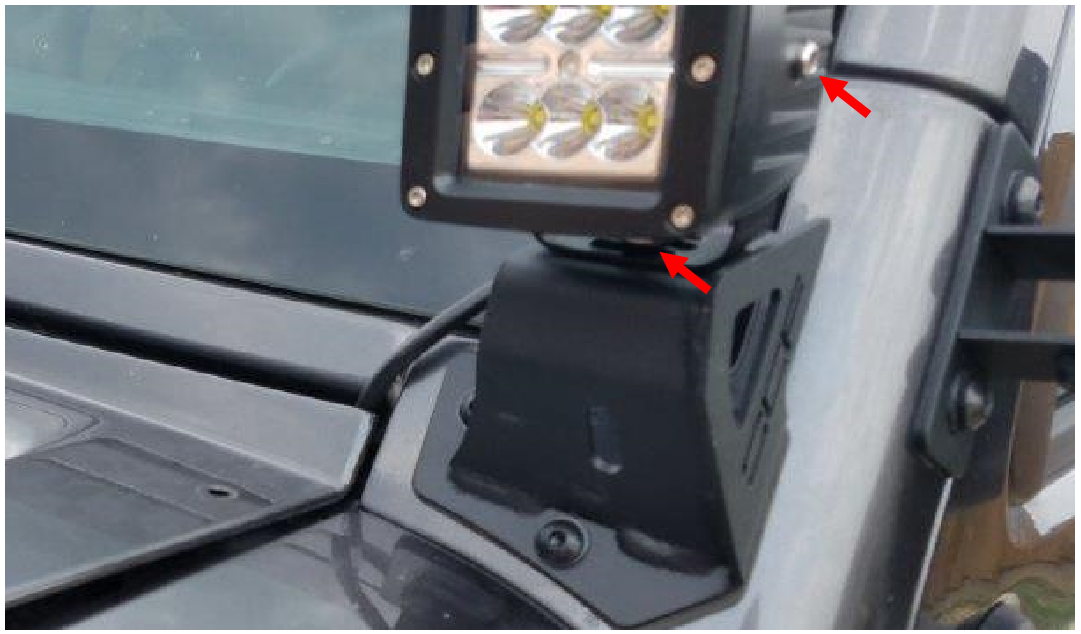
1. First mount your lights on the brackets using the hardware supplied with your lights. Wrench sizes will differ depending on your lights. Snug up the bolts but don’t completely tighten. The upper lights mount as shown, the lower lights mount in the lower mount holes. You can either mount 2 or 4 lights on these brackets.
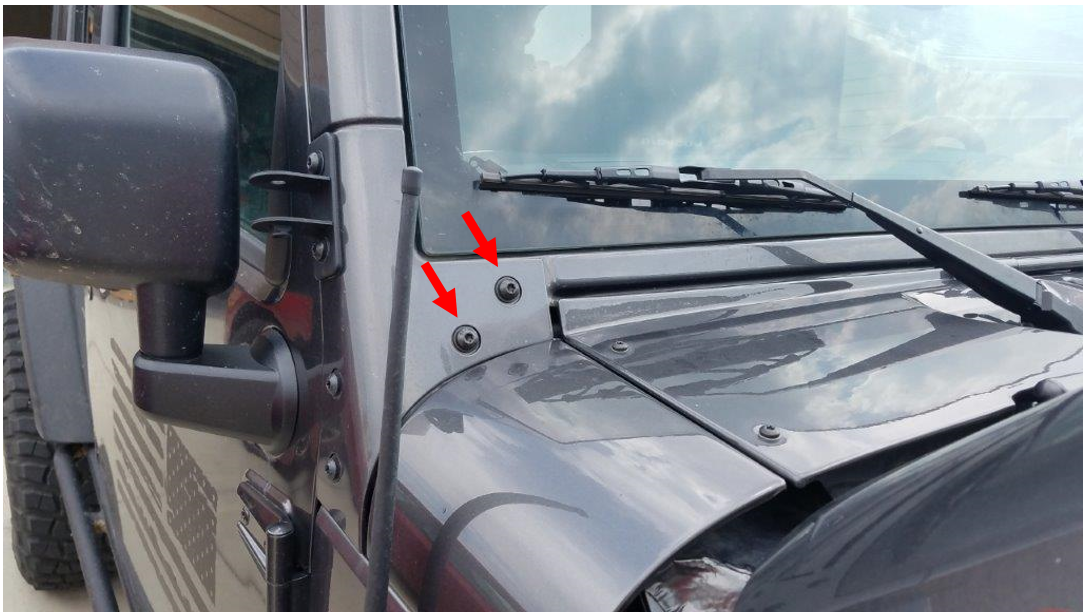
2. Using the T40 torx bit, remove the 2 windshield pillar bolts shown. Do this on both sides of the windshield.
3. Using the supplied bolts and washers, install the brackets. The OCF logo should be facing outward. Make sure to place the supplied gasket between the bracket and your paint. Tighten the bolts using a 5mm allen wrench.
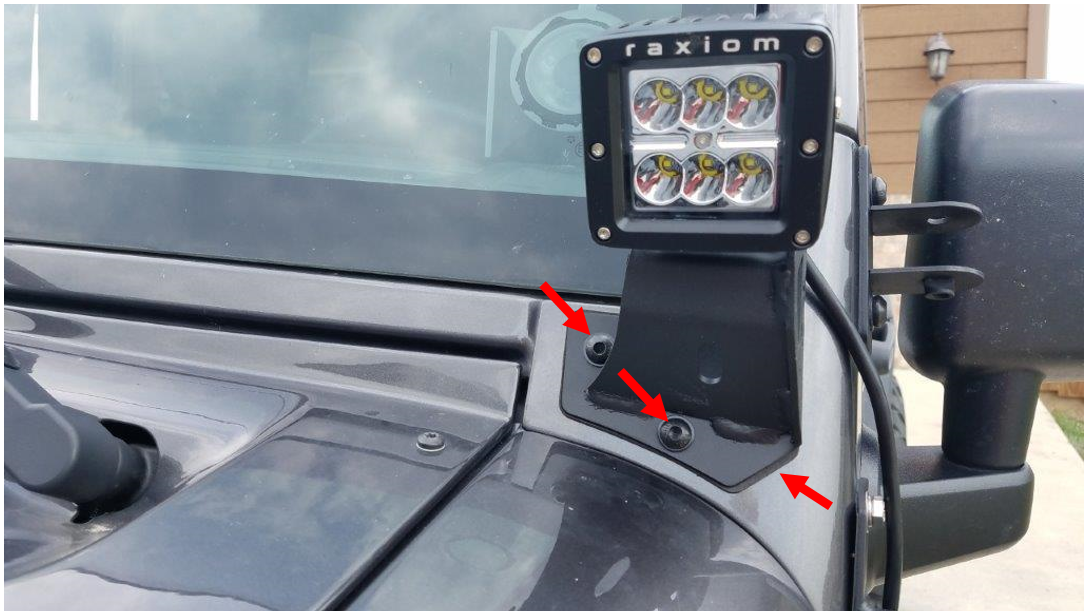
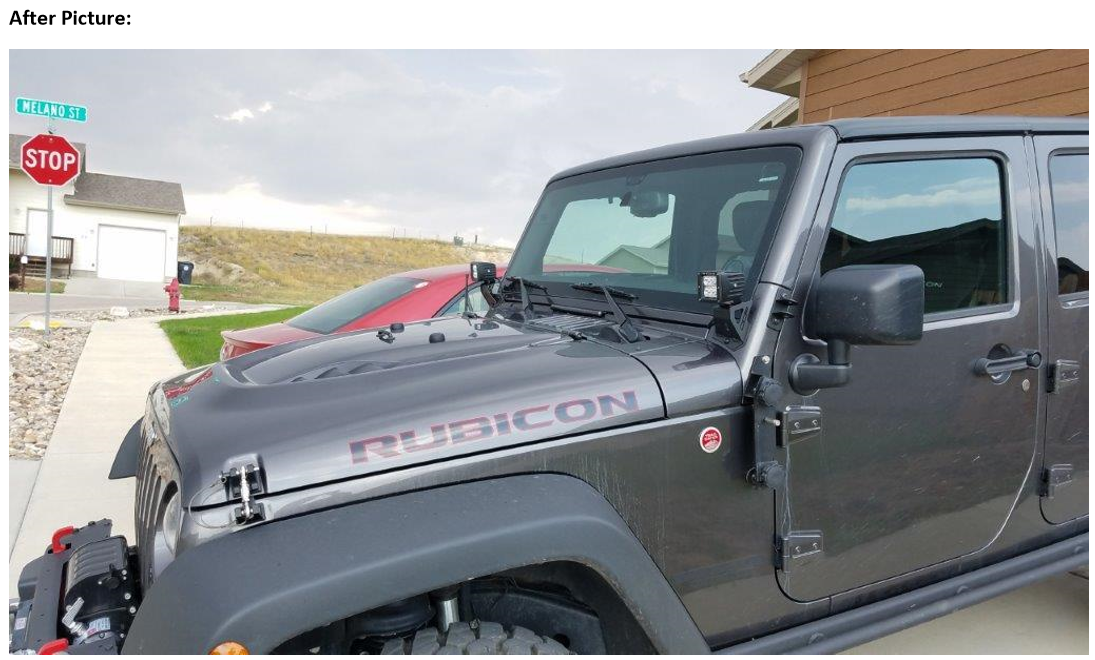
4. Next, aim your lights where you want them to point, then tighten all the bolts based on your light manufacturer’s instructions.
Installation Instructions Written by ExtremeTerrain Customer John Parker 09/23/2017

