 FREE 1 to 3-Day Delivery on Orders $149+ Details

How to Install MORryde Tailgate Reinforcement Kit (07-17 Wrangler JK) on your Jeep Wrangler
Installation Time
1 hours
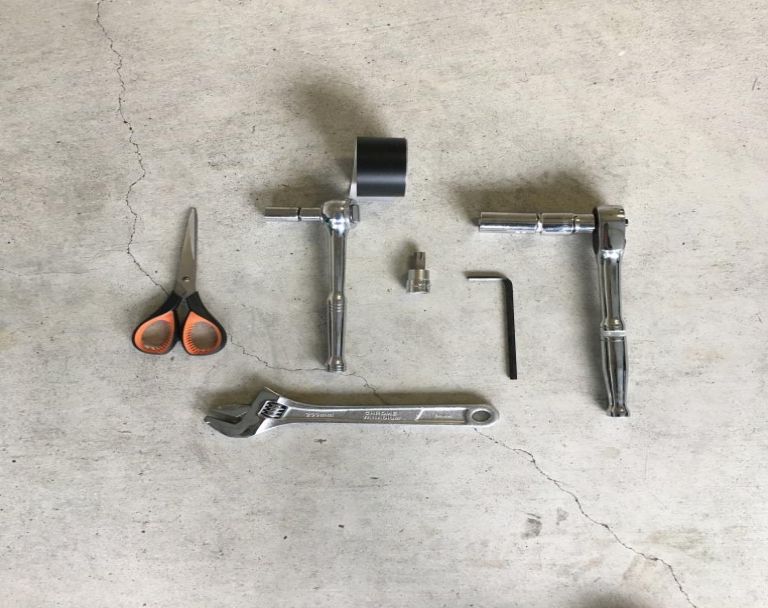
Tools Required
- Large or torque wrench and lug key (to remove spare tire)
- 13mm socket, wrench, and extension
- T-50 torx bit (if using factory hinges)
- 5mm allen wrench
- Crescent wrench
- Automotive blackout tape
- Scissors (to trim tape)
- Towel or rag (to wipe down Jeep if desired)

Shop Parts in this Guide
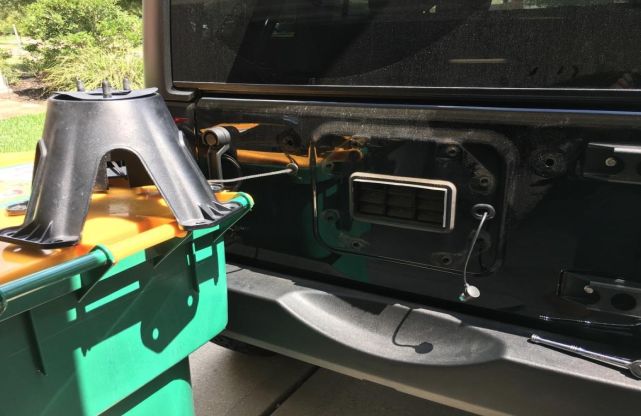
Factory / Before Picture:
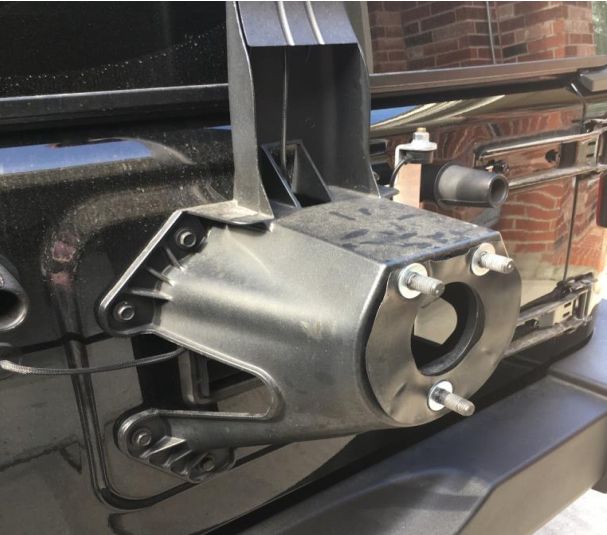
Tools:
Note: I installed the reinforcement kit with the MORryde heavy duty hinges, but the kit can also be installed with factory hinges
Installation Instructions:
1. Remove spare tire and set aside
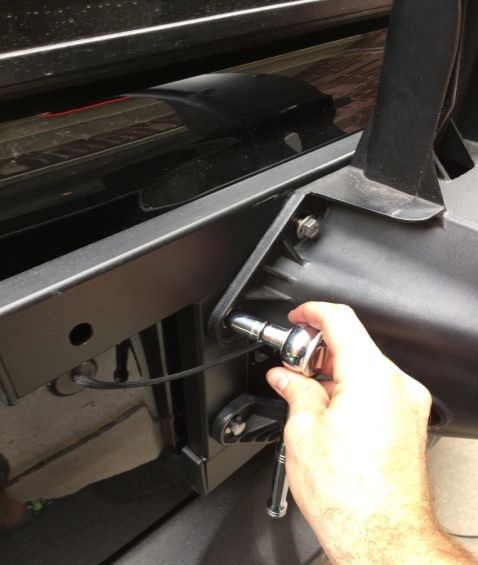
2. Remove spare tire carrier ( 8 bolts using 13mm socket and wrench) and rubber bumpers (Note: I found it most useful to set my tire carrier on something so that I did not have to let the carrier dangle by the wire, remove the wire, or have someone hold the carrier while I was finishing the rest of the install - see below)
3. Wipe away / clean any dirt from behind spare tire mount if desired
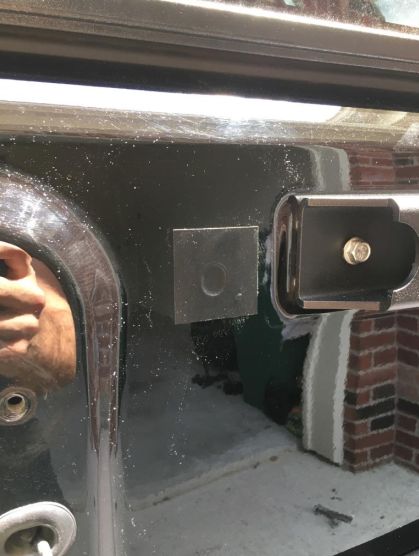
4. Use included automotive blackout tape to seal two holes in tailgate where rubber bumpers were removed
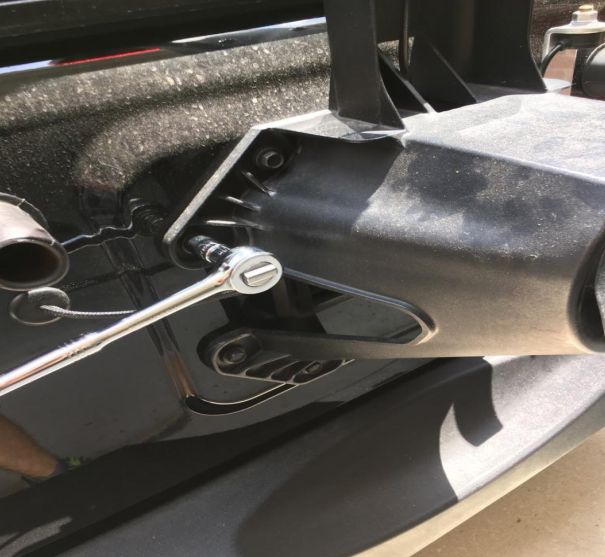
5. Remove two bolts connecting top hinge to tailgate using 13mm socket and wrench (use extension if removing MORryde heavy duty hinge)
6. Remove three bolts connecting hinge to jeep quarter-panel using T-50 torx bit and wrench for factory hinge or 5mm allen wrench for heavy duty hinge (Note: you will have to swing open the hinge to access the two bolts closest to the tailgate)
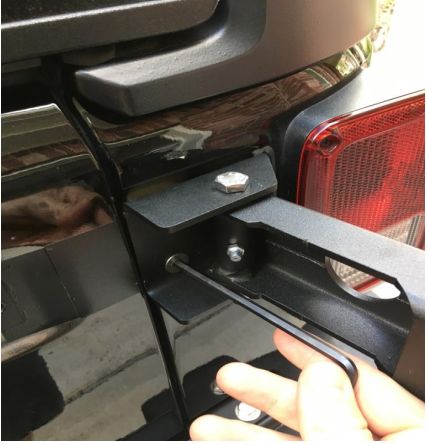
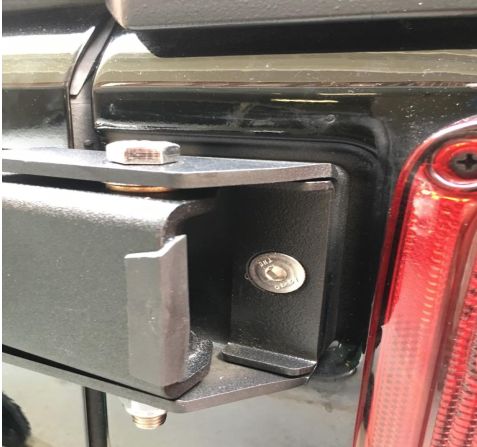
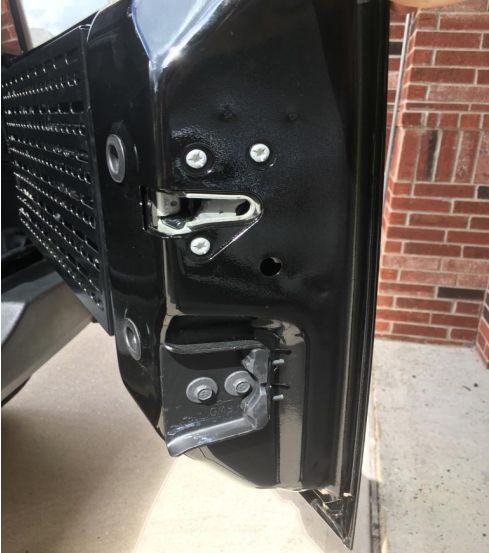
7. Reinstall hinge to quarter-panel with hinge spacer between hinge and quarter-panel using original bolts and do not fully tighten yet to allow for adjustments (Note: The included hinge stop can be installed on either the top or bottom hinge right-most bolt to prevent tailgate over-extension - see below; Anti-seize is recommended to be used on the bolts and is included in the kit)
8. Install spacer between hinge arm and tailgate using original hardware and do not fully tighten yet to allow for adjustments (Note: It is recommended to use anti-seize for these bolts as well)
9. Repeat steps 5 - 8 for bottom hinge
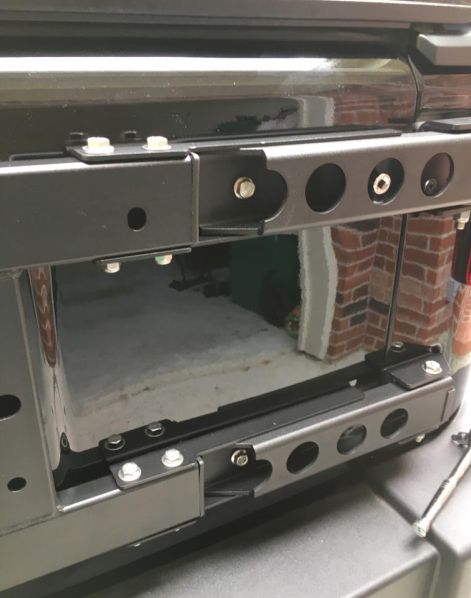
10. Install reinforcement frame to tailgate hinge spacers with included kit hardware and hand tighten bolts (Note: The rubber grommet for accessory wires can be relocated to the reinforcement frame and the tailgate hole covered with blackout tape. Or, accessory wires can be run through the reinforcement frame and tailgate port)
11. Reinstall factory spare tire mount using hardware included with the kit and fully tighten bolts using 13mm socket and wrench (Note: It is recommended to use anti-seize on these bolts as well)
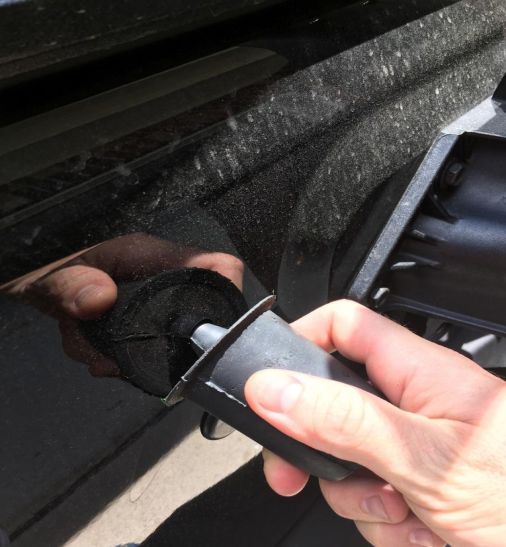
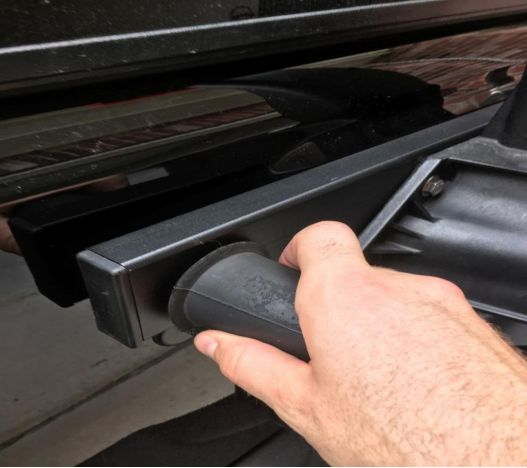
12. Install rubber spare tire bumpers to reinforcement frame
13. Tighten bolts connecting reinforcement frame to tailgate hinge spacers with 13mm socket and wrench, holding backup with crescent wrench
14. Adjust tailgate hinges so that the tailgate latches properly and the tailgate support mount below the latch lines up and helps to support the tailgate

15. Tighten all bolts once aligned
16. Reinstall spare tire
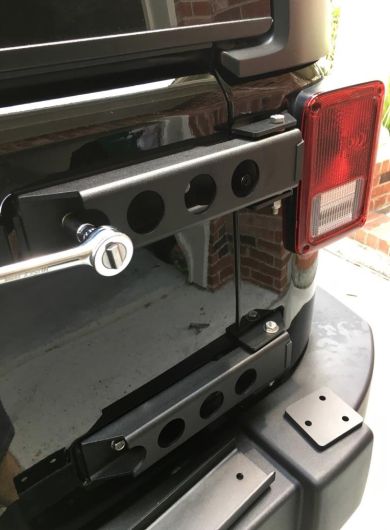
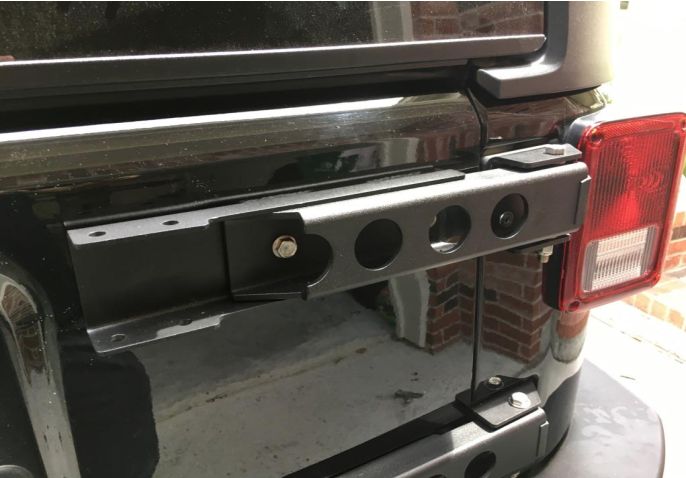
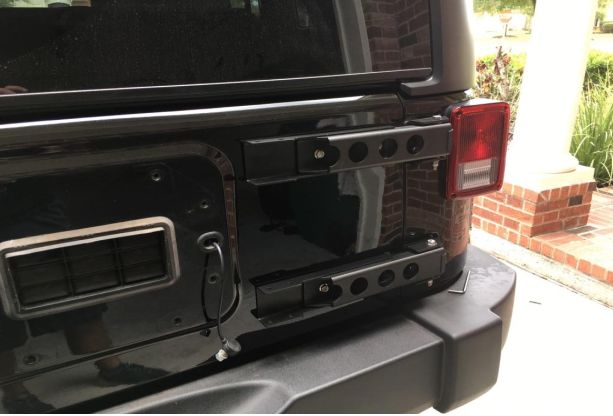
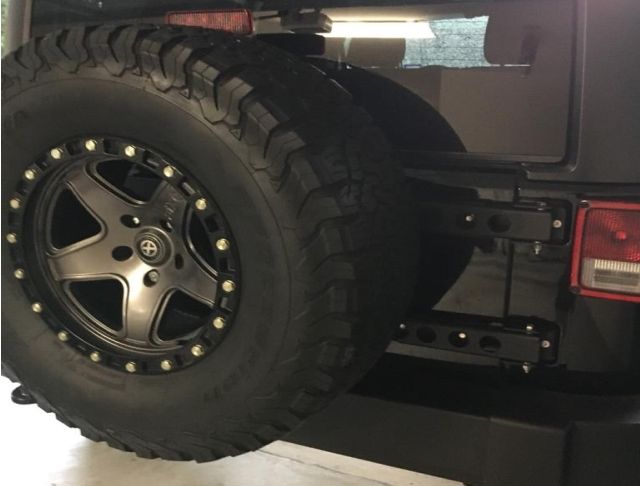
Installed Photos:

Installation Instructions Written by ExtremeTerrain Customer Brian Dunn 07/23/2017
