

How to Install M.O.R.E. Transfer Case Skid Plate on your Wrangler
Installation Time
20 minutes
Tools Required
- 18 mm socket
- 19 mm socket
- 3/8 inch socket wrench
- 3/8 inch Torque wrench (capable of 45 ft lbs)
- 9/16 inch metal drill bit
- Cordless or electric drill
- Optional: Extension cord for electric drill
- Optional: Removable threadlock compound (a.k.a. “the blue stuff”)
- Optional: Floor jack to support skid plate during installation
- Optional: 1/2"-13 Grade 8 Hex Nuts to replace M.O.R.E. provided nuts

Shop Parts in this Guide
Pre-Installation notes: If M.O.R.E provided nuts will not thread onto M.O.R.E. provided bolts, replace with Grade 8, 1/2”-13 hex nuts from local auto store or home improvement store.
Installation Instructions:
1. Stage tools and materials on passenger side of vehicle.
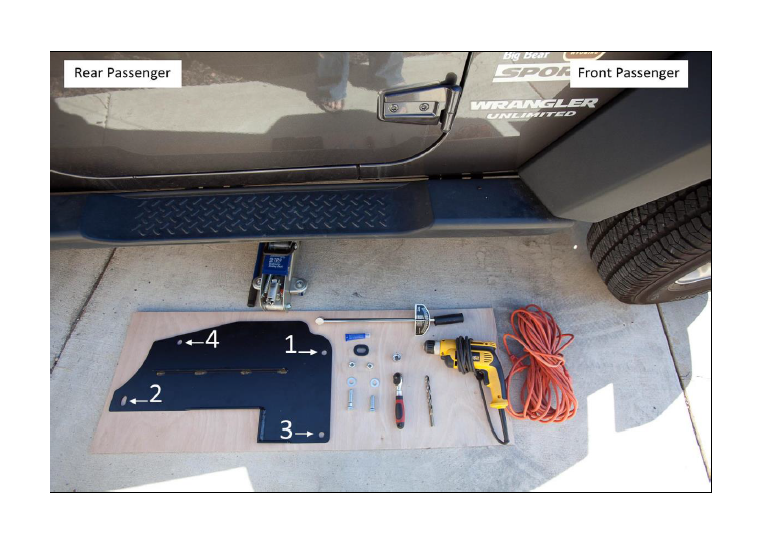
2. Remove factory bolt and washer set #1 and #2 using 18 mm socket and 3/8 inch socket wrench.
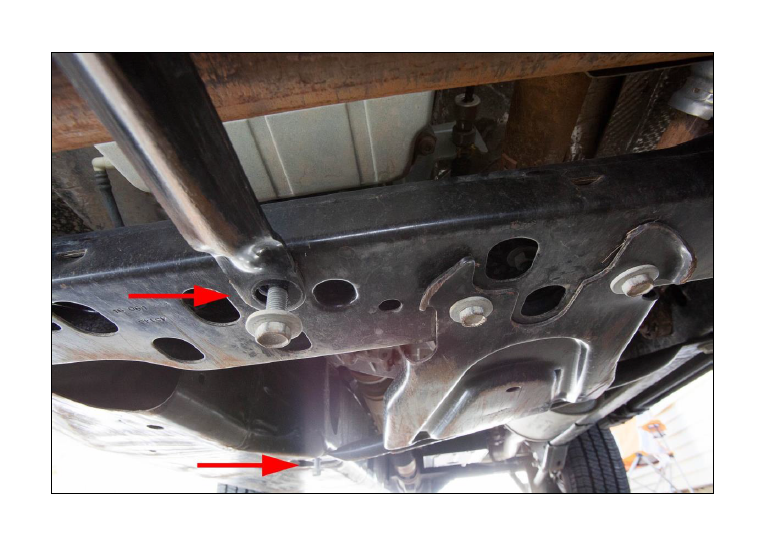
3. Arrange M.O.R.E. skid plate so the wider end is facing the front of the vehicle and the welded braces are facing the underside of the vehicle. Position M.O.R.E. skid plate under vehicle.
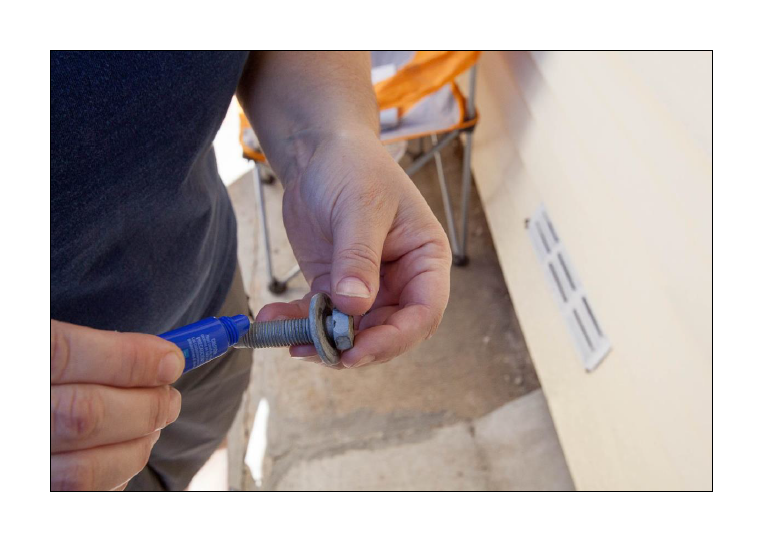
4. Ensure factory washers are still in place on factory bolts #1 and #2. If using removable threadlock compound, apply to bolt threads.
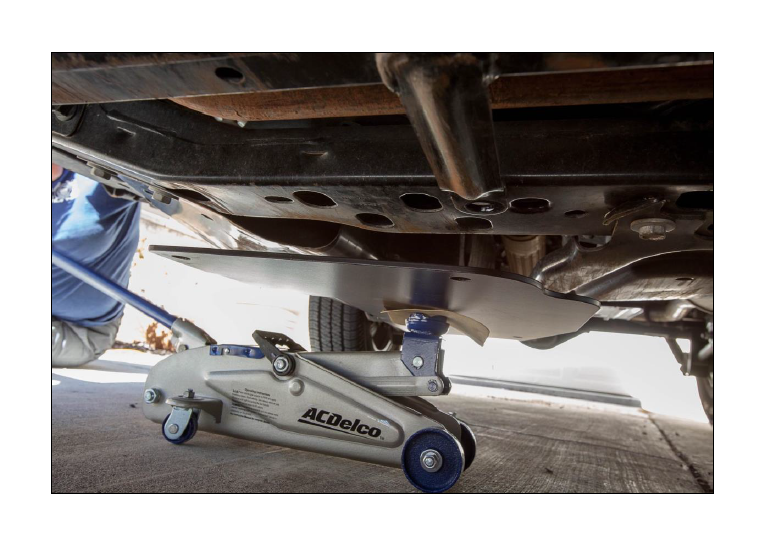
5. Raise wider end of M.O.R.E skid plate into position by hand or with floor jack. Align round skid plate hole #1 with factory bolt hole #1. Insert factory bolt and washer set #1, then lightly tighten with 18 mm socket and 3/8 socket wrench.
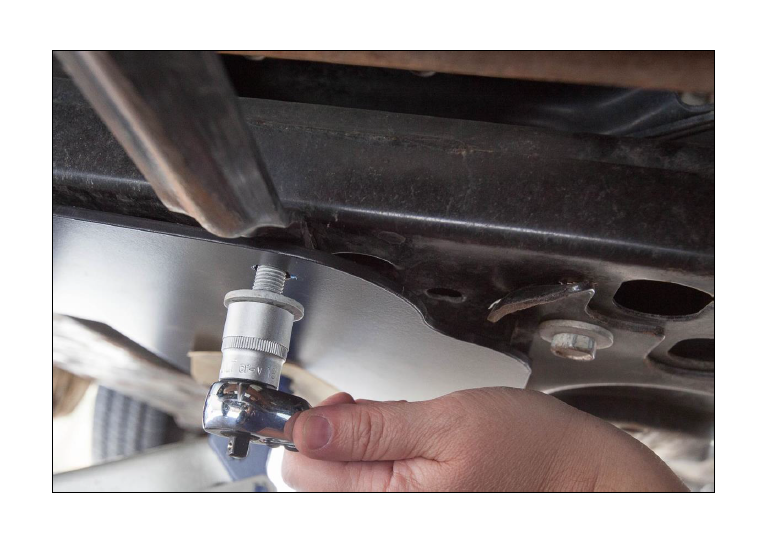
6. Raise smaller end of M.O.R.E skid plate into position by hand or with floor jack. Align slotted skid plate hole #2 with factory bolt hole #2. Insert 1/2 inch slotted spacer between vehicle, M.O.R.E skid plate, and round tube of factory skid plate. Insert factory bolt and washer set #2 through slotted skid plate hole #2 and 1/2 inch slotted
spacer, then lightly tighten with 18 mm socket and 3/8 socket wrench.
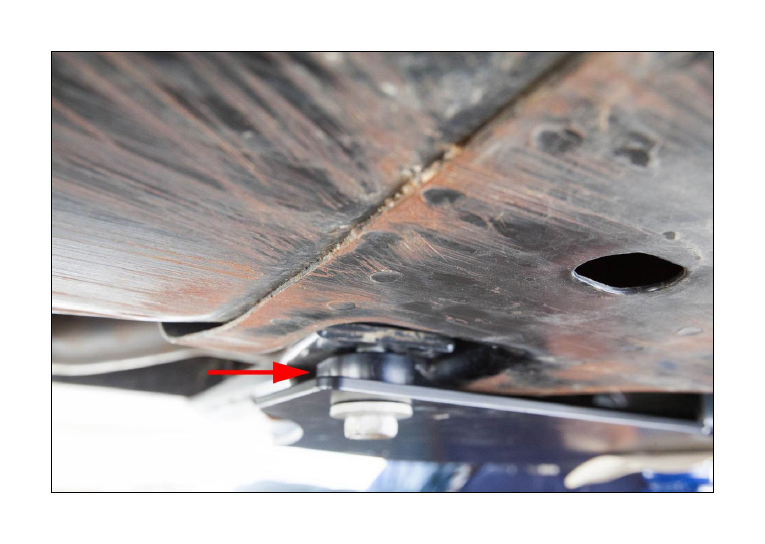
7. Using M.O.R.E skid plate holes #3 (cross member location) and #4 (factory skid plate location) as guides, drill two 9/16 inch holes.
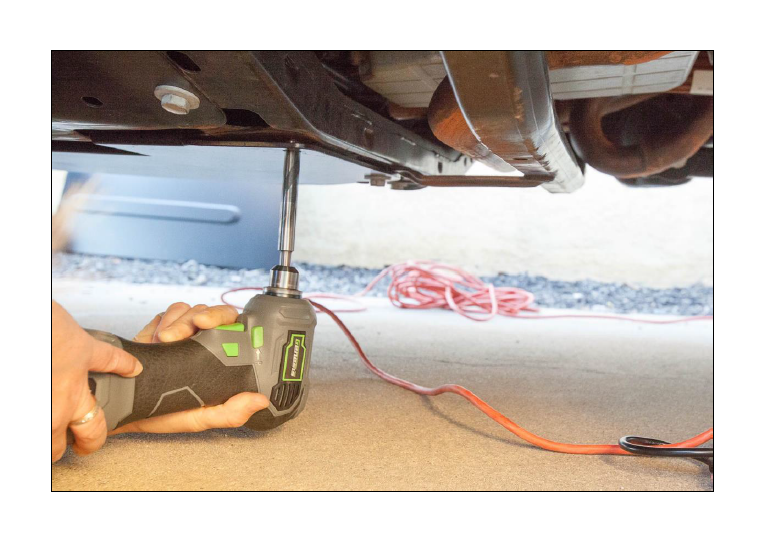
8. Ensure M.O.R.E washers are in place on provided bolts and apply threadlock compound, if using, to threads of provided bolts. Insert shorter M.O.R.E. bolt through skid plate hole #3 (factory cross member location), insert washer, then provided nut or replacement nut onto bolt through opening in factory cross member. Lightly tighten with 19 mm open end wrench and 19 mm socket and 3/8 socket wrench.
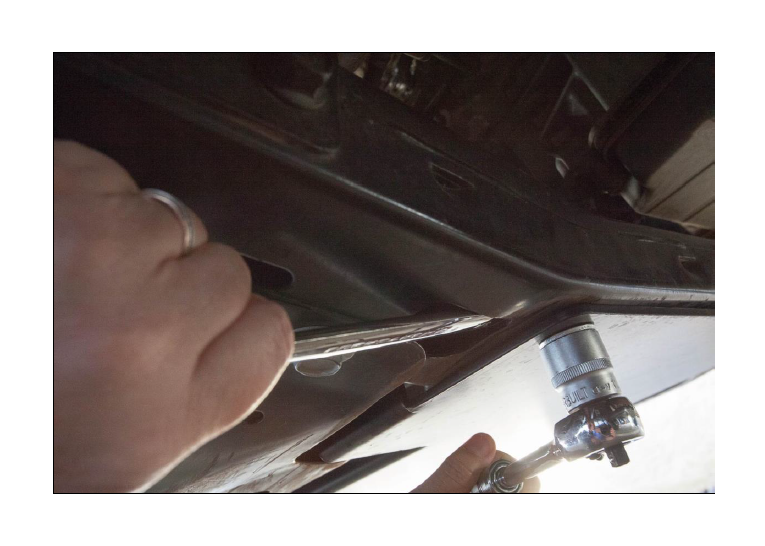
9. Insert longer M.O.R.E. bolt through skid plate hole #4 (factory skid plate location), thread washer, and provided nut or replacement nut onto bolt. Lightly tighten with 19 mm open end wrench and 19 mm socket and 3/8 socket wrench.
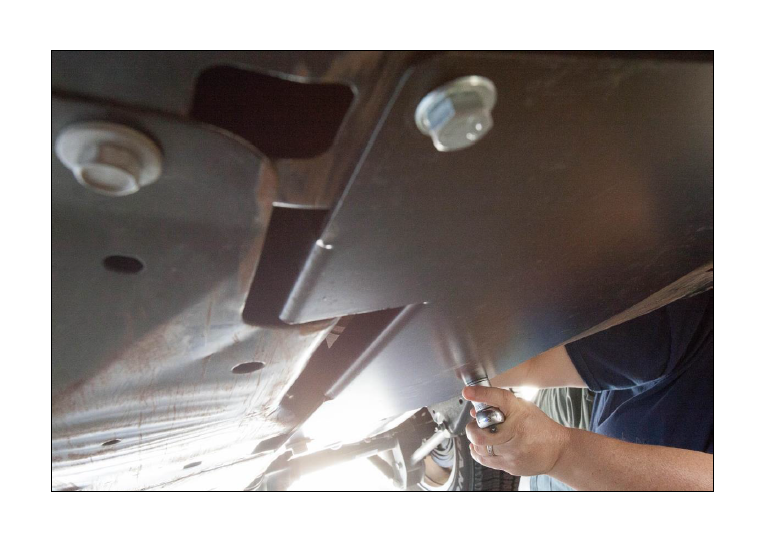
10. Tighten all skid plate bolts and torque to 45 ft lbs using 18 mm or 19 mm socket and 3/8 torque wrench.
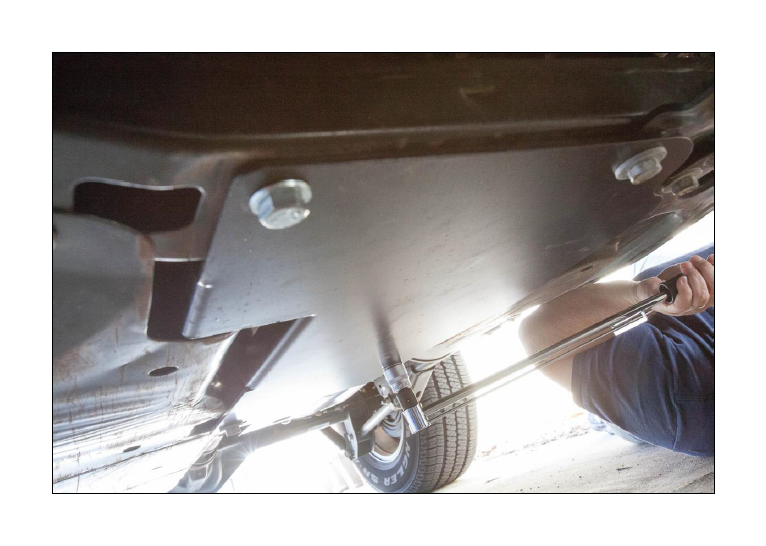
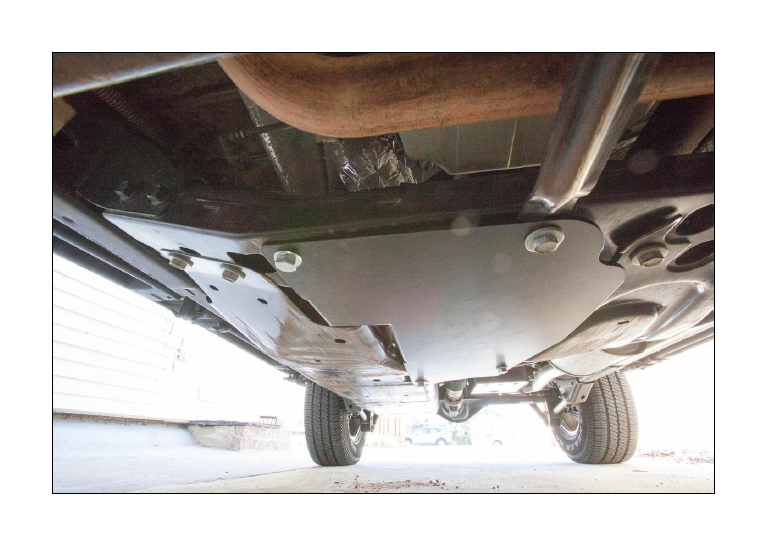
11. Admire your new transfer case skid plate, then hit the trail!
Installation Instructions Written by ExtremeTerrain Customers Rhea and Valerie Lovan 11/05/2016


