 FREE 1 to 3-Day Delivery on Orders $149+ Details

How to Install Adams Driveshaft Heavy Duty Front 1310 CV Greaseable Driveshaft w/ Flange (07-18 Jeep Wrangler JK) on your Jeep Wrangler
Installation Time
2 hours
Tools Required
- Jack Stands
- Floor Jack
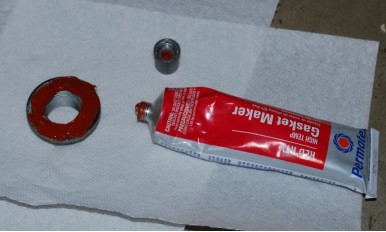
- Red Threadlock
- RTV (Black/Red/Gold)
- 8 mm Socket
- 15 mm Socket
- 5/16 Socket
- 32 mm Socket
- Torque Wrench
- Hammer
- Awl
- Large Flathead Screwdriver
Adams Driveshaft Heavy Duty Front 1310 CV Greaseable Driveshaft w/ Flange Model Number J125424
This guide is for installing the Adams Driveshaft Heavy Duty Front 1310 CV Greaseable Driveshaft w/ Flange (J125424) on a 2 door 2007-2017 Jeep Wrangler. Read all instructions carefully before starting.
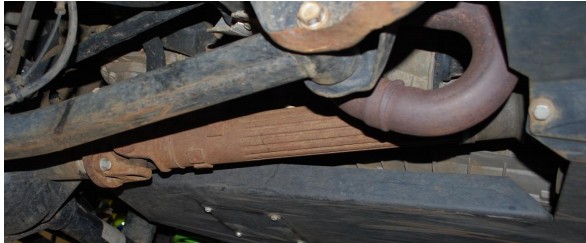
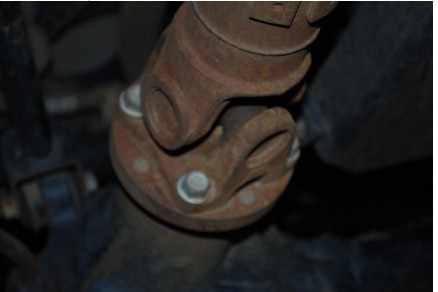
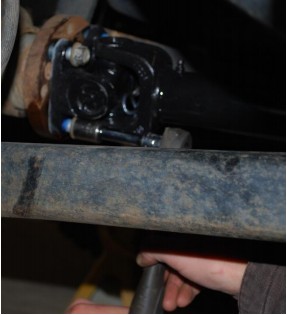
Before
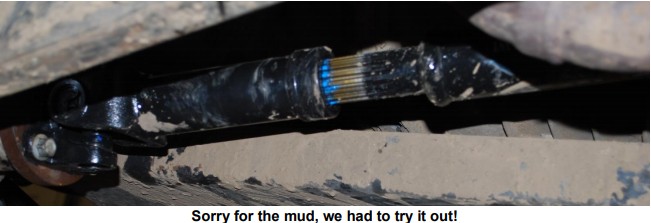
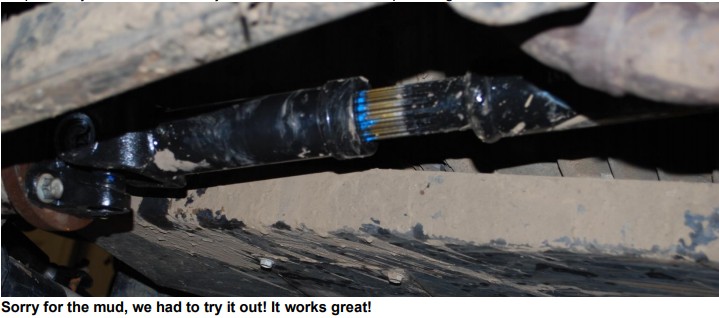
After
Installation Instructions:
1. Park vehicle on level ground, apply parking brake, place wheel chocks in front of and behind rear wheels.
2. Place a floor jack under the front differential and jack up Jeep until the front wheels are just off the ground. Safely support the vehicle with two jack stands rated for the weight of the vehicle. Refer to vehicle manual for proper jack stand locations.
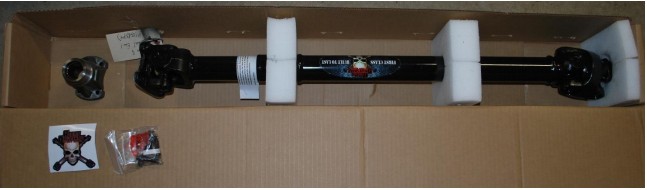
3. Inspect new driveshaft and parts. You should have:
a. Driveshaft
b. Yoke
c. Hardware
d. Sticker
Caution! The ends of the driveshaft can separate. The driveshaft is balanced as a unit and if the ends separate, you have to put them back together on the exact same splines – it is best to make sure you do not accidentally separate it.
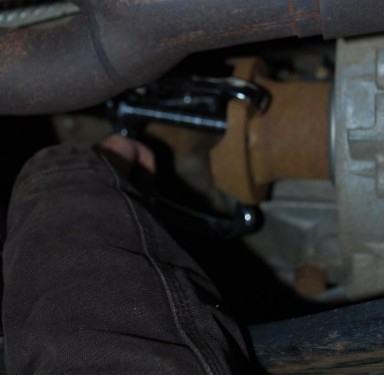
4. Unbolt the 8 bolts at the rear of the driveshaft at the transfer case using an 8 mm socket. This hardware will not be reused. Leave at least one bolt in mostly to support the rear end of the driveshaft while you unbolt the front, to make uninstallation easier. You can put the jeep in 4wd to keep the driveshaft from spinning.
5. Using a 15 mm socket, unbolt the front of the driveshaft at the front differential. Retain these bolts as they will be reused with the new driveshaft. With the help of a friend, support the driveshaft on both ends, and fully unbolt the rest of the bolts from the front and rear of the driveshaft.
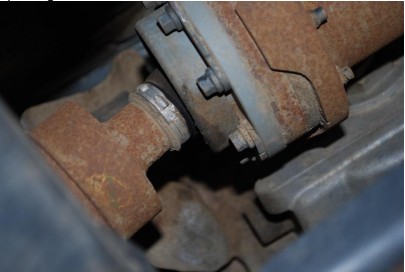
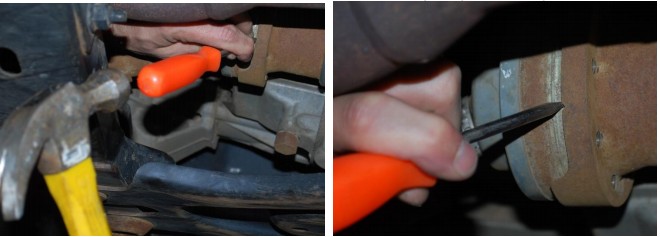
6. The rear end of the driveshaft may not separate easily, so you may need to gently pry it apart from the yoke using a large flathead screwdriver and hammer or awl. Carefully remove the driveshaft and set aside. You will find small indentations for an awl at the end of the yoke (see pictures).
7. Using a 32 mm socket, remove transfer case yoke nut. This may require some force.
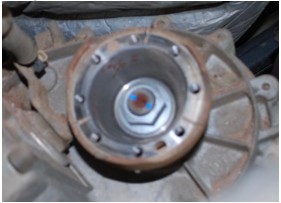
8. Using a puller, remove yoke. If you do not have a puller, you may be able to tap the yoke off with a small hammer, but be careful. Gently remove O-ring from old yoke and install in new yoke.
9. Gently place new yoke in place where old one was, making sure the splines line up easily. Put RTV on the yoke nut and reinstall. Tighten to 160 ft-lbs.
10. Install new driveshaft. Tighten U-joint straps on transfer case end with 5/16 socket. Use red thread locker on each of the bolts; tighten to 15 ft-lbs. It is really tight and you may not have a torque wrench that will fit in here – do not overtighten as the u-joint caps can be crushed.
11. Using 15 mm socket, tighten the original bolts at differential end to 90 ft-lbs., using red thread locker on each bolt.
12. Once all bolts have been tightened fully, driveshaft installation is complete. Use floor jack to raise the Jeep off the jack stands, remove jack stands, then lower Jeep to the ground.
13. Your new driveshaft came greased, but make sure to recheck grease every time you change your oil.
Installation Instructions Written by ExtremeTerrain Customer Michael E. 5/22/2019

