 FREE 1 to 3-Day Delivery on Orders $149+ Details

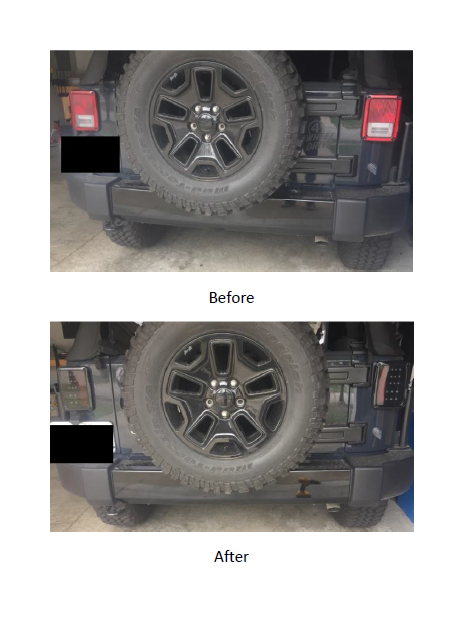
How to Install Axial LED Tail Lights - Black Smoke on your Wrangler
Installation Time
1 hours
Tools Required
- Phillips Screwdriver
- Box Cutter or Knife for Packaging

Shop Parts in this Guide
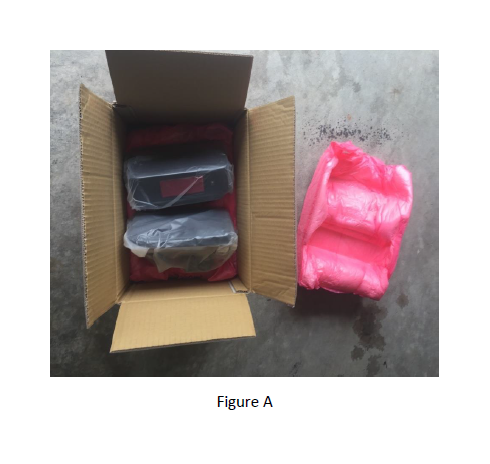
Ensure that both pieces are included before beginning installation.
Installation Instructions:
1. Use a box cutter or knife to carefully open the cardboard box.
2. Once the box is open (Figure A), make sure both pieces are present. This should only include the two tail lights.
3. Remove the packaging around the tail lights carefully.
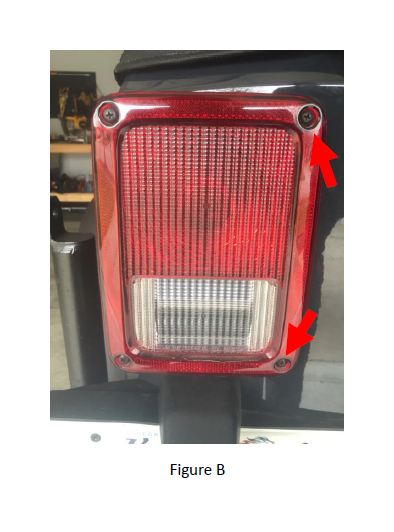
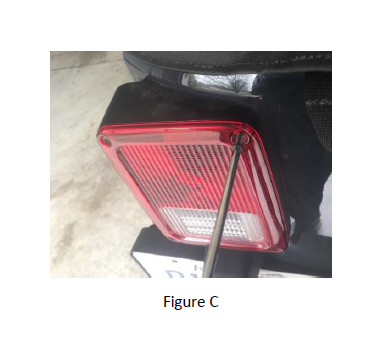
4. Using a Phillips screwdriver, remove the screws (Figure B) from the driver's side tail light (Figure C). Be sure to keep these as you'll need these two screws to install the new tail lights.
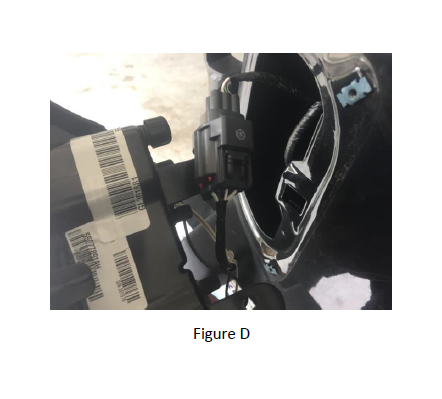
5. Pull the tail light out a few inches to expose the electrical connection to the tail light (Figure D).
6. Unhook the electrical connection (Figure E).
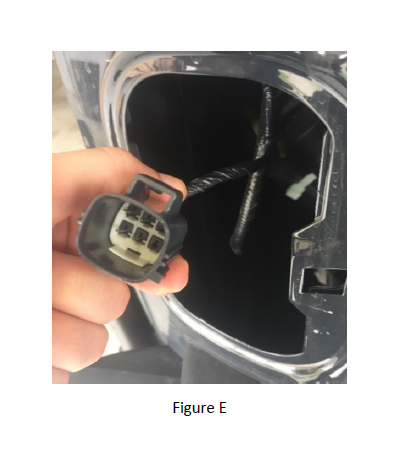
7. Set OEM tail light aside and connect Axial LED tail light electrical connection to the electrical connection shown in Figure E.
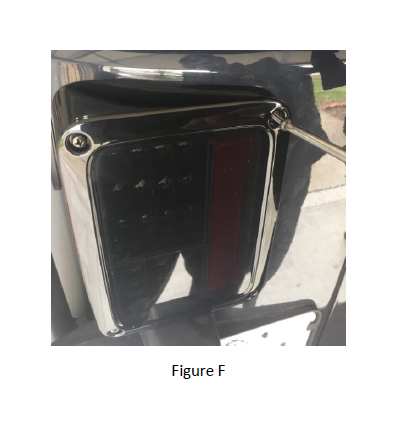
8. Align Axial LED tail light into place so that the screw holes match up and insert the two screws taken from the OEM tail light using the Phillips screwdriver (Figure F) until fully tightened and the tail light is secured.
9. Repeat steps 4-8 on the passenger side.
Installation Instructions Written by ExtremeTerrain Customer J. Sandlin 03/29/2017
