 FREE 1 to 3-Day Delivery on Orders $149+ Details

How to Install KC HiLiTES 5 in. Apollo Pro Halogen Lights - Spread Beam - Pair (87-18 Jeep Wrangler YJ, TJ, JK & JL) on your Jeep Wrangler
Installation Time
2 hours
Tools Required
- Wire Stripper/Crimp Tool
- Power Drill
- Socket Set (10 mm, 15 mm)
- Wire guide/Fish Tool

Shop Parts in this Guide
Author’s note: This installation was performed on a 2018 JL Jeep Wrangler Sport S. Wiring lights or any electrical system differs by system. Many factors play into electrical wiring such as switch type, battery or ignition installation, etc. Ensure that the wiring steps taken fit the setup of the model that you are working on. This installation was performed to work with the Mopar Auxiliary Switch Bank, available from Extreme
Terrain. If installation to a standard three prong switch (included with product purchase), ground the switch with the top wire, use the supply (green) wire for the middle prong, and the bottom wire directly to the battery with an in-line fuse. Be sure to use the included relay to provide power to your lights instead of the switch wires itself to avoid taxing your switch electrical wiring.
Installation Instructions:
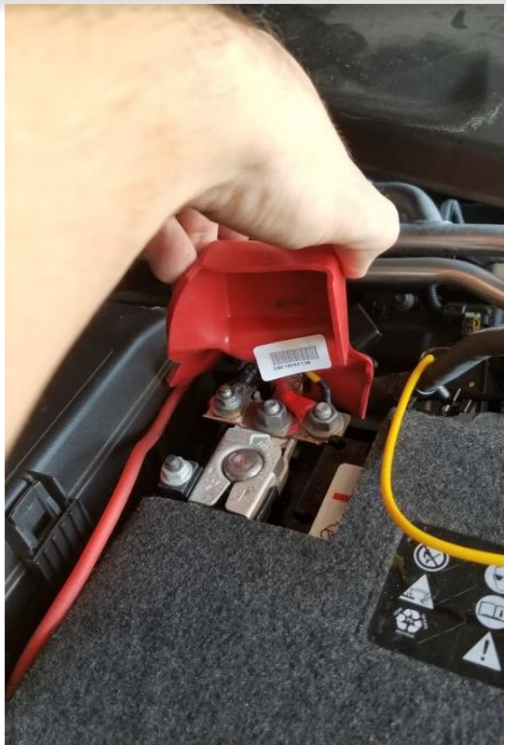
1. Remove contents from package. Disconnect battery while performing installation.
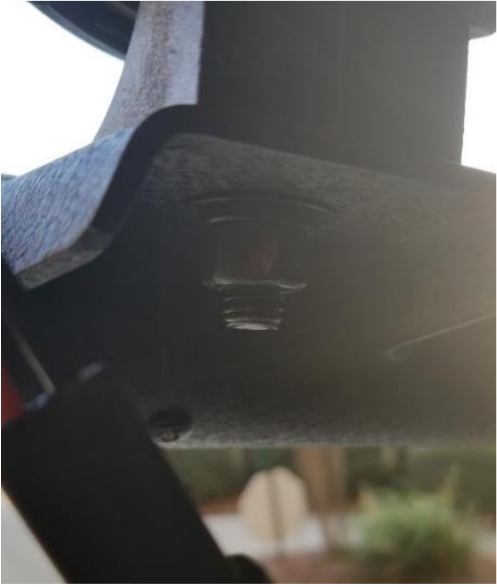
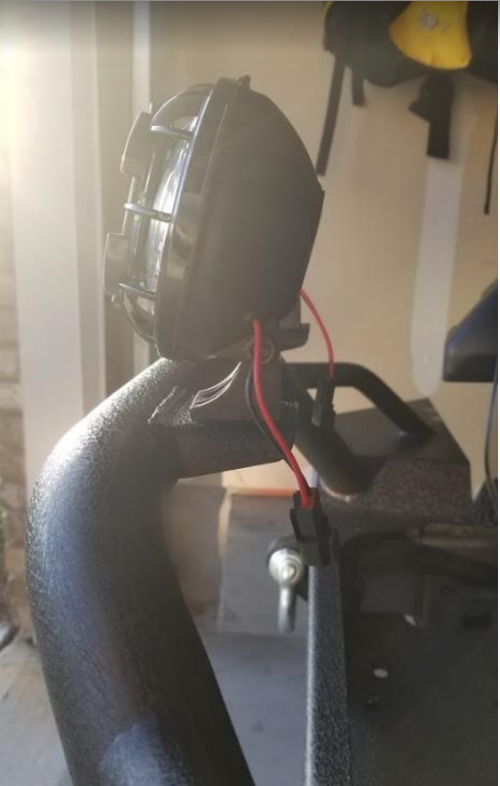
2. Tighten and fasten lights to target area (brush guard, bumper, etc.) using lock washer, washer, and nut.
3. Begin by mounting relay module inside the hood using the provided mounting bracket.
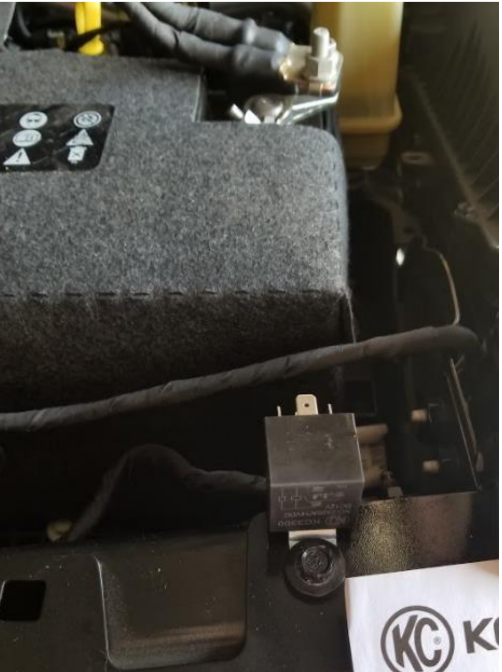
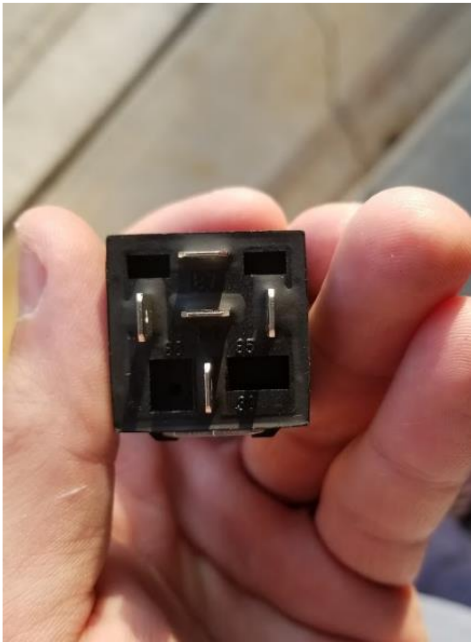
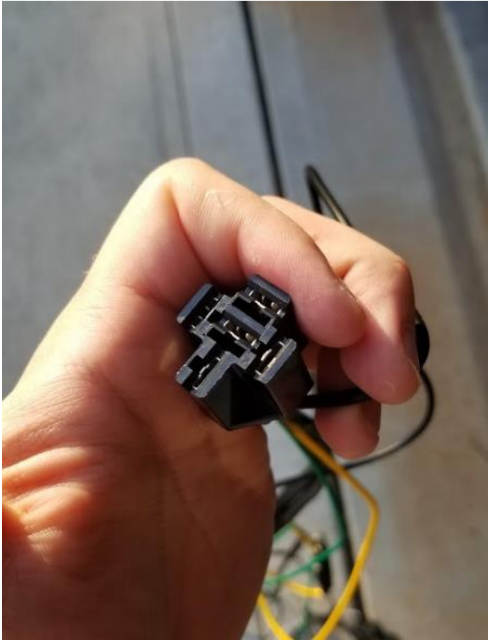
4. Note the numbered prongs needed for installation located on the prong-side of the relay.
5. Identify the wires and their colors coming off of the relay harness.
6. Ground all ground connections (black) to the battery or to the frame of the vehicle. There are two grounds that must be installed.
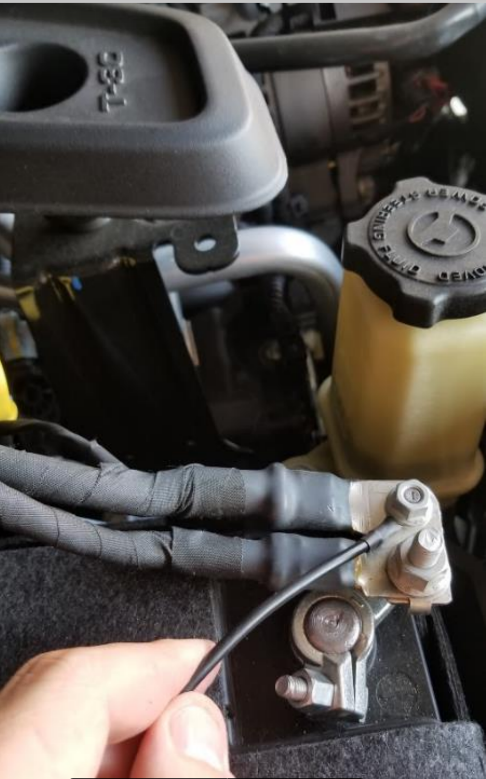
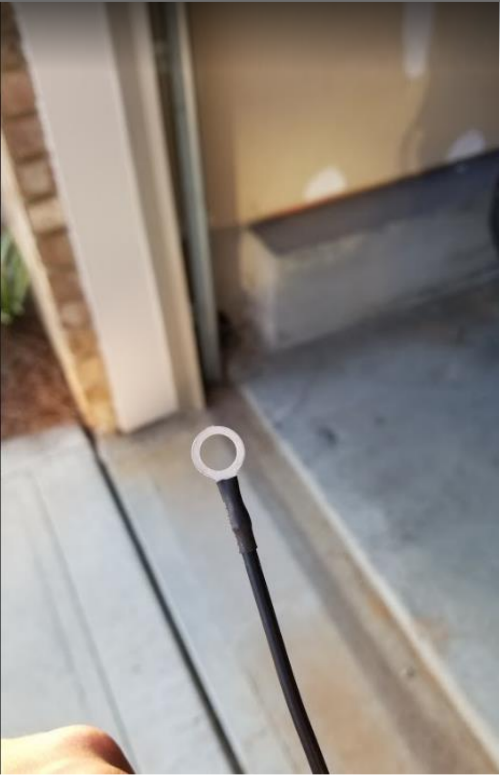
7. Wire the yellow wire containing the in-line fuse directly to the battery.
8. Continue the installation by connecting the green SUPPLY wire to the HOT output on the AUX switch and then plugging in the harness.
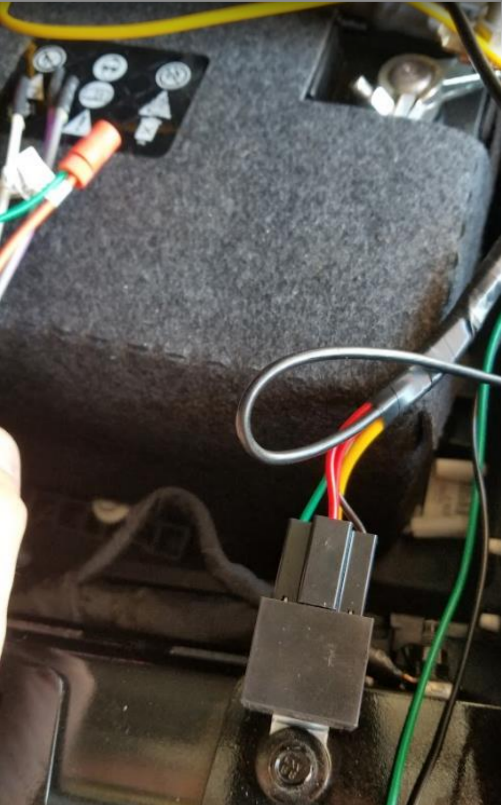
9. Using a wire fishing tool or otherwise, route the relay wiring harness with the light connectors through the grill or engine compartment so they can be plugged into the lights. Plug in the lights to the wiring harness and reconnect the battery.
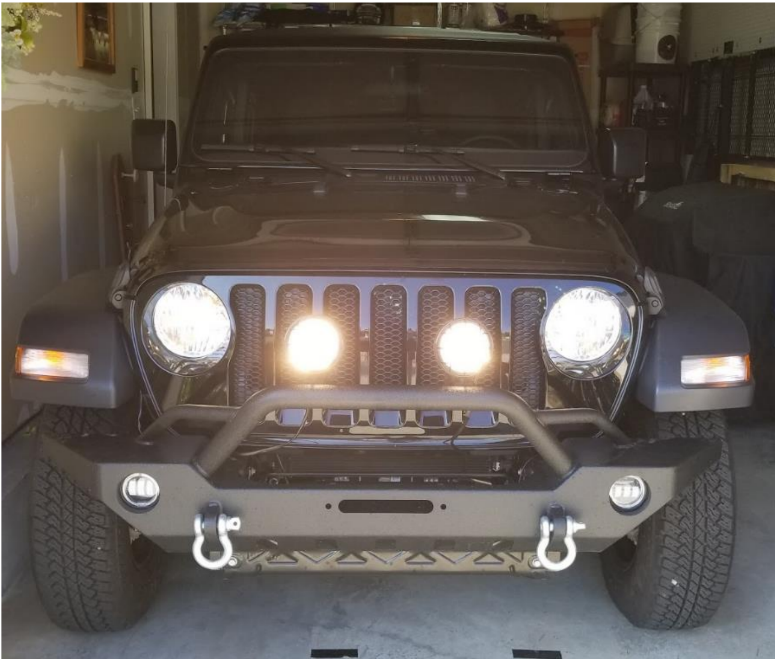
Finished product
Installation Instructions Written by ExtremeTerrain Customer Zack M. 09/27/2018
