 FREE 1 to 3-Day Delivery on Orders $149+ Details

How to Install KC HiLiTES 6 in. Black Daylighter Round Halogen Lights - Spread Beam - Pair on your Jeep Wrangler
1. Remove the nut on the positive ( ) battery terminal (Figure A).
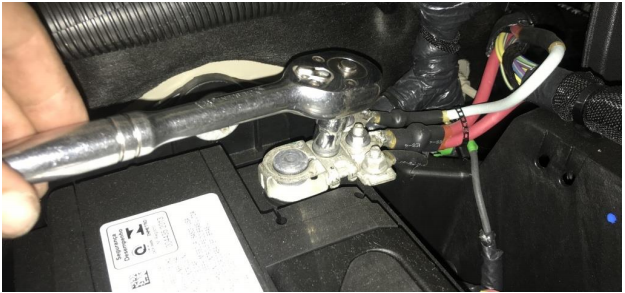
Figure A
2. Run the white wire to the positive ( ) terminal battery (Figure B).
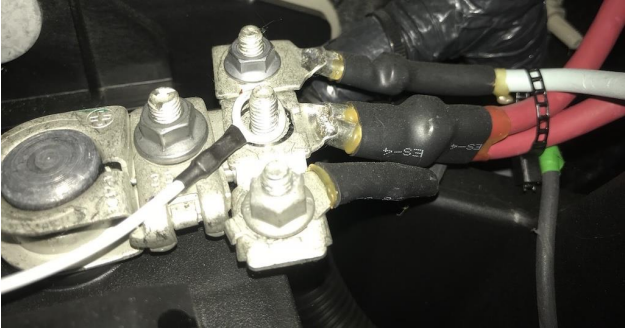
Figure B
3. Run the yellow wire to a 12-volt source or the positive ( ) terminal battery (Figure C).
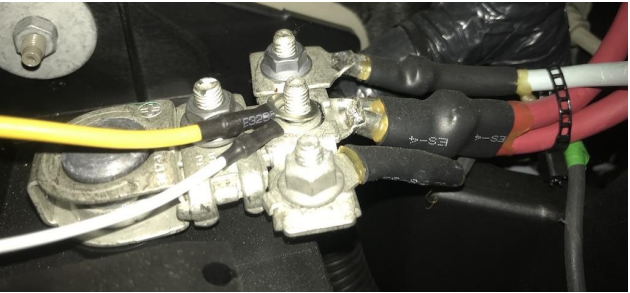
Figure C
4. Return the nut and tighten down on the positive ( ) battery terminal (Figure D).
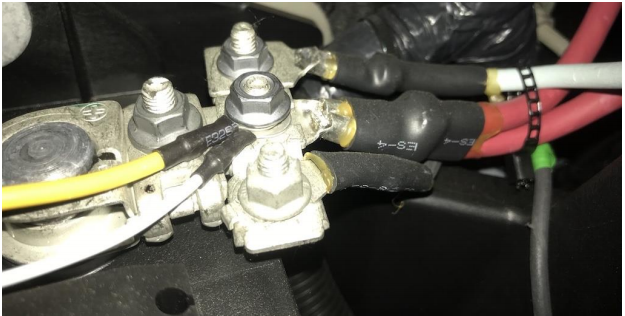
Figure D
5. Remove the nut from the negative (-) battery terminal, run the black wire to the negative (-) terminal then return and tighten down the nut (Figure E).
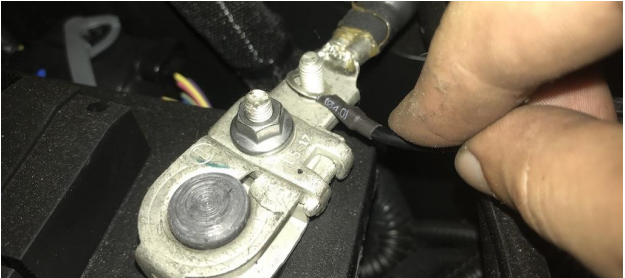
Figure E
6. Run the black switch wiring to the switch and secure (Figure F).
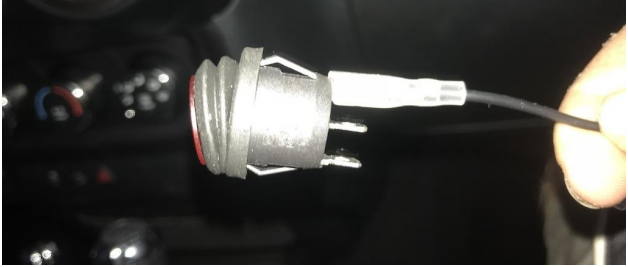
Figure F
7. Run the green switch wiring to the switch and secure (Figure G).
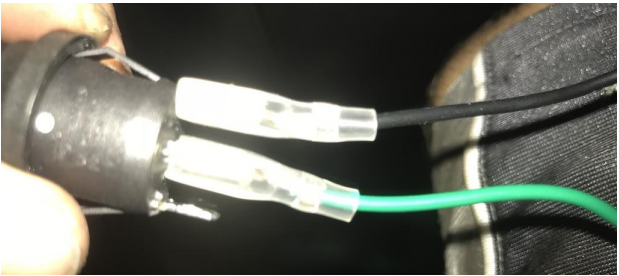
Figure G
8. Run the white switch wiring to the switch and secure (Figure H).
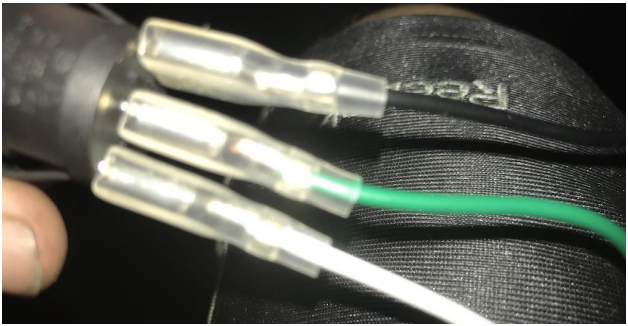
Figure H
9. Secure the light to a light mount using a 16mm socket wrench.
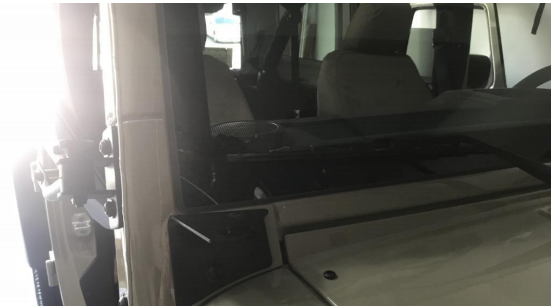
10. Run the light wiring harness to the mounting location (Figure I).
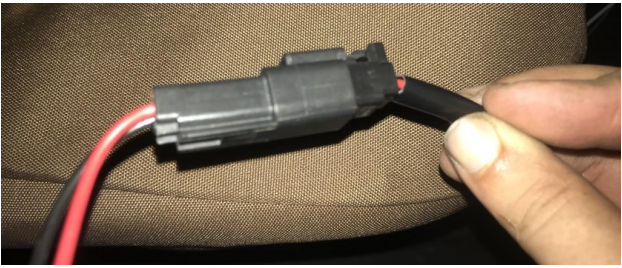
Figure I
11. Connect the light wiring harness to the light connector (Figure J).
Figure J
Before
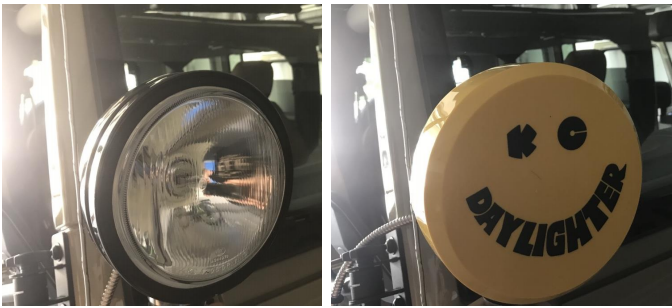
After
Installation Instructions Written by ExtremeTerrain Customer J. Sandlin 07/08/2018
