 FREE 1 to 3-Day Delivery on Orders $149+ Details

How to Install Iron Cross Front Fender Flares - Black (07-18 Wrangler JK) on your Jeep Wrangler
Installation Time
1 hours
Tools Required
- Box Cutter/Knife
- 10mm Socket
- Socket Wrench
- 10mm Wrench

Shop Parts in this Guide
1. Carefully open the package using a box cutter or knife (Figure A) and ensure the hardware is included and undamaged.

Figure A
2. Find the corner of the existing fender flares (Figure B).
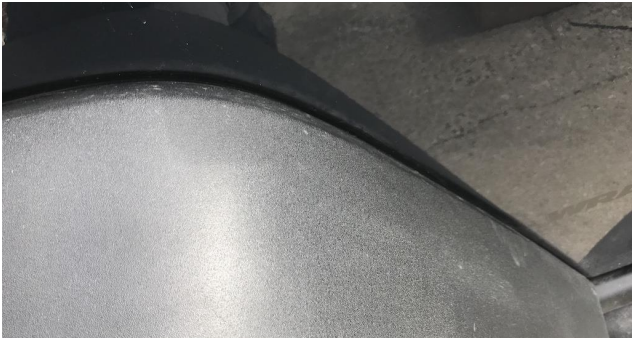
Figure B
3. Using moderate force, pull directly backward and the clips holding the fender in place should release (Figure C).
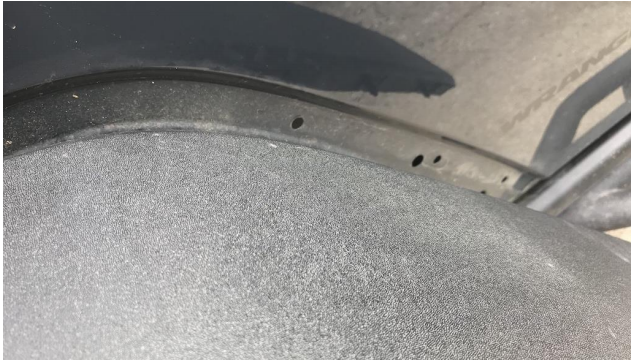
Figure C
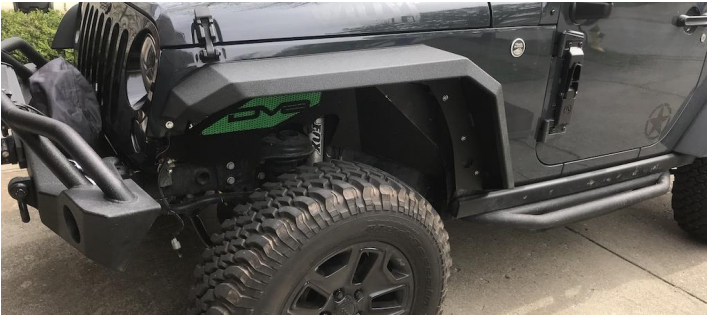
4. Once all the clips are pulled clear, remove the fender and set aside (Figure D).
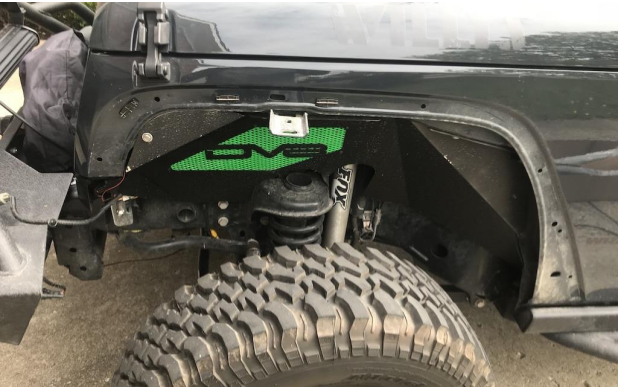
Figure D
5. Run the protective cornering along the inward edge of the Iron Cross fender flare, ensuring the longer side is on top (Figure E).
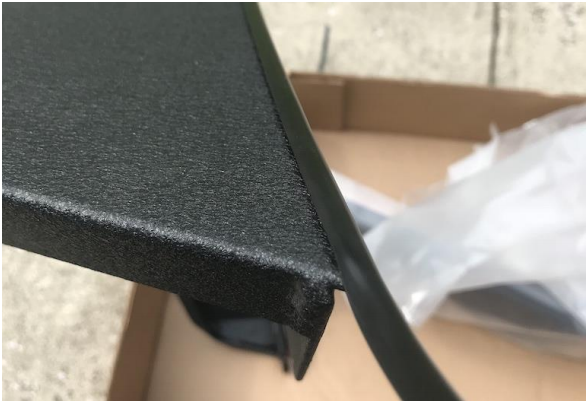
Figure E
6. Place the Iron Cross fender flare in place on the vehicle and hand tighten the supplied bolts, washers, and nuts to keep the fender flare in place (Figure F).
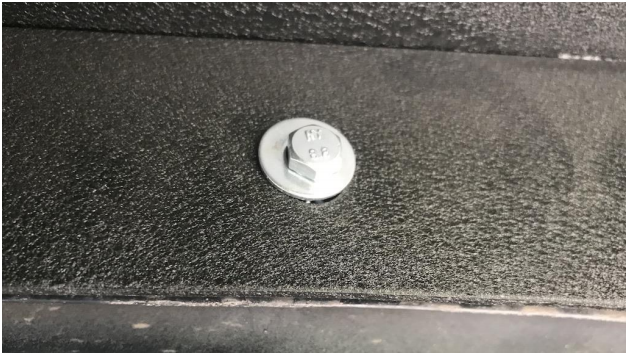
Figure F
7. With the Iron Cross fender flare in place, tighten all bolts using a 10mm socket wrench and a 10mm wrench (Figure G).
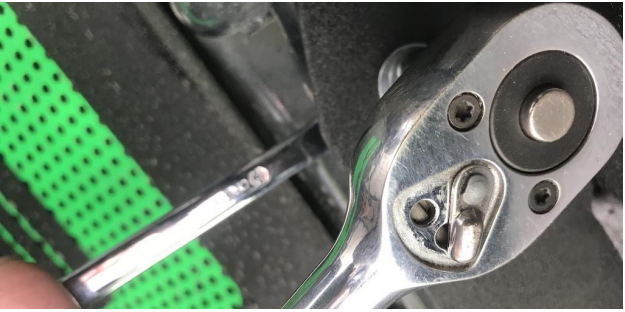
Figure G
8. Once the Iron Cross fender flares are secured completely, remove the red adhesive cover along the line and press down with moderate pressure (Figure H).
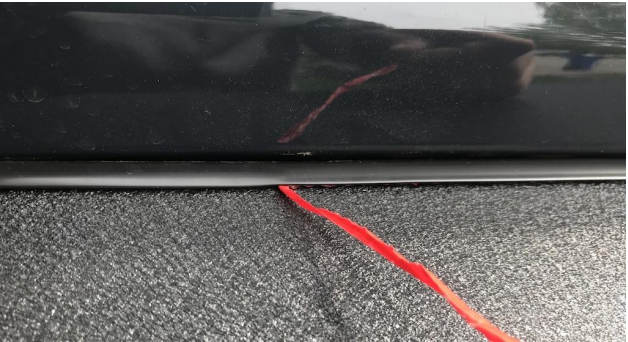
Figure H
9. Repeat Steps 2-8 on the other side.
Before
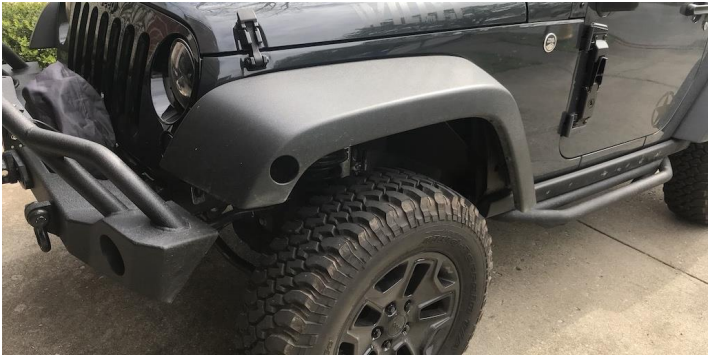
After
Installation Instructions Written by ExtremeTerrain Customer J. Sandlin 04/26/2018

