 FREE 1 to 3-Day Delivery on Orders $149+ Details

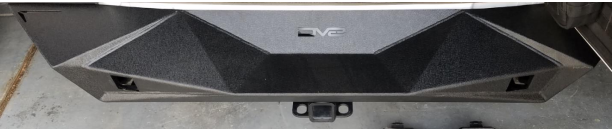
How to Install DV8 Off-Road RS-14 Full Width Rear Bumper (07-18 Jeep Wrangler JK) on your Jeep Wrangler
Installation Time
30 minutes
Tools Required
- 3/8 Drive Ratchet
- 16mm Shallow Socket
- 18mm Socket

Shop Parts in this Guide
General Notes:
1. Installation Time:
a. Removing the factory bumper – 15 to 30 minutes
b. Installing the new bumper – 45 minutes to 1 hour
2. If carrying a stock tire, it will most likely not be necessary to remove the spare tire to complete installation. If you have an oversized tire, it may be necessary to remove the spare tire if you cannot fully move the tire out of the way to allow bumper removal.
3. It will be necessary to remove your factory tow hook if your Jeep came equipped with one. It is not possible to run this hook with this bumper.
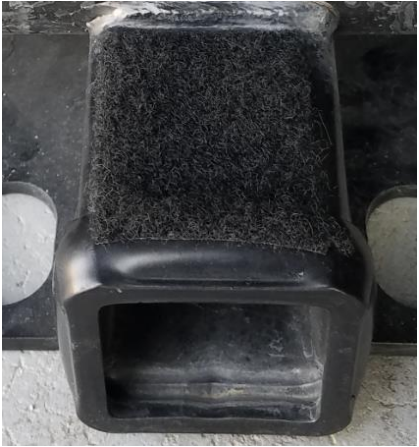
4. It will NOT be necessary to remove your factory tow hitch. It is recommended that you clean and cover the hitch with Velcro as you will see later in the installation guide.
OEM Bumper Removal:
1. Read the General Notes before proceeding to avoid potential extra work.
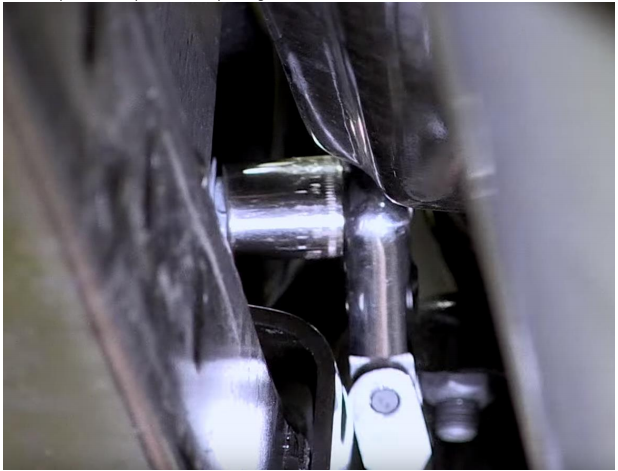
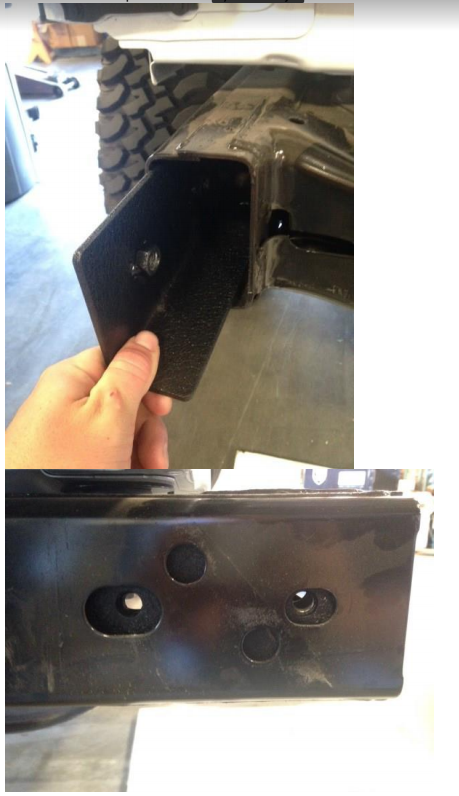
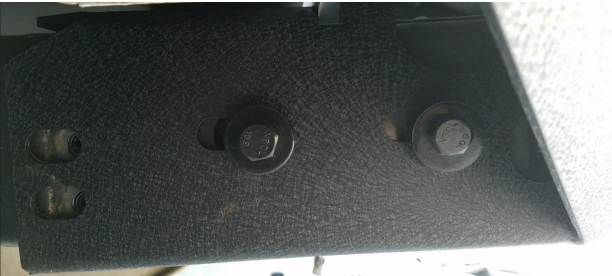
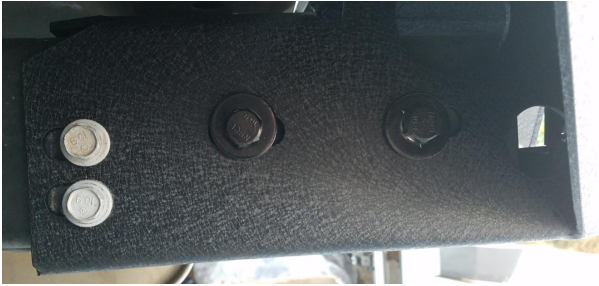
2. Remove the bolts securing the S-Tab to your bumper and frame. Use your 3/8 Drive and 16mm Socket. These are located towards the center of your rear bumper. If you have a tow hitch, they will be on either side of the hitch mount.
3. Start by loosening both bolts one full rotation; just enough to get the bolts to start turning a little easier. Now fully remove the TOP bolt. Then, fully remove the bottom bolt. Remove the tab. Complete this step on both the passenger and driver side of the vehicle.
NOTE: You may find it easier to use a slightly deeper socket for the top bolt to get better purchase on the bolt head.
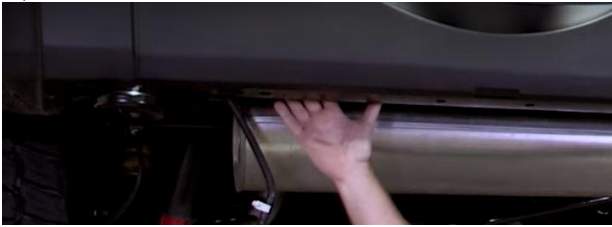
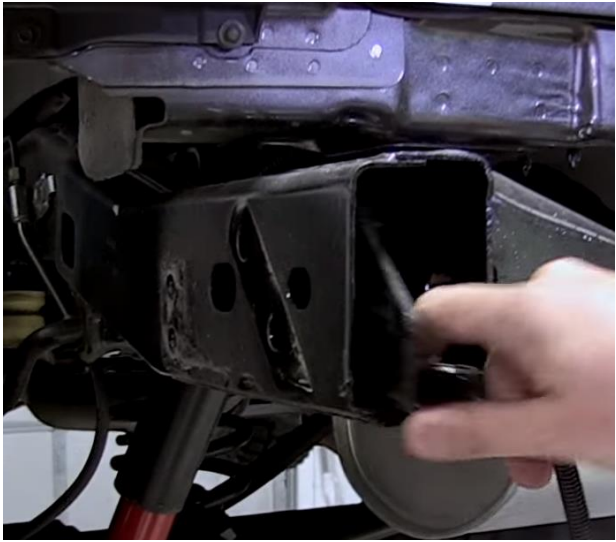
4. Loosen and remove the two 16mm bolts securing the bumper to the side of your frame. These are located just behind the rear tires on each side. Use your 3/8 Drive and 16mm Shallow Socket. Complete this step on both the passenger and driver side of the vehicle.
5. Simply slide your bumper off the Jeep. It may be easier to open your rear door if you are having a hard time getting the bumper to slide off. If you can still not remove the bumper, you may need to uninstall your tire. Or, check to make sure you removed all 8 bolts in the steps before.
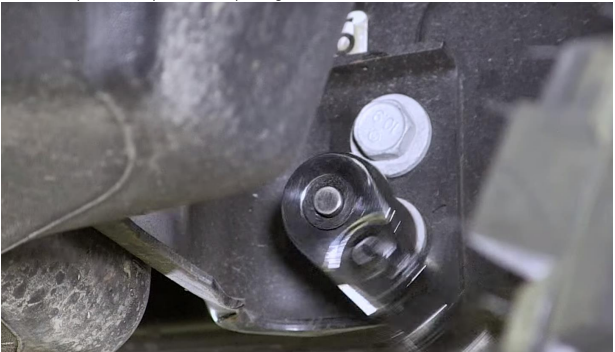
6. Removing the tow hook will require you to use your 3/8 Drive and 18mm Socket. These are torqued down, so a longer handle will assist in removing these easier. Loosen the bottom bolt.
7. Then remove the side bolts.
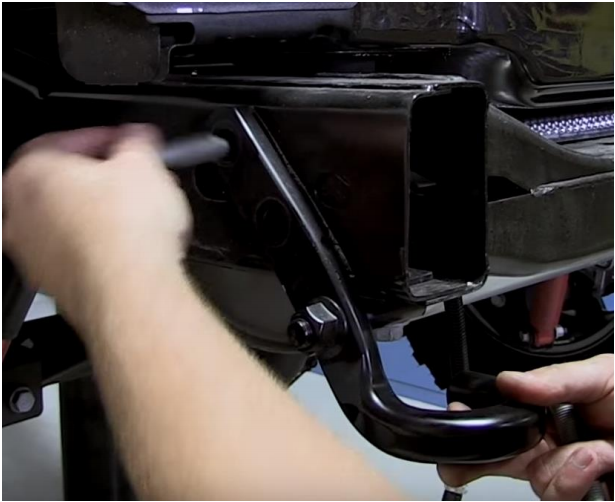
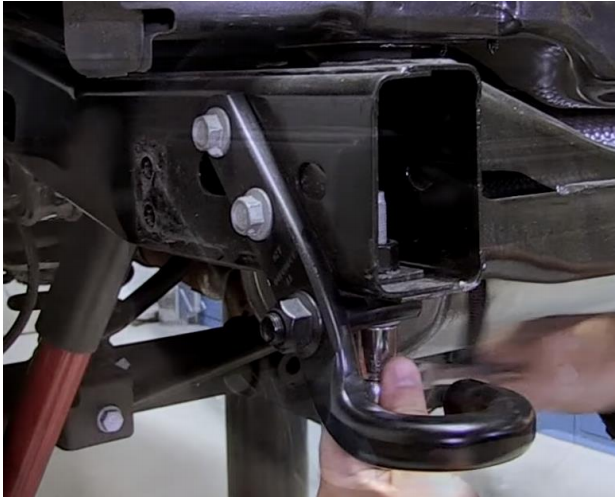
8. Fully remove the bottom bolt and then slide the entire bracket out.
Installing the DV8 RS-14 Bumper:
1. The kit comes with hardware that you will not need, so do not be alarmed. It is a default kit from their factory. You will only need 4 of the included bolts, 4 included lock washers, and 4 of the included washers. You will re-use 4 of your original body bolts from the OEM bumper.
2. Optional Step: If you have a factory hitch, place the soft side of an adhesive Velcro strip (not included) on the top of the hitch to prevent rubbing.
3. Open the rear door of your Jeep to allow enough space to install the new bumper. It is recommended to leave the packaging material loosely sitting on the bumper at this step to avoid scratching any paint on your Jeep. If necessary, remove your spare tire, however, this should not be necessary in most installs.
4. Slide the mounting plates into the frame rails and line up the nuts with the factory holes. This does not need to be perfect because you will adjust it later.
5. With a help from a friend, lift the bumper into place and rest it on the frame rails underneath the Jeep.
6. On each side, take two of the included bolts, lock washers, and washers and loosely place the bolts through the openings and into the nut plates in the frame rail to temporarily hold the bumper in place.
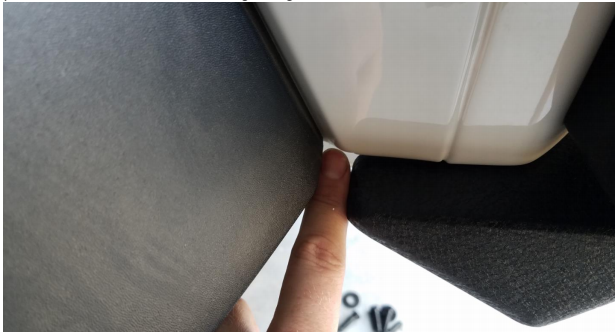
7. Once both sides are finger tight, work on fitting the bumper correctly to the body so that it is even on both sides of the Jeep. BE CAREFUL NOT TO SCRATCH YOUR PAINT WHILE MOVING THE BUMPER. Try to keep approximately 4mm of spacing under your rear fender. This will help avoid any rubbing when the vehicle flexes going over obstacles. It may be necessary to add a small piece of soft sided adhesive Velcro between the bumper and the fender if the fit on your vehicle is too tight.
8. If installed correctly, there should be approximately a finger width between the bumper and your rear fenders on each side. Before tightening down one side, make sure both are even.
9. Install the factory 16mm bolts you removed earlier in the rear openings on both the passenger and driver side.
10. Check the spacing of your bumper again before fully tightening all of the bolts. Once you are happy with the fitment, you can tighten down to 80 ft/lbs on both the passenger and driver side. NOTE: You may find that one side of your bumper wants to pop out further than the other. Tighten this side first before tightening down the opposite side to keep the fitment where you want it.
11. Congratulations!! Your install is complete.
Installation instructions provided by Extreme Terrain Customer Mark Frazier 07/28/2018

