FREE 1 to 3-Day Delivery on Orders $149+ Details

How to Install DV8 Off-Road Ranger Hard Top 2 pc. on your Wrangler
Installation Time
20 minutes
Tools Required
- Pliers
- Socket Wrench with 11 and 13mm Sockets
- Screwdriver with T20 Torx head
- Screwdriver with Phillips Head – for packaging disassembly

Shop Parts in this Guide
Remove existing top and previous installation brackets (if necessary)
Installation Instructions:
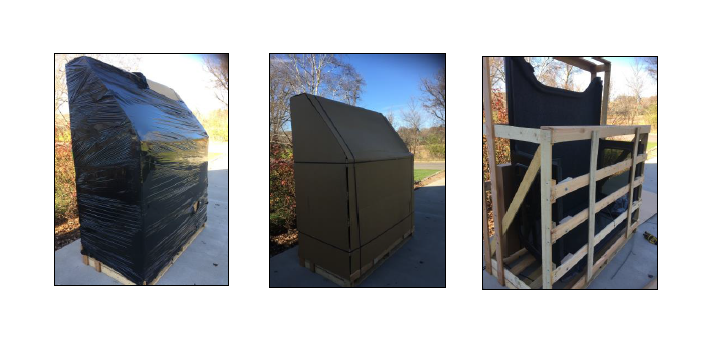
1. Un-package top and check for damages:
Remove existing top and previous installation brackets (if necessary)
Installation Instructions:
1. Un-package top and check for damages:
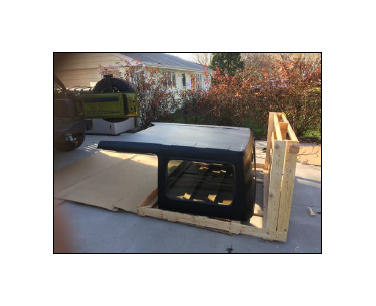
2. Lay top flat and remove the six (6) bolts securing it to delivery pallet using an 11mm Socket and pliers:
2. Lay top flat and remove the six (6) bolts securing it to delivery pallet using an 11mm Socket and pliers:
3. Remove original clamp holders from above windshield and replace with new ones (one per side)– use Torx head:
3. Remove original clamp holders from above windshield and replace with new ones (one per side)– use Torx head:

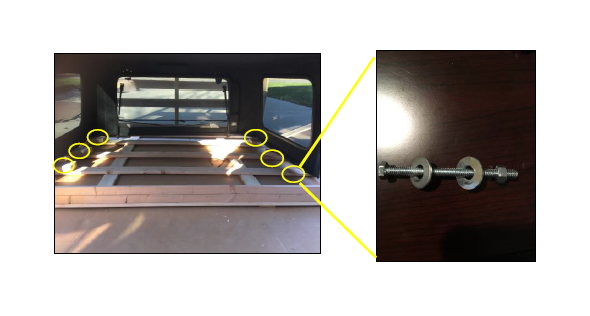
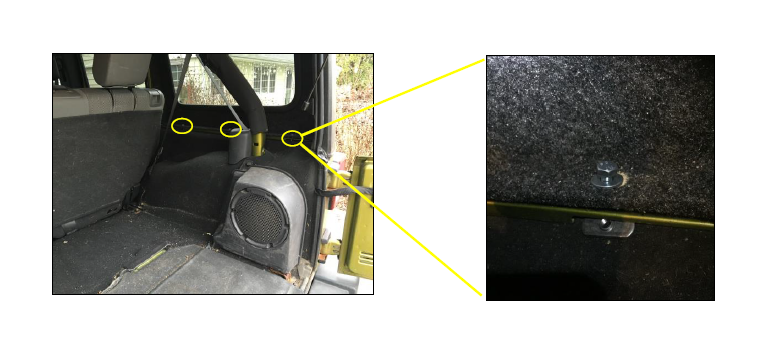
4. Place main top section onto Jeep and bolt down with six (6) 13mm bolts ( 3 per side) with washers and nuts (supplied):
4. Place main top section onto Jeep and bolt down with six (6) 13mm bolts ( 3 per side) with washers and nuts (supplied):
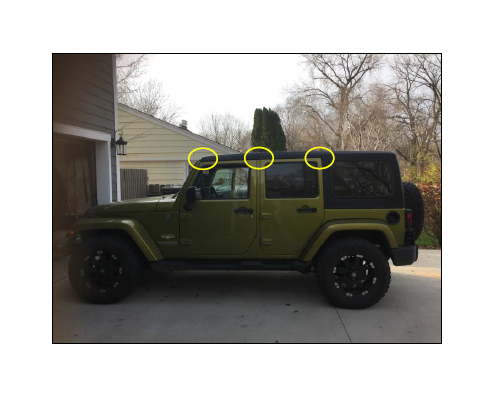
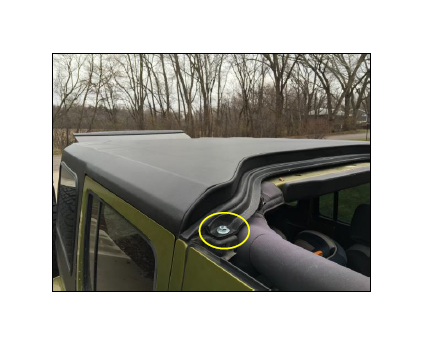
5. Bolt down main top section to frame above front doors of Jeep – One 13mm bolt per side:
5. Bolt down main top section to frame above front doors of Jeep – One 13mm bolt per side:
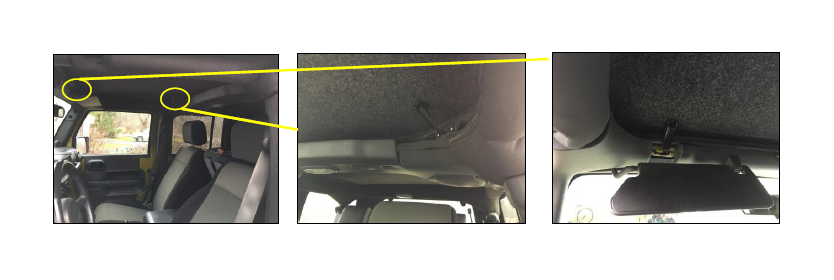
6. Place front section onto Jeep and secure with four interior clamps. Take care not to over-tighten:
6. Place front section onto Jeep and secure with four interior clamps. Take care not to over-tighten:
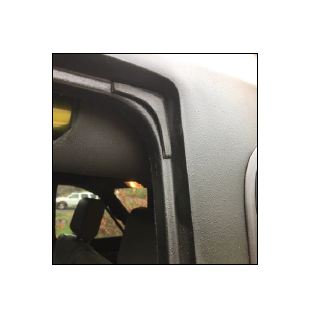
7. Place the drip protectors on inside corner of each rear door frame:
7. Place the drip protectors on inside corner of each rear door frame:
8. Make sure to test areas around seals after exposure to weather to ensure seals are watertight.
8. Make sure to test areas around seals after exposure to weather to ensure seals are watertight.