 FREE 1 to 3-Day Delivery on Orders $149+ Details

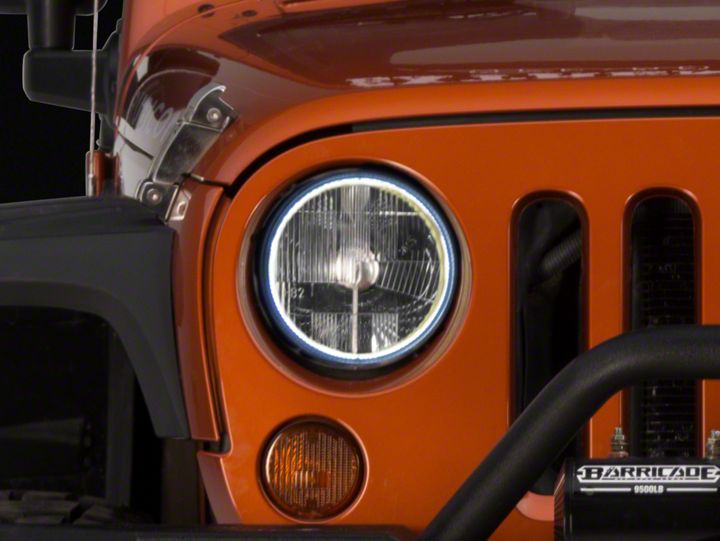
How to Install Delta Xenon HALO 7 in. Headlight Kit on your Wrangler
Installation Time
30 minutes
Tools Required
- T15 Torx Driver
- Flat Head Screwdriver
- Push Pin Pliers*
- Wire Cutters
- Drill w/ bits*
- * Optional Tools
Shop Parts in this Guide
Installation Instructions:
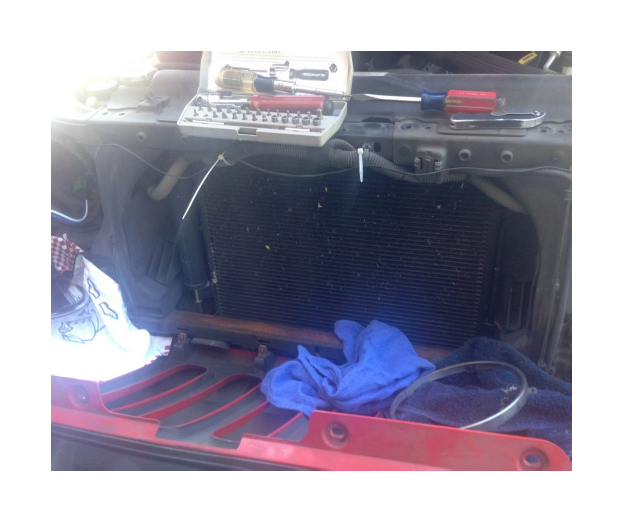
1. Open hood.
2. Remove 6 pushpins from top of grill.

3. Remove T-15 Torx screws with driver, from headlamp
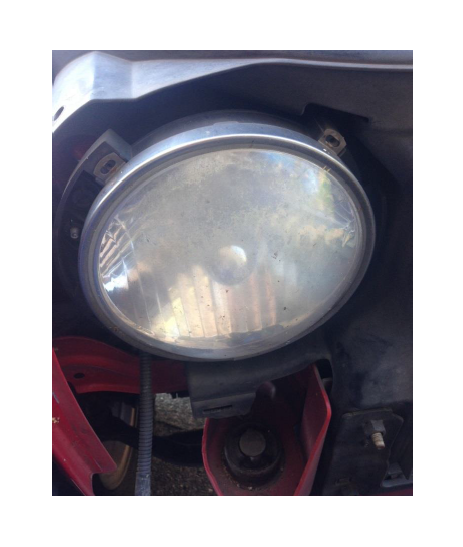
4. Remove headlamp and metal mounting ring (keep metal ring)
Maintenance Tip: Clean/Buff metal ring.
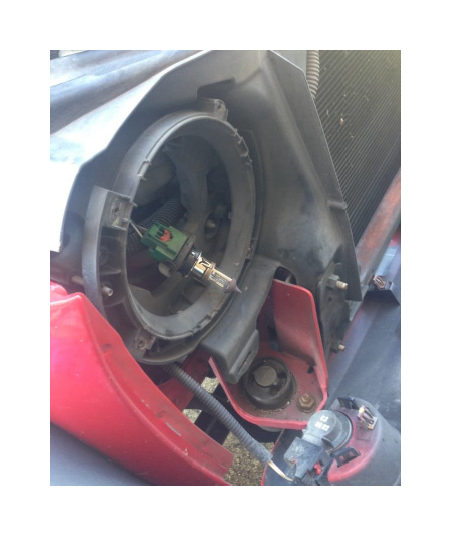
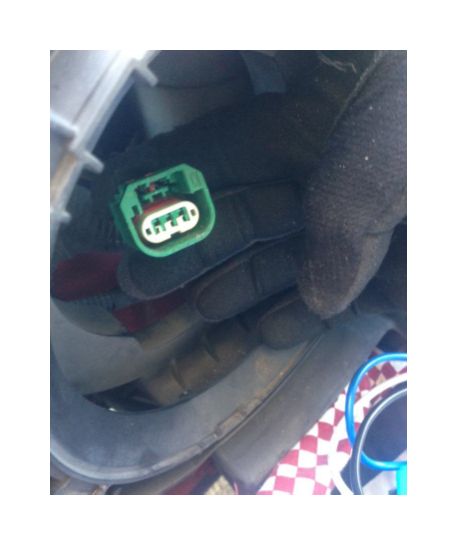
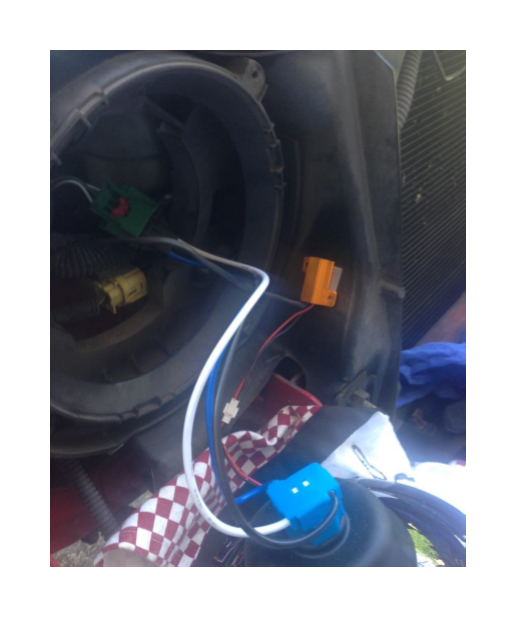
5. Plug HALO headlight into factory wiring harness.
6. Route black wire along top of grill into each headlamp.
7. Route red wire and ground wire behind passenger (RH) headlamp.
8. Attach resistor driver by either
- zip tying to wire harness
- using 3M tape and attaching to headlamp mold/casing for driver (LH) side.
- using 3M tape and attaching to metal frame behind headlamp for (RH) side.
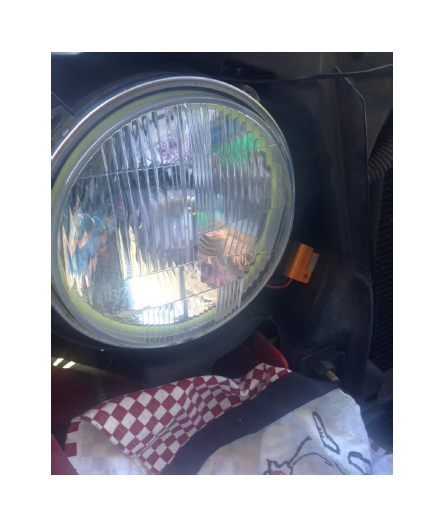
9. Install HALO headlight with o-ring, metal mounting ring (from removal step 3) and torx screws.
10. Attach ground wire to a good metal ground.
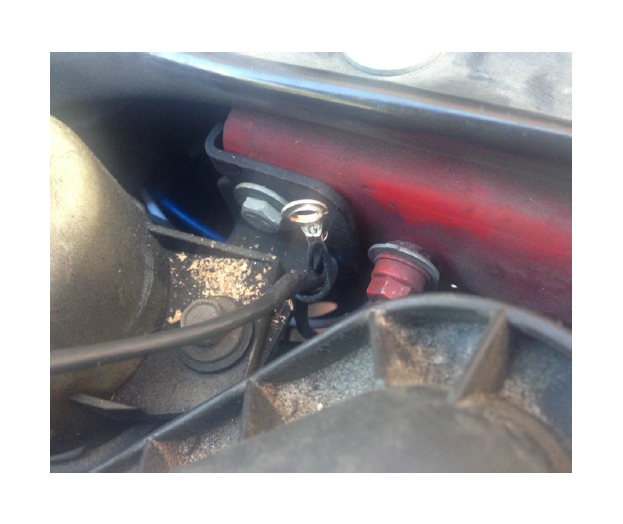
Maintenance/Adjustment Tip (optional): Use Drill and drill bit to increase wire connection so that it fits onto ground.
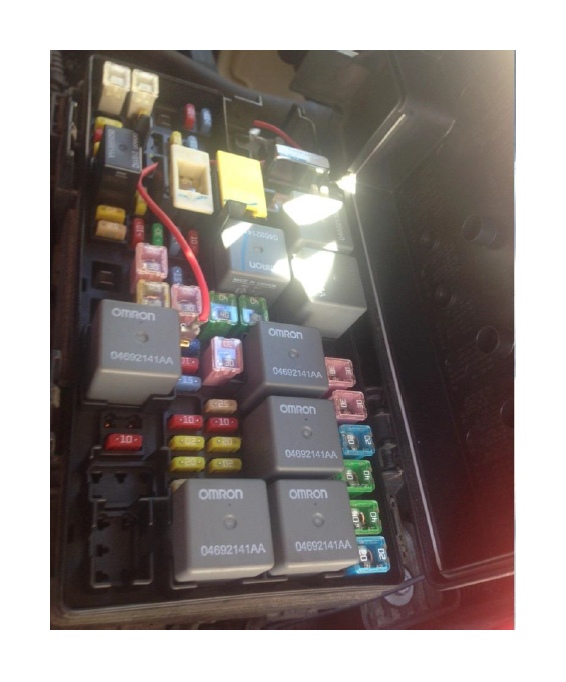
11. Attach red wire to fuse in fuse box. Route the wire out of the fuse box in a spot that will not damage wire.
If you have excess wire, insure it is secure in a location where it will not be damaged.
- M7 if you want halo to come on with key/driving light/daylight mode.
- M17 if you want halo to come on with parking lights.
Maintenance/Adjustment Tip (optional): Vacuum out debris build up at bottom of grill area before installing grill with pushpins.
12. Install grill with 6 pushpins.
13. Close hood.
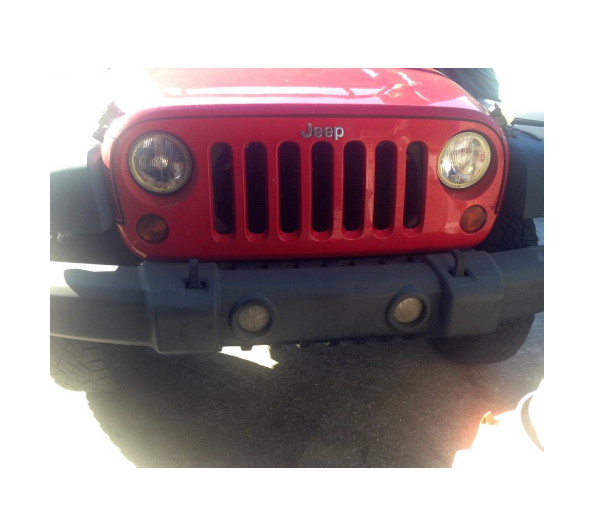
After Picture:
Installation Instructions Written by ExtremeTerrain Customer Megan Sluyter 10/29/2016
