 FREE 1 to 3-Day Delivery on Orders $149+ Details

How to Install Replacement Steel Fender - Left Front (07-18 Jeep Wrangler JK) on your Jeep Wrangler
Installation Time
3 hours
Tools Required
- 10mm Socket
- 13mm Socket/Wrench
- Ratchet
- 19mm Socket (if spare tire is mounted)
- Pliers
- Panel Clip Removal Tool
- T30 Torx Wrench
- T45 Torx Wrench
- Small Flathead Screwdriver
- A friend (optional)

Shop Parts in this Guide
Note: This guide is for installing the Crown Automotive Replacement Steel Fender - Left Front (J113993) on the passenger side of a 2007-2017 Jeep Wrangler. Read all instructions carefully before starting.
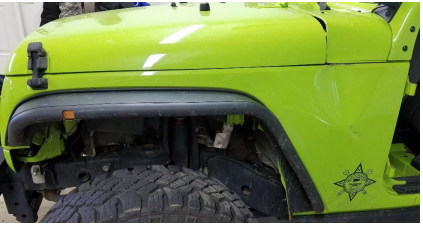
Before
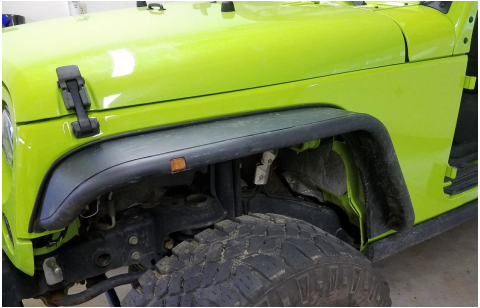
After
1. If you choose to have the new fender painted, it may be easier to have it painted before installation. You can paint it yourself or have a professional paint it. We chose to have ours painted at a local body shop.
2. Park Jeep on level ground and apply parking brake. Remove the left door so you can access the bolts for the fender.
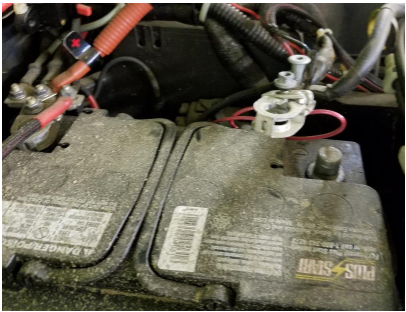
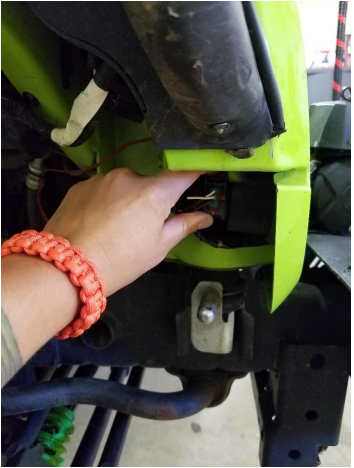
3. Prop the hood open. Using a 10mm wrench, disconnect the battery, as pictured below:
4. Using a panel clip removal tool, remove the 6 black plastic clips located on the top of the grille, as pictured below:
5. Disconnect the front turn signal wiring on both sides of the Jeep.
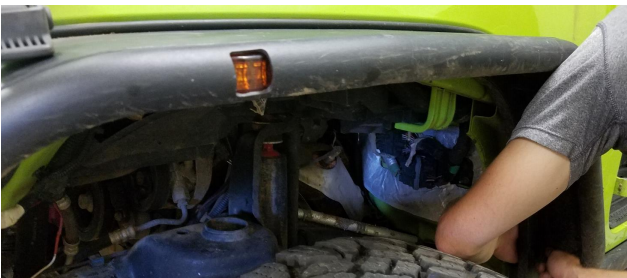
6. Remove grille and set aside carefully.
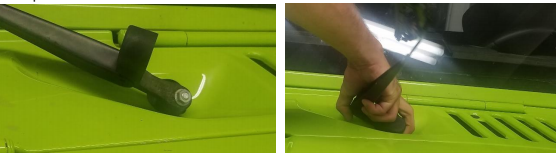
7. The aftermarket fenders on this Jeep use a 5/32 Allen wrench, but for factory fender bolts, use a 10mm wrench to remove all fender bolts, then pull the fender away from the Jeep. It will make popping noises as the plastic clips are disconnected.
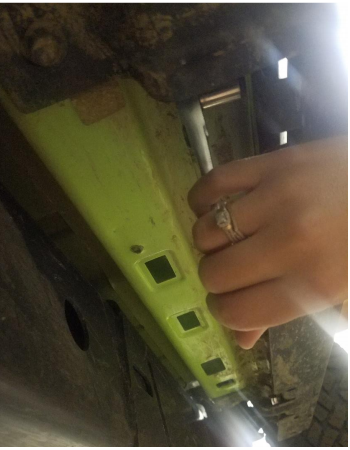
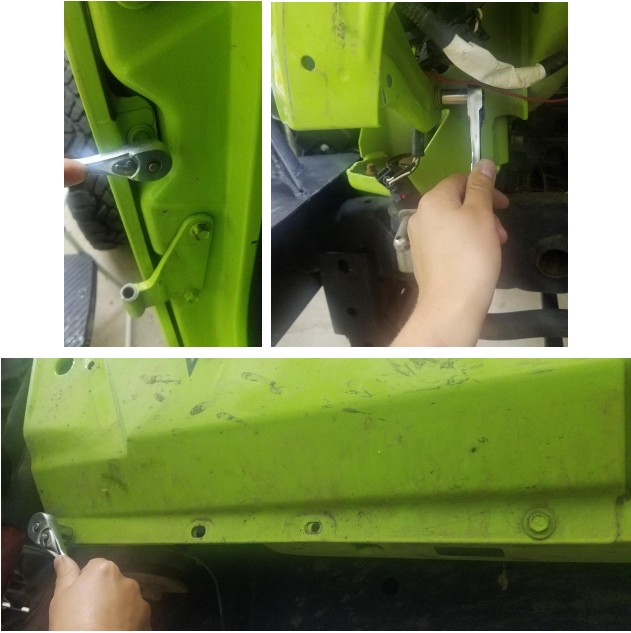
8. Remove 13mm outer fender support nut.
9. Remove steps or rock rail (if applicable) – there will be four (4) 10mm bolts and two (2) 13mm bolts. You may want to enlist the help of a friend to remove it from the Jeep so it does not fall.
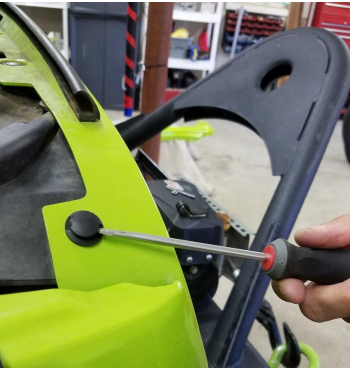
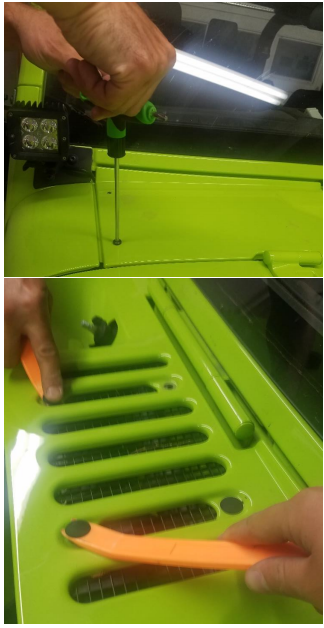
10. Close hood. Open wiper covers and unbolt one (1) 13mm bolt from each wiper. A flathead screwdriver will help you pry the wiper arm off the tab.
11. Remove four (4) cowl bolts using a T30 Torx wrench and remove 4 plastic clips with the panel clip removal tool.
12. Remove left window corner using a T45 Torx wrench for six (6) bolts.
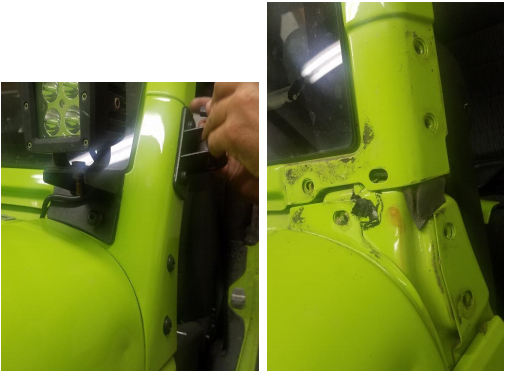
13. Using a 10mm socket, remove all bolts from driver side fender.
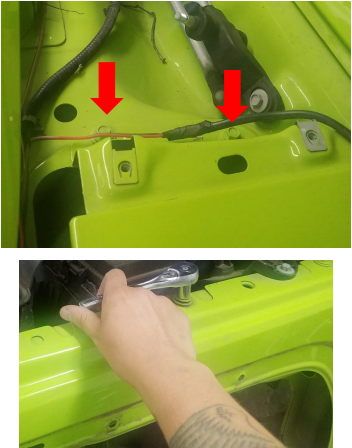
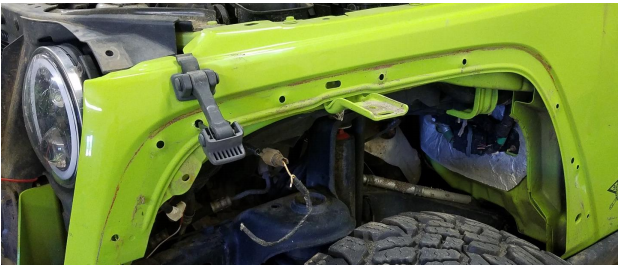
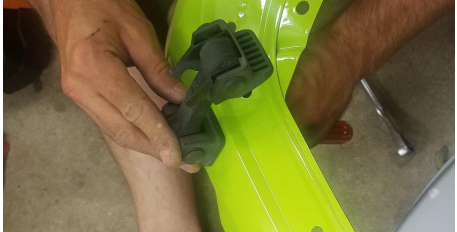
14. Remove hood latch from old fender using a 13mm socket on one (1) bolt. Transfer hood latch to new fender.
15. Clean off any mud you discovered with a wet rag to make installation easier.
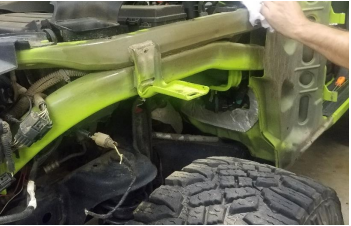
16. Align new fender to Jeep. Reinstall all 10mm bolts.
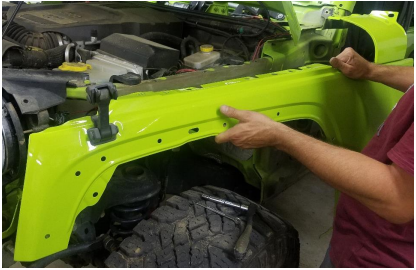
17. Transfer all clips from old fender to new fender.
18. Reinstall cowl with four (4) T30 Torx bolts and reinstall plastic clips. Reinstall wipers with one (1) 13mm bolt in each wiper arm.
19. Reinstall fender flares with bolts and plastic clips (as is applicable to your fender flares).
20. Reinstall steps or rock rail with four (4) 10mm bolts and two (2) 13mm bolts.
21. Reinstall grille by pushing firmly into place and reinstalling the plastic clips. Reattach turn signal lighting.
22. Once all the removed parts have been replaced, reconnect the battery, close the hood, and enjoy your crisp new fender!

Installation Instructions Written by ExtremeTerrain Customer 8/8/2018

