FREE 1 to 3-Day Delivery on Orders $149+ Details

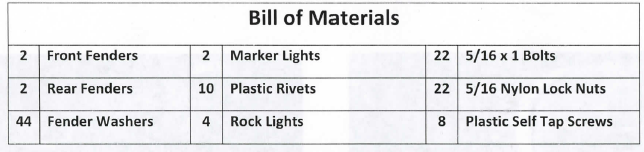
How to Install Cliffride Crowbar Fender Flares on your Wrangler
Installation Time
1 hours
Tools Required
- 13 & 10mm Sockets and wrenches
- Wire Crimpers/Cutters
- Small Hammer
- Phillips Screwdriver
Check fit all products before doing any body work or modifications if there is an issue contact us first
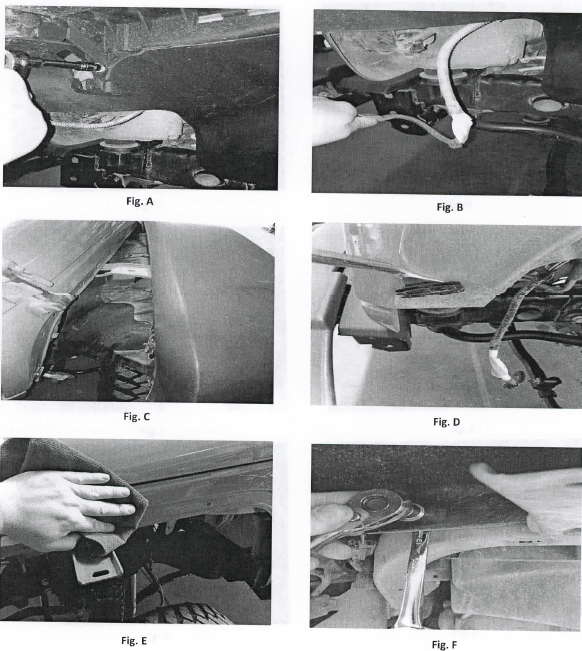
1. "Remove the 10mm bolts holding the factory fender to the Jeeps body. Fig. A
2. Remove the marker light from side indicator lens on the fender. Fig. B
3. Give the fender a quick tug to remove it from the jeep body. Fig. C
4. Remove any plastic rivets that did not come off with the fender. Fig. D
5. Clean the surface that the Cliffride fender will mount against. Fig. E
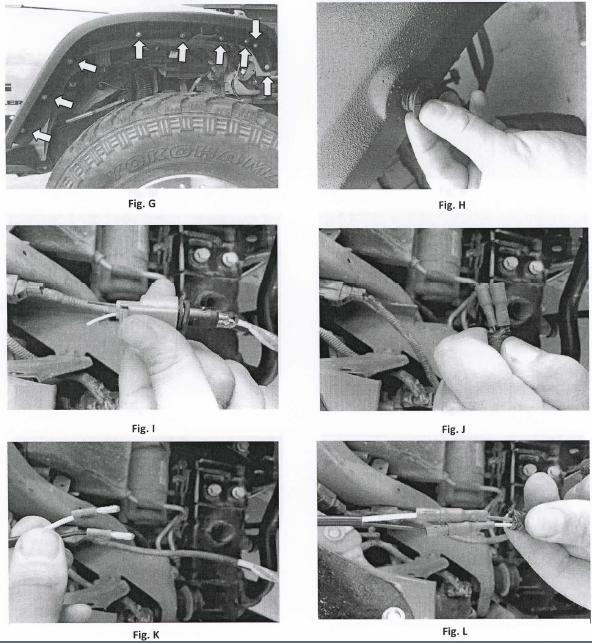
6. Starting from the center and working towards the outside, mount the fender to the body using 9 bolts, 9 nylon lock nuts and 18 fender washers. Fig. F & Fig. G
7. Insert the grommet and lens into the pre drilled hole on the fender. Fig. H
8. Cut the factory side marker bulb off of the harness. Fig. I
9. Attach the wire connector (not included) to the factory harness, Cliffride recommends a quick disconnects. Fig. J
10. Attach the open ends to the supplied marker light. Fig. K
11. The lights are wired in opposite black wire to white wire. Fig. L
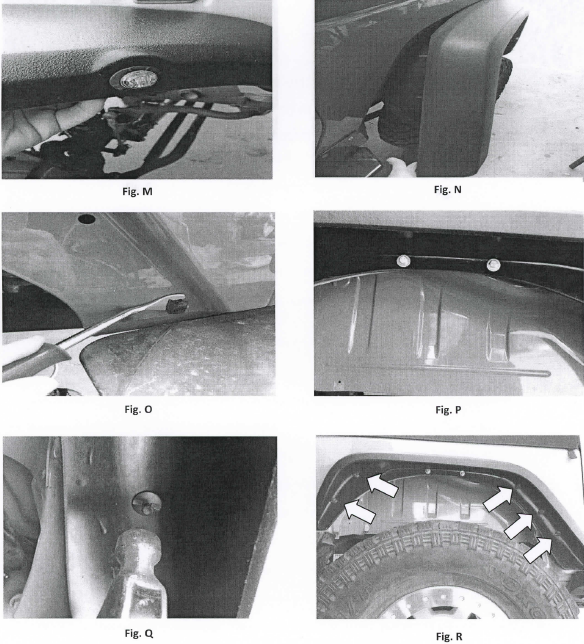
12. Test the light by turning the lights, tie off the harness and check for clearance. Fig. M
13. The rear fenders have no bolts just give them a quick tug to pull them off. Fig. N
14. Remove any plastic rivets that did not come off with the fender and clean the mounting surface. Fig. O
15. Tighten the fender to the body using the 2 bolts, 2 nylon lock nuts and 4 fender washers. Fig. P
16. Press the 5 plastic rivets through the fender and body than using a small hammer tap the center pin in place. Fig. Q & Fig. R
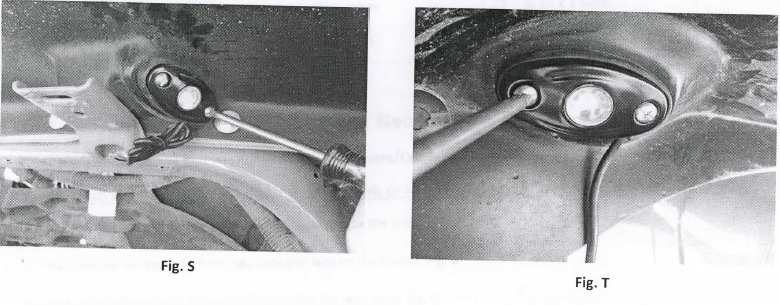
17. Attach the supplied rock lights to the fenders using the supplied plastic screws. Connect the power and ground to your switch panel (not included) and tie off the harness and check for clearances. Fig. S & Fig. T