 FREE 1 to 3-Day Delivery on Orders $149+ Details

How to Install Centerforce Dual Friction Clutch Kit on your 12-18 3.6L Jeep Wrangler JK; 2018 3.6L Jeep Wrangler JL
Installation Time
3 hours
Tools Required
- Floor jack
- Torx Bit Socket Set
- Metric Socket Set
- Deadblow Hammer
- Brake Cleaner

Shop Parts in this Guide
1. Disconnect Battery
2. Remove shifter assembly
a. Remove knobs from both shifters by pulling straight up. (No Tools Required)
b. Remove Outer Boot From Gear Shift
i. Two clips on backside of the boot hold it down.
c. Remove Shift Stick by removing one T55 bolt.
d. Lift console out of place. ( Just pops right out)
e. Remove Inner boot by unscrewing silver plate and lifting out.
f. Shift Transmission into third until after reinstallation.
g. Remove Foam Insulation ring from around Shifter.
h. Unbolt shifter by removing 4 T15 bolts and lift straight out.
3. Remove Transmission skid plate by removing 4- 18MM Hex Bolts.
4. Remove Drive Shafts
*Before removal mark shafts so you know how to align when reinstalling. Label ends of shafts.
a. On Rear drive shaft remove 8- 8MM bolts on each end of drive shaft.
b. Drive shaft ends pull straight out. A couple taps with a dead blow hammer should help loosen shafts.
c. On Front Drive Shaft Remove 8- 8MM from rear end of shaft and 4- 15MM bolts of front end of drive shaf
5. Remove External Slave Cylinder by removing 2- 13MM nuts. (Threaded insert may back out with it. No big deal just screw it back in during reassembly.) Slave Cylinder will pull straight out.
6. Remove Transfer Case Linkage
a. Remove 1- 10MM bolt. Be sure to note orientation of linkage for reassembly.
b. Undo blue clip suspending Transfer Case Shift Cable
7. Disconnect any cables or tube from top of Transmission and transfer case.
a. There are two electrical plugs, one Breather Tube, and one fuel line attached.
8. Remove Starter by removing 2- 15MM bolts and sliding starter out.
9. Remove Exhaust Y-Section
a. Remove 2- 15MM bolts on each header couple.
b. Loosen clamp just rear of the “Y” using 15MM socket.
c. Remove exhaust section.
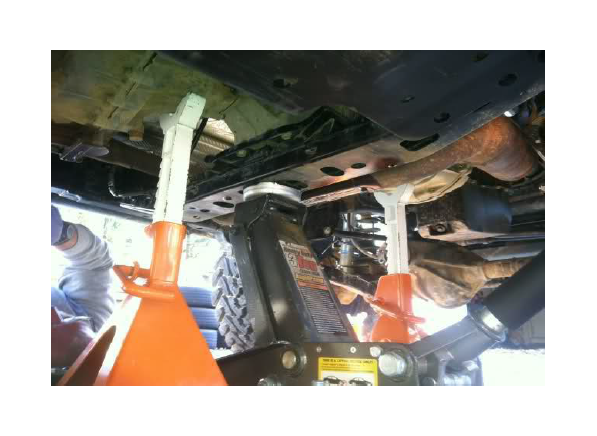
10. Support Transmission
11. Remove Crossmember Support
a. Remove 2- 18MM Bolts attaching Fuel Tank skid Plate to Crossmember.
b. Remove 3- 16MM nuts in center of crossmember attaching transmission to isolator. (The nuts are located inside the crossmember support. )
c. Remove 2- 18MM bolts from each end of crossmember.
d. Remove Crossmember.
12. Slowly Lower Transmission a couple inches to allow access to top two bellhousing bolts and remove 2- 15MM bolts. Note which bolts go where when removing.
13. Continue to lower transmission until you have proper clearance to slide transmission out easily. Be mindful of your engine mounts and the wiring harness running along the top of the firewall inside engine compartment.
14. Brace engine by placing bottle jack under front end of engine. DO NOT allow engine to drop back to level when removing engine. You risk damage and it will make reinstallation more difficult.
15. Remove remaining 15MM bolts around bellhousing.
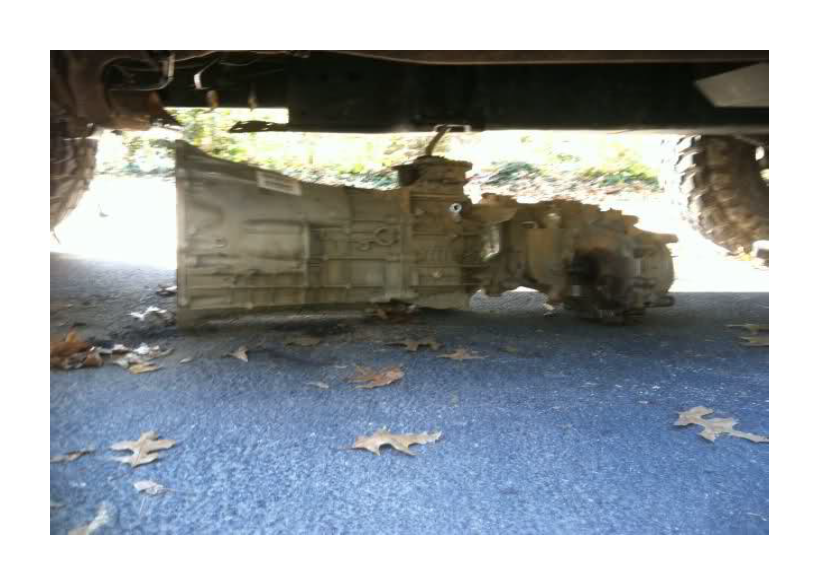
16. Slide transmission out and down.
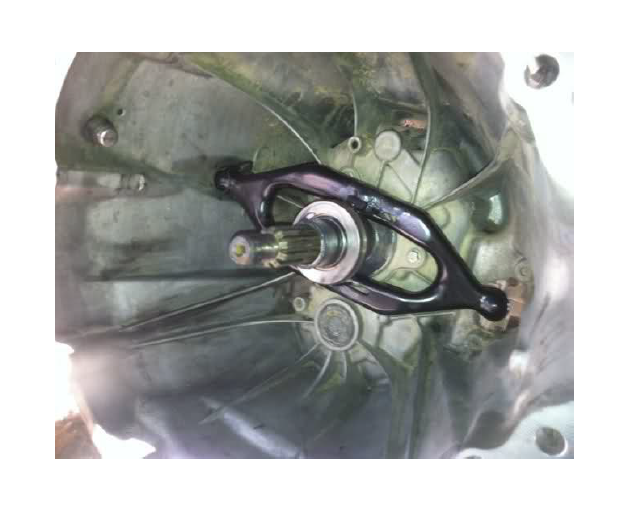
17. Thoroughly clean inside of Transmission bellhousing.
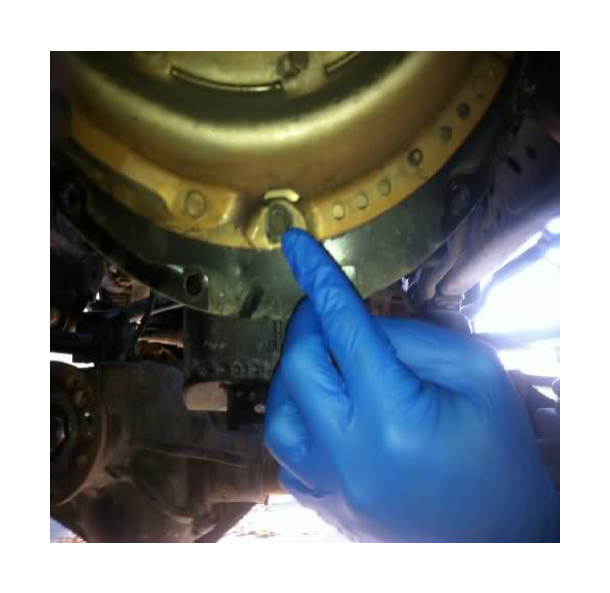
18. Remove Clutch Fork and Throwout Bearing Assembly by popping of ball joint.
19. Remove pins attaching Throwout bearing to clutch fork and replace with new Throwout bearing.
20. Grease Stem inside bellhousing and reinstall Clutch fork/Throwout Bearing Assembly.
21. Apply grease to outside of throw out bearing.
22. Remove Pressure plate by removing 6- 10MM bolts. No need to keep new pressure plate has new bolts. Clutch Disc is not mounted with bolts so be careful when removing Pressure Plate.
23. Remove 8- 17MM Bolts holding Flywheel. Flywheel is heavy. Use Caution when removing.
24. Install New Centerforce Flywheel by tightening 8- 17MM bolts to 65 ft-lbs. Clean with brake cleaner after installation.
25. Insert Clutch Alignment Tool into pilot bearing.
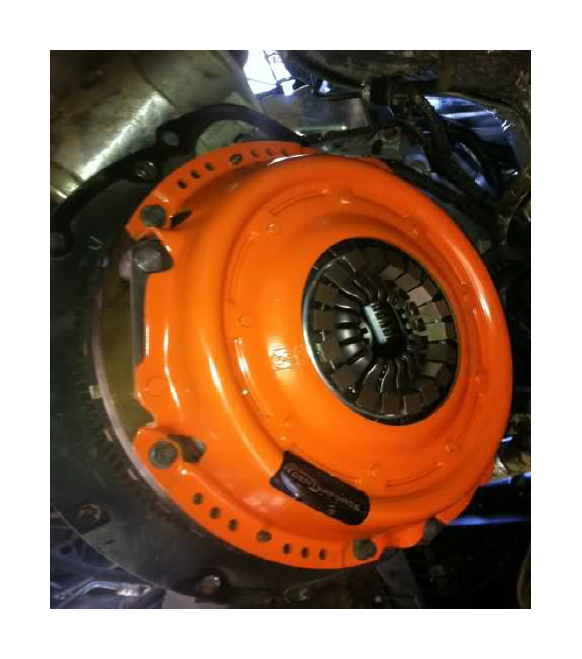
26. Slide new Centerforce Clutch onto alignment tool.
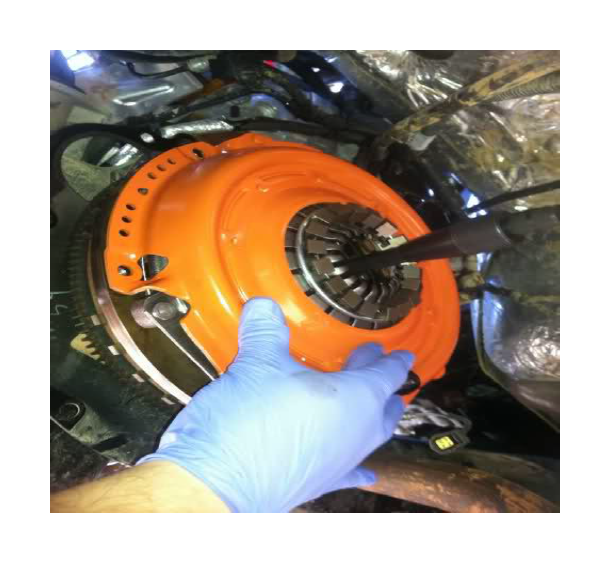
27. Install New Centerforce Pressure Plate by tightening 6 bolts included in kit to the specified torque setting stated in the kit. NOT OEM TORQUE LEVEL.
28. Reinstall transmission be reverse steps 1-16.
